I loved how it turned out, but it was JUST too small for me on top. My mum suggested that I turn it into a skirt, so after some thinking about the logistics I did.
The skirt was gathered, meaning that it had a lot more width to work with than when it was attached to the top. So the first step was to separate them.
Chop chop!
TOP
SKIRT
I had cut them so that the zip remained on the bottom with the skirt, as I knew that it was unlikely that I would turn the top part into a crop top or anything. I overlocked the top edge to seal it and started to think about what waist band I wanted.
I could have just put elastic in it and worn it as a pull-on skirt, but then I would have needed to take the zip out. I also like higher-waist skirts (I may have mentioned this, maybe 4.. 5? times now).
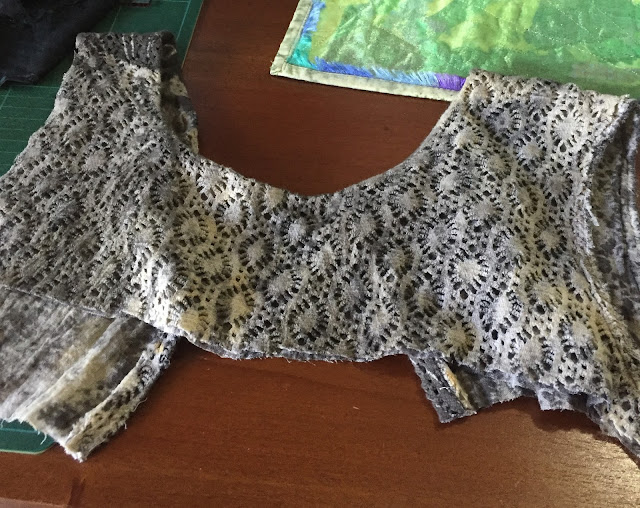
I went through my fabric stash and pulled out some material that I could make into a narrow band, but kept looking at the scrap of the top part.
The patterned, dyed cotton is very groovy. Why let it go to waste?
There was almost enough around the waistband of the top to fit me. I cut one sleeve off and overlocked the edges, and added it to one side to lengthen it. I made it so that it would wrap over as well, to pull it firm around my waist.
A wide ribbon hemmed the top edge. I used it as binding because it would be less bulky than doubling the top over and would be more comfortable against my skin. It also means that more of the pattern can show.
I finished the wrap over with velcro to fasten it. This gives me some wiggle room in the skirt, but it also lies flat (which buttons don't always do).
This is the end result! It is light and comfortable, and fits me perfectly around the waist.
One of the sleeves made its way onto another skirt that I had op-shopped. I threw it in the wash with other new clothes and ended up with a pink stain on it... a shame, and I should know better. Still, I like the odd shape that the sleeve made on it.


No comments:
Post a Comment