Showing posts with label upcycling. Show all posts

Tuesday, April 14, 2020

My Brother's Japanese Jacket

I lived in Japan for 9 months, and it was one of the best experiences of my life. They also have amazing textiles... so my family members all got a kimono. I regret not buying more, now that I can do all sorts of things with fabric, because I would have some amazing dresses by now! Next trip... though I'm starting to eye this one on the wall....
As he was unlikely to wear it as-is, my brother asked me to turn his kimono into a jacket.
No before picture, sorry, this post was semi-retroactive. It was a black kimono with a patterned bottom though. Phoenixes, even.
What I decided to do was unpick all of the pieces. It was a thin, silk kimono, so it wouldn't be a very warm jacket. I scoured the shops online and found a decent men's jacket that would fit my bro.
I wrapped the bottom pattern around the body of the jacket and pinned it into place
Pretty much a perfect fit!
It sounds odd, but the blacks matched really well, too, so the addition doesn't look out of place.
There was an extra motif, which I pinned to the sleeves of the jacket for extra detail.
Because of the thickness and shape of the sleeve, it was too hard to get all of this through my sewing machine. So I had to hand-sew all of it! This is the sleeve partially done:
It was going to look great when it was done!
I ran the back of the jacket through the machine- hand sewing would have taken forever!
https://drive.google.com/uc?export=view&id=1P4eI3BCsn5JQJHuT4rVq1v8qRlNgEbGl
And here it is, minus all of those pins:
https://drive.google.com/uc?export=view&id=1ogOVut64fLyZ9zWg3_Vzdwq9jqfR5Xvahttps://drive.google.com/uc?export=view&id=17684Gy7V3vI7t1N7CJeGgcyR4awumg4G

Thursday, April 11, 2019

Pillowcase + Skirt = Funkier skirt!

Not much blogging happening at the moment-I think I spend so much time on a computer at work that I don't want to do it at home! 
But I have been sewing. 
I picked up an op shop skirt a while back because I liked the colours. Too small for me, but with some upcyling it would be nice for someone else. A lovely light denim and a cool vine pattern on it.
In my stash I had a pillow case that I had dyed from white/yellow flowers to blue/green flowers.
I thought it was a pretty good match to the skirt. I pinned it in place to try.
And I really liked it. The bit I chopped off the corner made a great pocket, too. 
I like good-sized pockets on my outfits! 
And there you have it: a whole new skirt! 
A bit longer, but I love the shape of it.
The next craft stall is in May, so hopefully this goes to a good home. 
#lovelypennypatterns

Tuesday, March 5, 2019

Refashion from black and white pants to skirt

Remember these pants? Well, I do wear them, but only sometimes because they still weren't quite right. In the crotch. I think if I had used a pattern when I cut them down from the bigger size I probably could have avoided this, which is a less learned for next time.
But I still love the fabric that I printed, so I decided to turn it into a long skirt and make use of all of those pockets on it.  
I unpicked the inner seams to start off with. 
There's a lot of fabric, so I didn't even have to fill the gaps. Just straighten the inner seams.
 And there we have it, a new skirt. All the pockets and none of the unhappiness.

#lovelypennypatterns

Thursday, November 22, 2018

Upcycled denim jacket with rust dyed fabric

This denim started out as any denim jacket does: plain and blue. But though I like blue, I'm not so keen on plain. 
So I started adding eco dyed lace.
And then some eco dyed patches, because these spring prints needed a garment home.
A sleeve unpicked from a rust dyed shirt.
Some grumbling from my machine about sewing through denim!
That scrap of eco dyed lace that I loved, that just needed the right thing to go on.
And there you have it: ready in time for my stall.
 
#lovelypennypatterns

Tuesday, September 11, 2018

Disney Cosplay: Ursula from The Little Mermaid - Part 3

Part 1 and Part 2 of this costume are done - onto the finishing touches now.

Step 4 - the Bling

Ursula wears a gold shell around her neck, the one she uses to capture Ariel's voice. She also has purple shell earrings.
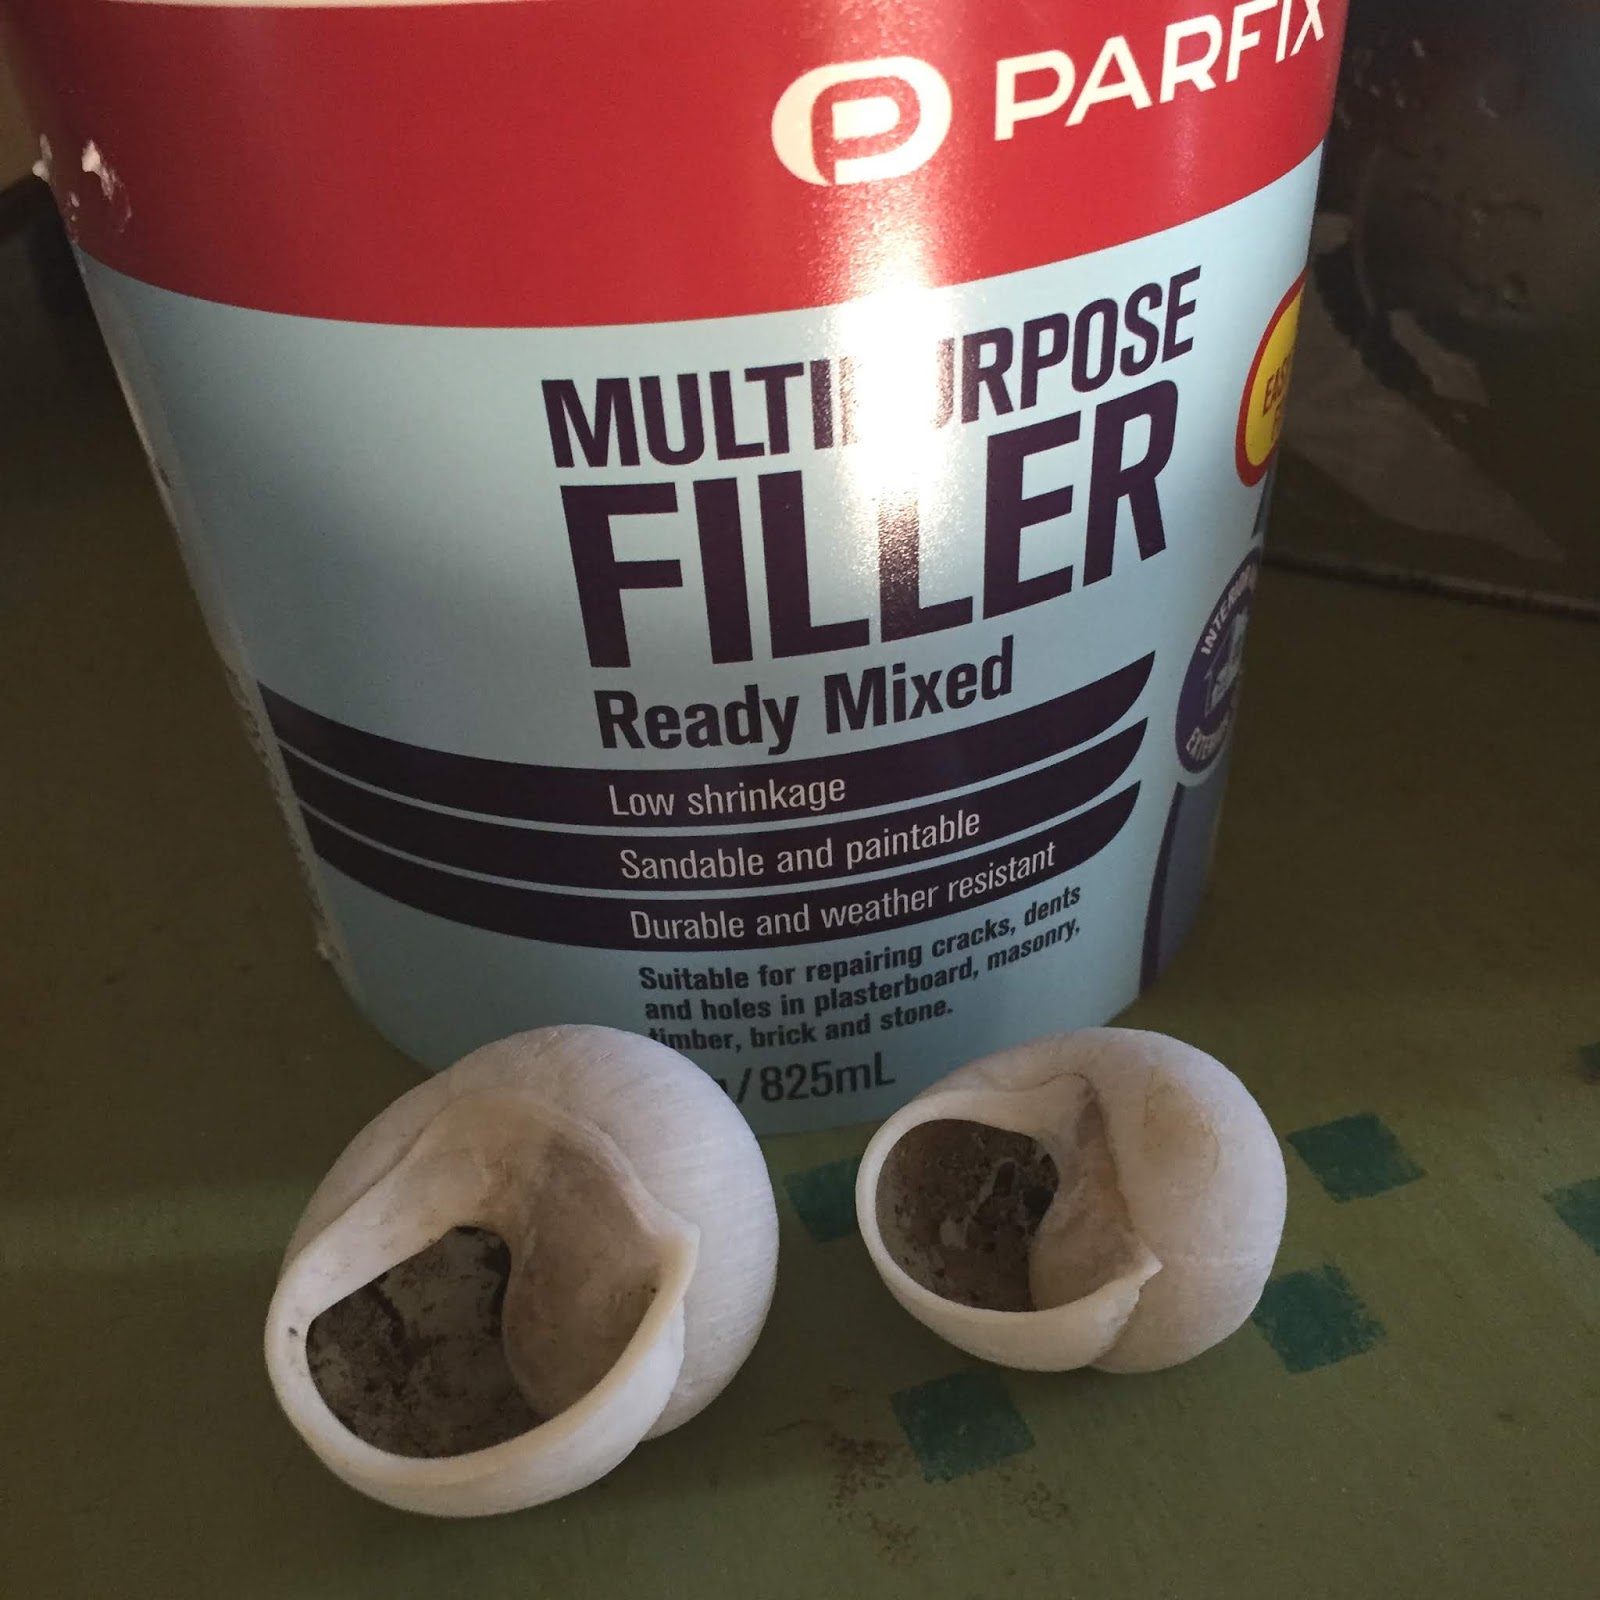
I started with two snail shells that I picked up in the bush. Not sea shells, but I had looked and had no luck finding an intact shell of a good size to use. I could have made one from scratch, but I haven't dabbled much in clay or foam so this was a good option. I did two so that I had a test one, wanting the big one to be the final one.
I filled the holes in with multipurpose filler, taking care not to stuff too much in as I was worried that it might expand.
After a week set aside to dry, I started painting. It was very pale at first, and patchy, so I knew that I would have to layer the paint.
After a number of layers they look more like this! They really shine under the light, too.
I did try adding a varnish over the top to seal the colour in, but all of my tests came out lumpy. It was like it was reacting with the paint. We even tried my husband's spray-on varnish, but it was way too blobby. So I left the shells as they were and hoped that I wouldn't encounter any water that might wash the colour off!
I glued loops of wire on the back to hang the shells off and was very happy with the finished results:
Onto the earrings.
Same process as the gold shells: found matching shells on the beach, filled the holes, and painted layers of bright purple on. Because the colour was less transparent, it took half as many coats for these.
I went and found earring attachments after some puzzling about how to connect them, needing the shaped pieces to glue on to hold the shells to the ear hooks. 
It was the simplest and most attractive way of doing it.
With the bling done, it was just the final touches left!

Step 5 - hair and makeup

I found out that Ursula was based on a real life drag queen - that explains a lot!

The makeup was achieved with a trip to a costume shop in town, because I needed thick colour to put on. I used a brush for my face below, but a sponge should give a smoother colour.
At some point in the future I would like to figure out how to airbrush colour on so that I could be all-over purple for this outfit.
I have to decide whether to just do my face (which would be a lot cooler up here) or my whole upper body - everything that shows above the dress. I'll probably go with just the face, because I'll be doing it all myself on the day and it will be hard to reach my back.
I did try a wig, but decided that I like white hairspray instead. It will be thicker on the day than what I did above!
There are some props that I could carry as Ursula:
  • The contract that Ariel signs
  • the sea witch's lipstick and mirror
  • The two eels, Flotsam and Jetsam 
  • Triton's crown and trident
But I decided that I was fine as-is. Now to wait until the day to put it all together... photos to come!
#lovelypennypatterns

Friday, August 24, 2018

Disney Cosplay: Ursula from The Little Mermaid - Part 2

Continuing some costuming! Turning myself into Ursula from The Little Mermaid for a geek convention in town later in the year.

Step 3 - Over dress

I believe this dress was $1, and it has already had a cosplay life as part of my steampunk costume.
Plenty of fabric to work with in the skirt.
Hmm, it needed more bulk. Oh yes, my wedding dress skirt is still in the cupboard!
That's a lot of underskirt! But it will sit nicely.

Step 4 - the tentacles

I cut the tentacles out of the over skirt. Sealing the edge was going to be the hardest part, particularly with the curves.
 But look at it working over the purple underskirt - very exciting!
What I ended up doing was cutting the underskirt through as well and tucking the edges of both layers in. This had the added benefit of giving the tentacles some bulk, rather than them being flat.
It took an awful lot of pinning...
I was happy with the shapes that I managed though.
 It really does look like the right shape!
Now to sew it all.....