I scored a pile of light cotton shirts from a friend the other day, so I resolved to do some eco-dyeing again during the holidays. I also went hunting in the op shops for some silk to steam dye, to try something new. Then I gathered the materials that I would need:
- gum leaves, grevillea leaves (Australian natives)
- rusty items
- vinegar
- loose leaf black tea
- camping stove
- tongs
- scissors
- string
- long gloves
- large pot
I want to experiment with different leaves now that I've dyed a few times: up until now I had only printed natives like gum leaves, grevillea and hibiscus, because these leaves have strong oils in them that print well. They are also sturdy leaves that won't fall apart if you soak them. For this dye session I picked two different kinds of ferns as well.
Method
I've learned from a couple of different people now, and looked dyeing up online. I've worked out a little method of my own for rust dyeing that produces results that I like.
- Keep a rust pot going continuously, so that you always have rust water.
- Create the rust solution the night before, with vinegar, rust water and rusty items soaked in it.
- Soak your printing leaves overnight in the rust solution.
- Dip your clothes/fabric in the rust solution before you add any printing materials (tea, coffee, leaves).
- When you have rinsed the materials out, dry the fabric out before trying to wash properly. Eco dye isn't always as strong as man-made dye, so it needs time to set.
Starting out
I set my rust pots to bubble for a couple of weeks before I was going to print, to generate rust water. I had some old plastic pegs that we had left outside and their metal parts had rusted: these and some rusty screws went into containers with 50% water and 50% vinegar.
I only had apple cider vinegar at the time, but I didn't think it would make a difference.
My husband said that it looked like I was growing things under the sink! They did froth up rather a lot... ew!
Getting tongs, vinegar, etc was very easy, but I needed a big pot to do it in, one that wasn't non-stick, preferably solid aluminium or steel, and that I would never ever be able to cook food in again. I went op shopping looking for one and didn't have much luck. Thankfully the Christmas sales yielded results. I even bought two! Stainless steel, giving me quite a good setup now. If you dye with a number of items or more than one person, it does help to have multiple dye pots.
The day before I wanted to print, I took my secateurs and went for a drive down the road to some bushland (on public land, I don't recommend harvesting from nature strips!). A friend actually saw me do it and wondered what weird thing I was up to ha ha.
I picked lots of fresh gum leaves to create my brown dye, and other natural leaves like grevilleas and ferns to print with.
I kept some interesting-shaped leaves to print, and ones with holes in them, as they look good when dyed into the fabric.
The leaves that I wanted to print went into a bucket to soak overnight, with my rust water and rusty items.
Nice, huh? It smelt terrible...
Dyeing Day
Step one was to start my dye pot boiling, to create the brown, gumleaf dye. I trimmed all of the leaves from the branches and put them in the pot. The pot was probably half-full, you do need quite a lot of leaves.
I had a cotton blanket and some cotton shirts to dye.
Unfortunately my hands were too dirty to take photos of the wrapping process. This parcel, however, is full of tea leaves, gum leaves and ferns. Oh, and a horse shoe.
This one has grevillea leaves and is wrapped around a length of rusty chain. The rust items, when wrapped up and boiled, add a grey-to-black colour to the fabric. Tea leaves create a beautiful, bright brown and that is what you can see scattered around it.
I had seen a lot of rust dyeing with nails online and wanted to try the method where the nails were pushed through the fabric. It does damage the fabric, but I folded it so that if it created a pattern, that would soak through to other, undamaged layers of the shirt.
Next? Boil for 45 minutes. You can get different colours in the bundles as well if you don't completely immerse them. Water will creep up the fabric anyway. I left the top of the cotton blanket out of the water.
I had four items, so I did two lots. Yep, that's almost two hours watching pots boil!
The end result
But what results it had! The designs always look different wet, but I was very happy with this blue fern print on one. Some of the colour will fade, but it is promising.
Once they had dried naturally in the sun and then been gently machine washed, here were the results of the two shirts and pillowcase.
This was a white cotton shirt.
I wrapped it around a double horseshoe that has printed beautifully. Thicker cotton makes better prints, as you can often wrap the packages up tighter.
The horseshoe was on the front of the shirt, which is why the back pattern is not as clear.
You can even see the imprint of the groove on the front print.
This shirt was thin, lime-green cotton. Now it's an odd kind of brown, with yellow and even a little bit of orange.
This was the print from the nails that I had pushed through the fabric: I'm very happy with how it turned out! I'd like to figure out how to get this effect without damaging the fabric.
The other patterns look a bit like tie-dye.
Though there is a lovely leaf print on the back.
And a clear print from the rusted steel circle I had wrapped in the middle.
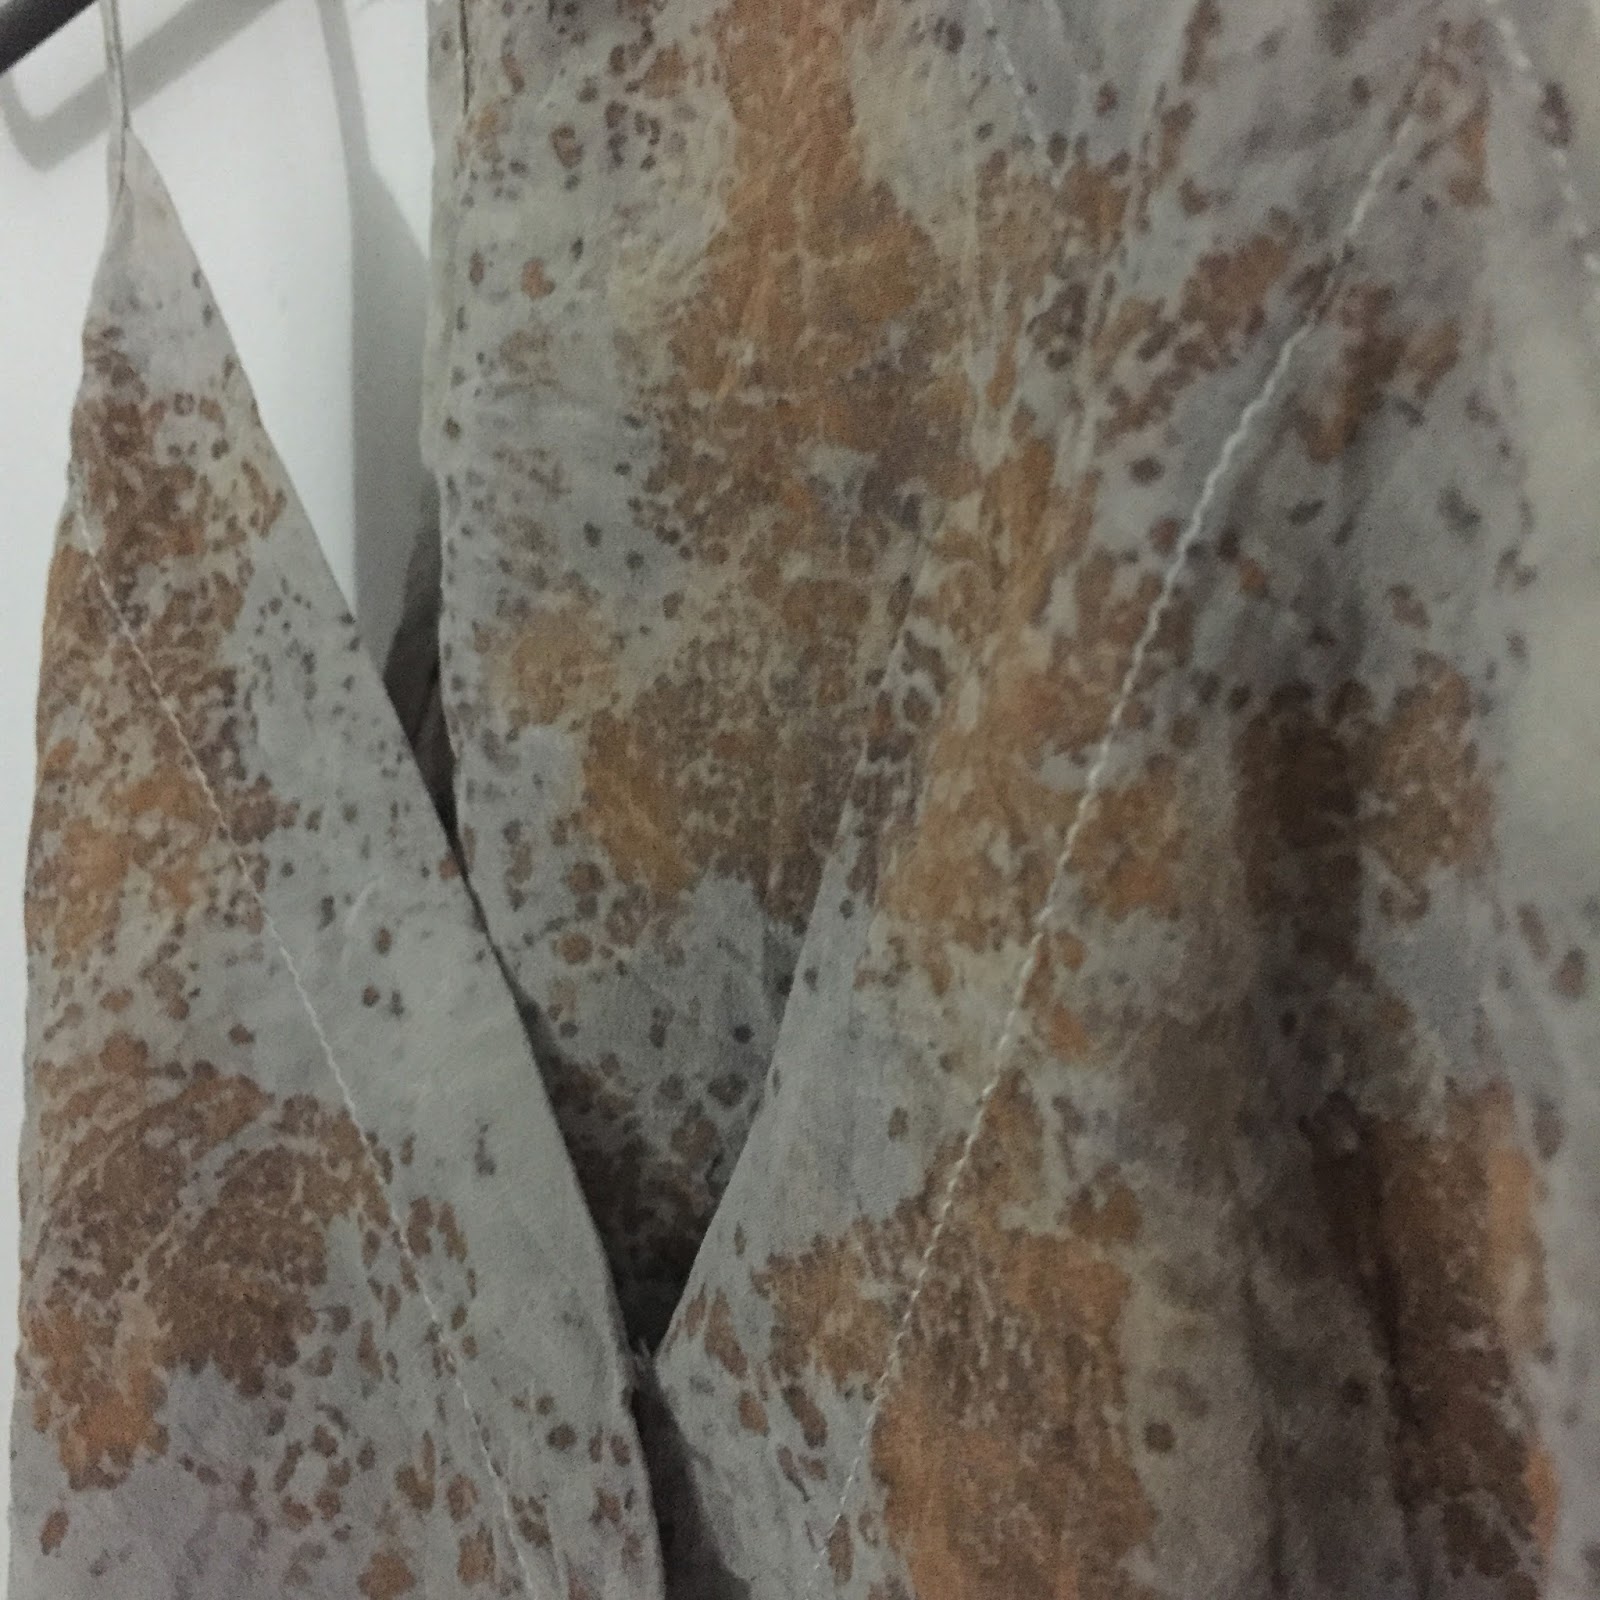
I had bought the pillowcase as a scrap in an op shop, not knowing what it was. It makes more sense now! Some of the leaf prints came out clearly, like this gum leaf:
This is a grevillea leaf:
And one of the ferns, here, with some green-blue colour, too.
Finally, the wavy lines from the string that I had wrapped around the outside of the bundle. Not bad for some gum leaves, rust and vinegar!
The cotton blanket photo will have to wait, as it is a present for someone 😏
Some tips?
- Dye outside, because it smells and makes a big mess!
- Do more than one item at a time, because otherwise it isn't worth watching a boiling pot for 45 minutes.
- I like to wear gloves to avoid soaking my hands in the vinegar/rust concoction, as it takes a day or so for the smell to go away. It also prevents my hands being dyed a lovely black... sometimes.
More printing to come in the future!