Tuesday, August 29, 2017

Creating my own calico dress pattern

As I have said many times before, I hate dress patterns. I think that is part of the fun of having a dressmakers manikin, that you can just drape, pin and fold and see what happens. With this in mind, I decided to make my own dress pattern out of calico. Something simple, that I could use with the 2-metre lengths of material that I had. A lot of patterns with more pieces require more material.
My reason for choosing calico: it will last longer than a paper pattern, and I could craft it all, pin it together and try it on like it was a real dress.
I started with one of my existing dresses and cut a rough pattern around it with some extra allowance for seams, fitting, cutting, etc.
I had three pieces: one front piece, and two for the back that left room for a zip down the middle. I'm not a fan of side zips on dresses.
I pinned it all together on the dressmakers manikin and created some shape up the sides.
I wanted to use princess seams in front, which are long rounded seams that add shaping or a tailored fit. You use them instead of darts in the bust as well.
I tried it on and fiddled with the fit until I was happy. I cut some more off the sides, made the neckline more rounded and made the arm holes bigger. 
And swore a lot, because I was wearing dozens of pins, on the inside, that kept scratching me.
When I was happy I marked the princess seams with permanent marker and took all the pins out. That way when I cut fabric using this pattern, there would be enough allowance in it for the seams.
Watch this space for a dress made using this pattern soon!

Sunday, August 27, 2017

Steampunk Seamstress Cosplay

Now you may be able to tell from this blog that I don't tend to do things by half. So when my husband and I decided to go to a Steampunk Murder Mystery night (and put our names down to be guests/suspects!) I had to do something crafty. My thinking went kind of steampunk --> Pinterest for inspiration --> ruffle skirts, top hats, goggles, what could I legitimately be? Oh wow, steampunk seamstress! It surprised me, but there was lots of inspiration for Steampunk Seamstress out there. 
What did I already own that I could use?
This dress:
This shirt to go under it:
This belt I already owned:
 These op-shop boots I already owned:
These things I already owned:
These things a kind person at work donated to me for crafting:

Something my husband owned that I borrowed:
These presents from my mum!
These things from Spotlight:

What I made. 

I needed a top hat for an upcoming Mad Hatter costume anyway, so I got a decent one to play with. 

I have a hot glue gun and that's what I used to attach everything.

When I found the cheap sewing section in the local store I think I actually laughed out loud. $2 for most of those things, some of them multiple things for $2!
 No need to buy a $20 pair of those gold bird embroidery scissors just to put on a hat, not when I could get another pair for $2 that would do the job.
Necklaces: layered look, with ones I already owned and the pressie from mum. I was originally going to wear a cameo around my neck, but decided that the scissors were more appropriate.

Couldn't resist the little bottles to fill up with buttons, needles and beads to hang from my belt. 
As well as the folding scissors on a velvet ribbon. Had to be prepared!
My belt looked like this, all detachable so that I could continue to wear it normally:
 The embroidered pouch was an amazing birthday gift from my mother, my 21st I think!

Dress and shirt together:
Some half gloves:
Makeup and some buttons stuck to my face with spirit glue:
 Complete costume:
And I won best-dressed female on the night 🙂
I also took green food dye with me, to add to my drinks to make them into "potions". But I had to stop because it was freaking the bar staff out!! Oops!

Friday, August 25, 2017

Bright skirt for a bright personality

I've been through a few clothing phases over time, particularly as creative inspiration has struck me. A friend recently sent me this photo, of a skirt that I made some time ago. She likes how bright it is, so I decided that I would make her another one.
This is a wrap skirt, very easy to make and also easy to fit on people. I decided on a range of blues for the skirt and went hunting in my stash. Lots of colours would be too many. 3-4, or a base colour with other features pieces over the top would work nicely.
I found this piece of double-sided cotton from Japan and thought it would be fun.
I went to my wrap skirt pattern.
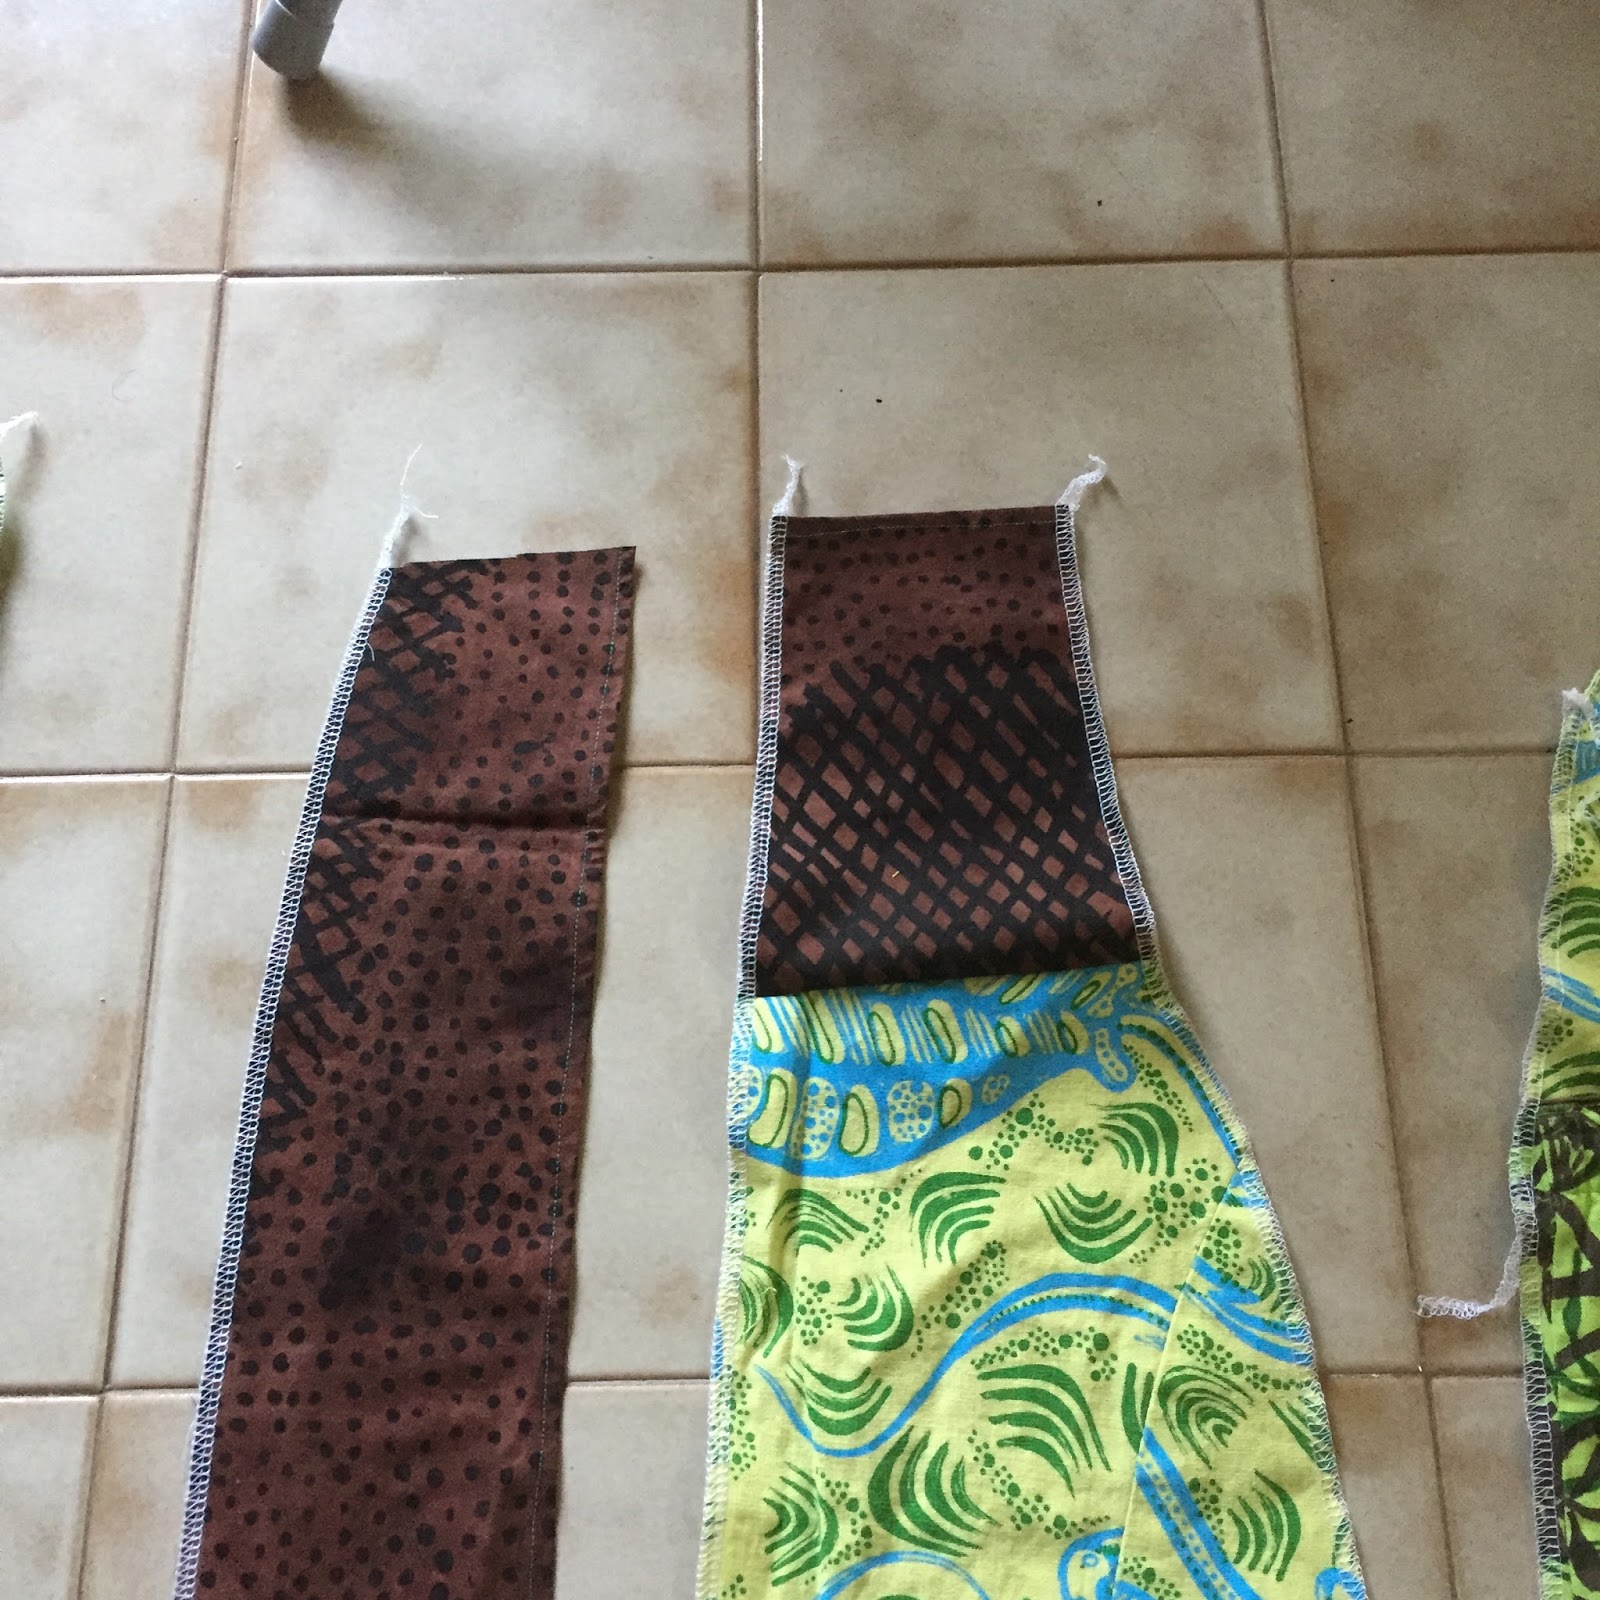
I cut them out and sewed them together, with the blue side as the outside of the skirt.
I hemmed it all, added an almost Japanese-patterned waistband and sewed the ties on.
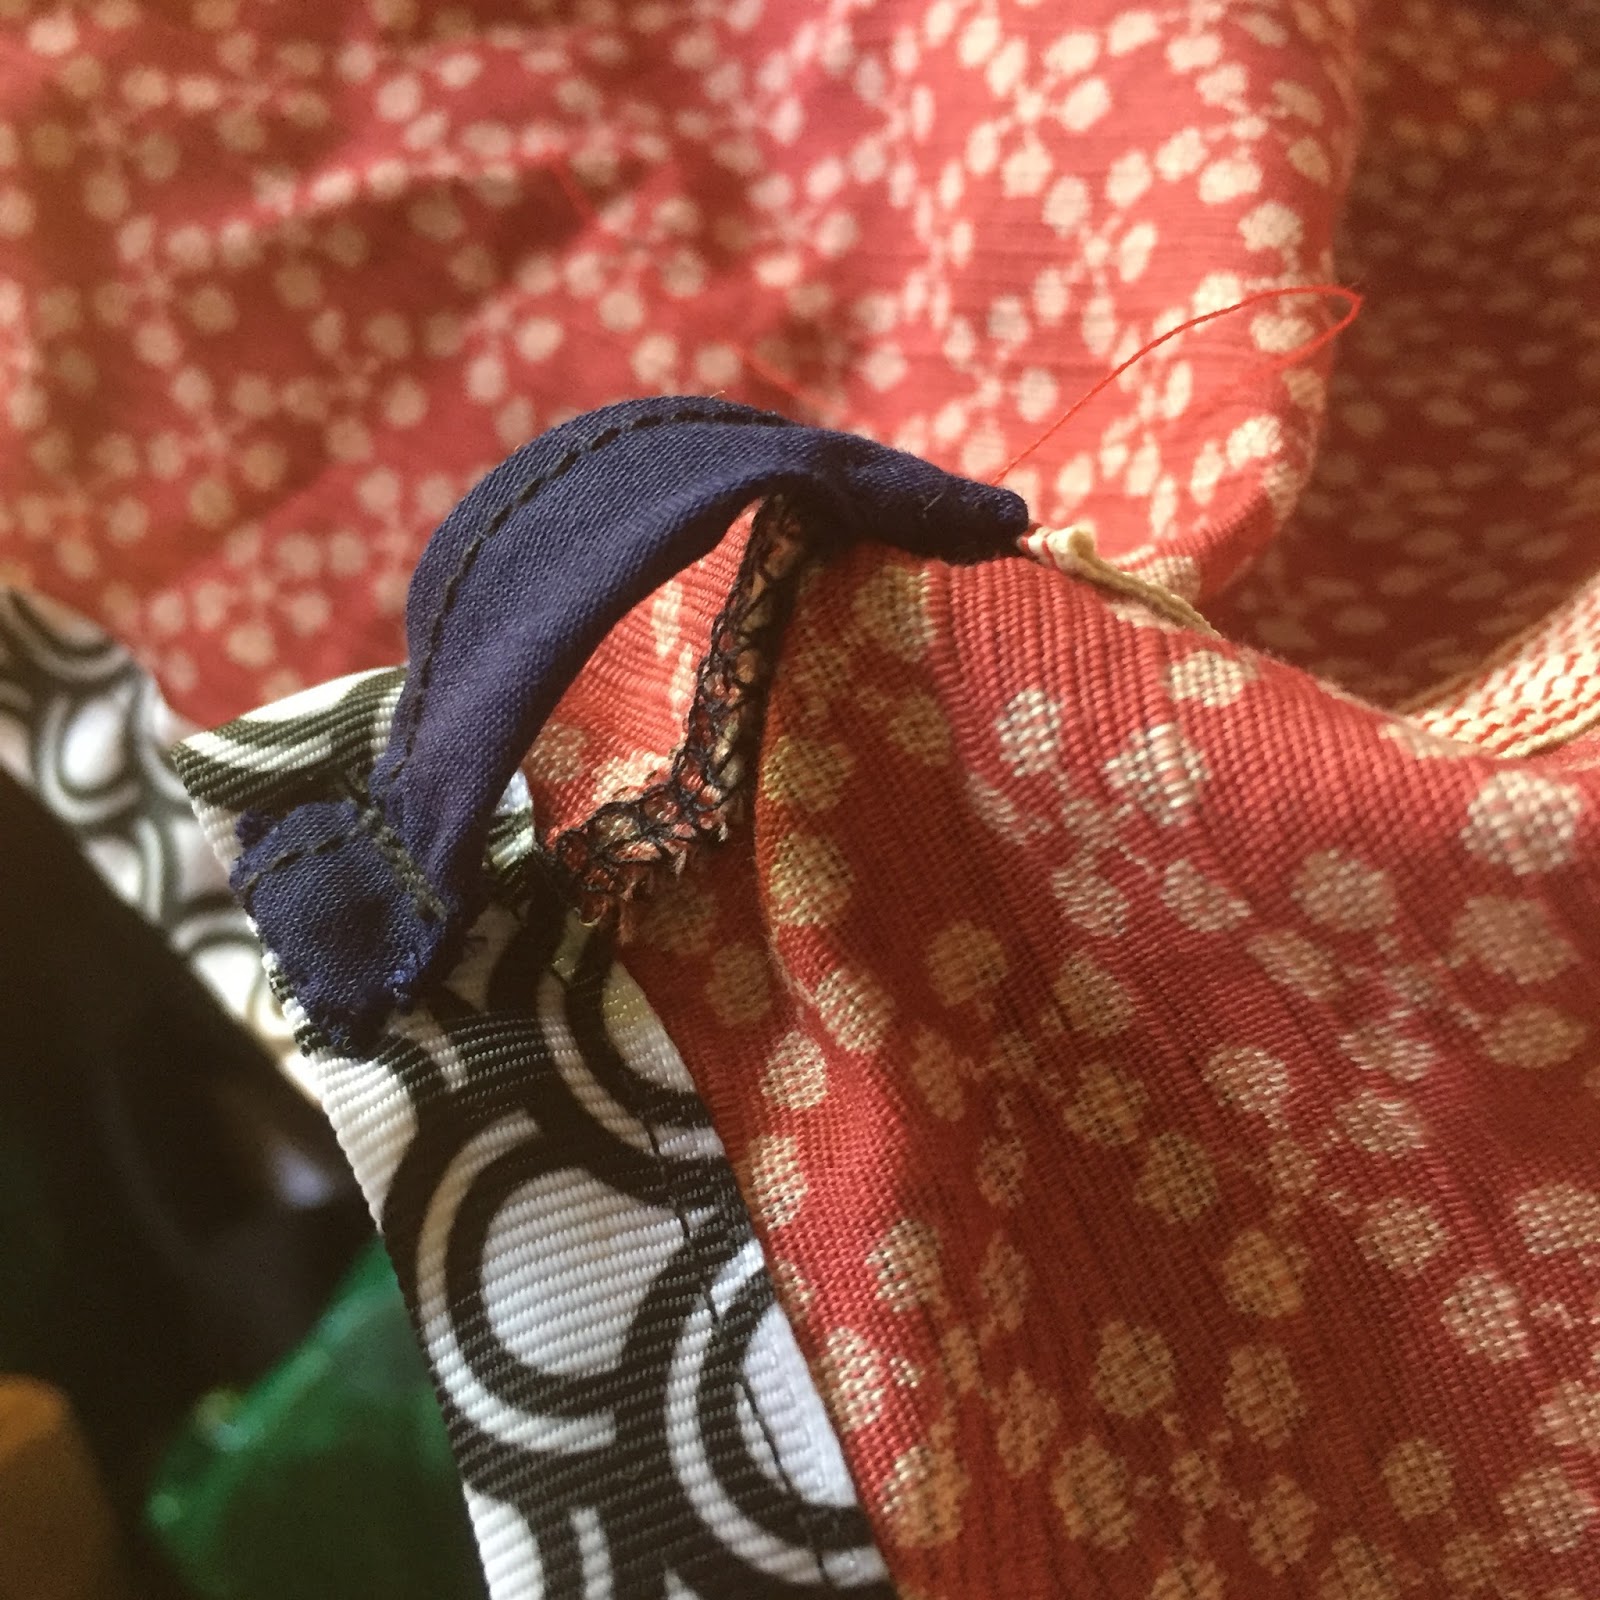
But then I figured that the skirt could be double-sided, but as I had the joins between the pieces showing I needed to cover them. I dug in my bag of ribbons and found a couple that would suit.
They looked pretty good!
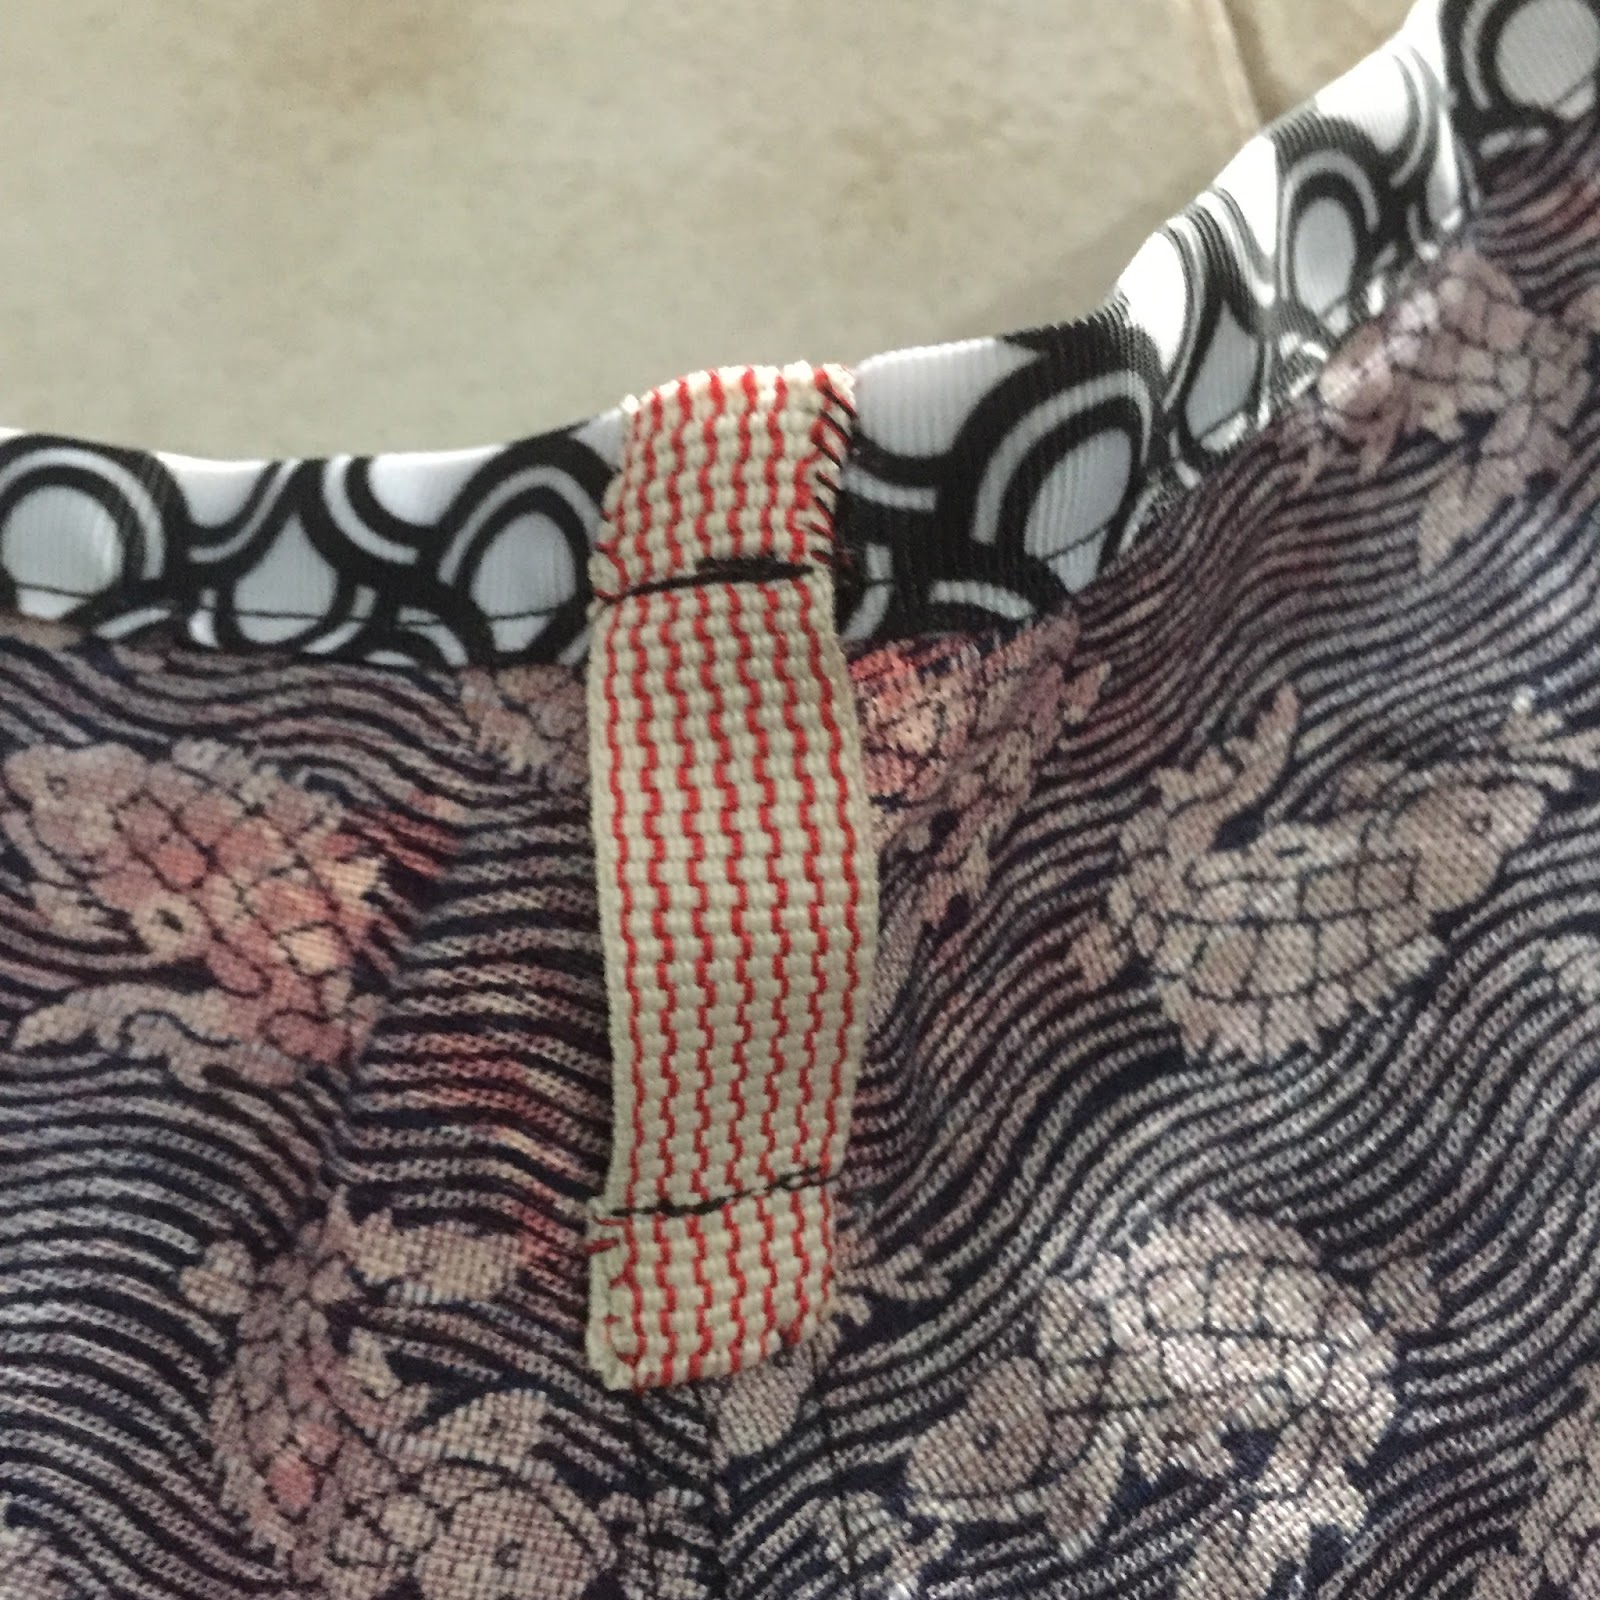
Rather than put a gap in the skirt, I sewed loops on both sides of the skirt for the ties to thread through.
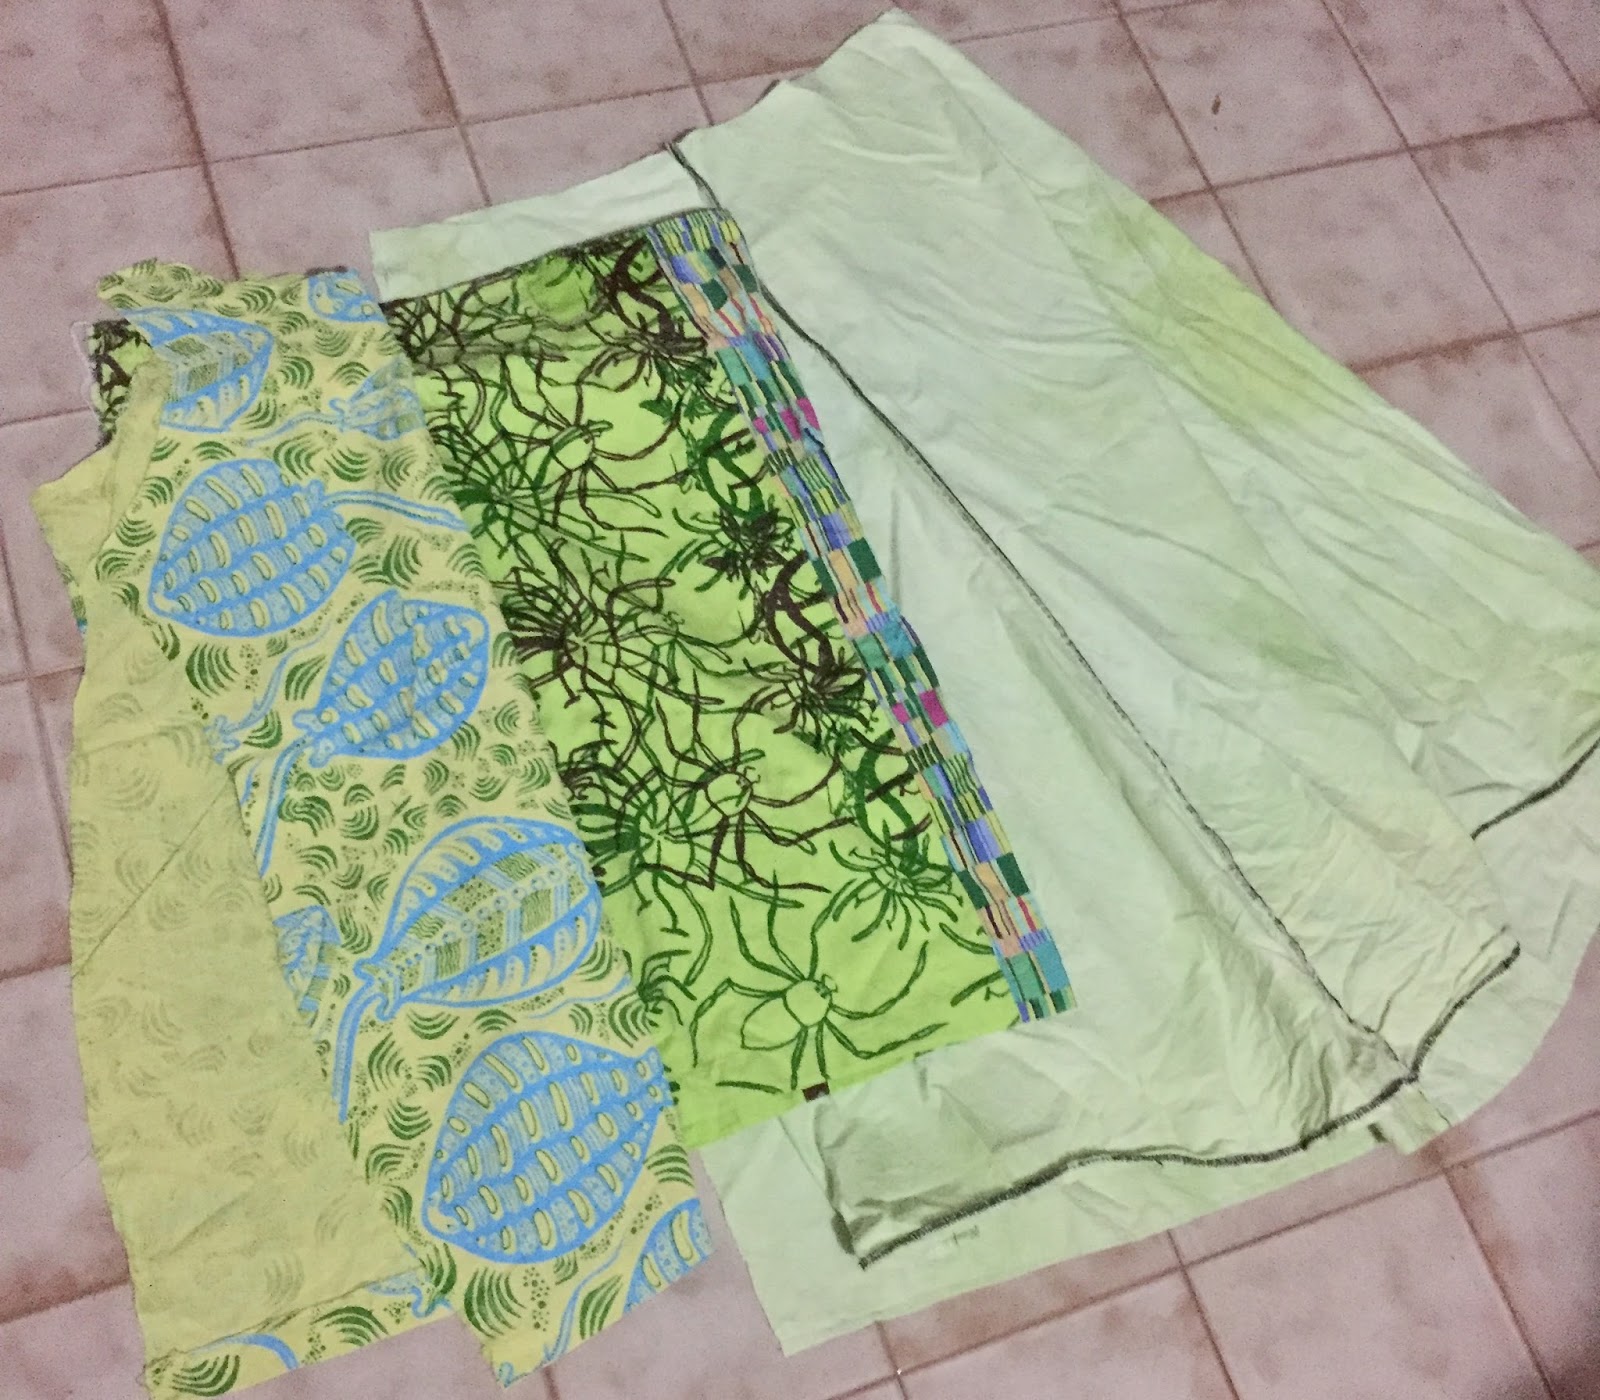
But the skirt was missing something. I rummaged in the lace stash and came up with some bits to add to the bottom of the skirt.

The original piece was the blue one, but I didn't think it was going to be long enough so I moved onto the darker red - which also wasn't long enough! 
But the combination of the three different laces worked out.
The final skirt - I'm even happier with it than I thought I would be!
I love the layered look of the lace, it's funky!

Monday, August 21, 2017

Limelight skirt refashion

After a recent skirt refashion, I had two pieces of fabric leftover. I don't like fabric going to waste and green happens to be my favourite colour.
I also love this print design from my mum: it was all about evolution and transformation, so there are three designs in it. One is a spider lily, one is a spider and the third is something in-between. There's a rosella fruit and a praying mantis in there, too!
I have a hat made out of it in pink and white, which would have been a funky skirt!
I wanted the printed panel to be a feature.
If the pale fabric was too pale, I thought that I could fabric print some patterns over the top. I have a great lino print of a palm tree that would look good.
It would be a simple join, insert zip and fit!

Ok, slightly more complicated than that... and after I looked at the fabrics a few more times I didn't think it was enough. So I pulled more fabric out. And tried a couple of different combinations.

Liked this one, but the brown didn't quite link with the blue. The stingray fabric is from a dress that was donated to me, to be refashioned. The fabric that my mum printed is what I originally wanted to use. But I think that the coloured panel on the spider fabric stands out too much, too, though that can easily go.
I had a full skirt in the pale fabric, but I had taken it off another skirt because it was too small. Two different skirts?
I added some brown in and had a look at it with and without the pale green.
Without. 
With. I decided that this was my combination.
The brown fabric is some that I eco-dyed and I have been wanting to make a work outfit with something like it. The tricky part is that it is a much lighter fabric than the others. I may have to double it over to use it, or put backing fabric behind it.
But it was too see-through :( So it was back the stash to find something else. Luckily I had another brown fabric from the Tiwi Islands that I had used as a table cloth on occasion. I had never found the right use for it, but now I had!
I thought that a series of panels would look good, like I have done with a previous skirt.
No real pattern, other than tapered pieces, a waist band and a zip in the side of back. Oh, and a pocket on there somewhere as well as a tab to attach my work ID to. I still need more work clothes than everyday clothes.

Using another skirt as a guide, I cut all my pieces out and laid them out in order. The other skirt had 9 panels, so that was a good place to start.

When all of the panels were there I realised that they weren't the same length. I did some patching to make them all longer. Lots of smaller piece overlocked and added to the tops! I used a little bit of the pale green skirt.
 And here they are:
 
 All of the edges needed to be overlocked, the most time-consuming part. I also had black thread on the over locked and needed to swap it to white, as the stingray fabric is lighter and the black might show through. 

I have a bag of different coloured zips: the yellow one seemed to suit best.

Added the pocket:
Here it is:
 Very comfortable and breathable cotton and linen for the hot season coming up.
Some of the colours remind me of the sea weeds near home!