Friday, February 24, 2017

Have you seen my skirt of many colours?

I get some raised eyebrows for my fashion sense, but wearing bright colours and prints makes me happy. I think it's important to like the clothes that you put on each day, because it puts you in a better mind set and as a result you'll be more productive.

Looking down at my work clothes now, sitting at home at the end of the day, I still smile. This skirt in particular brightens my day - it's also a bright spot in the day of anyone who interacts me, because it can't be avoided!

A few years ago, when I lived in a more regional area, I crossed the river and visited the Injalak Arts Centre a few times. Like many of my posts and clothes feature, this is an Aboriginal Arts and Craft workshop and store in the Northern Territory. I bought two pieces of fabric that I absolutely loved but didn't know what to do with. 

I ended up turning them into archery bow bags, just simple draw-string ones, as I didn't have anything else to store my equipment in at the time. Now this fabric was probably far too expensive for this purpose, but I believe in using things rather than letting them languish in boxes, slowly fading.

But I got a different bag for my bow, and this fabric did go in a box for a couple of years until I pulled it out again last year. 

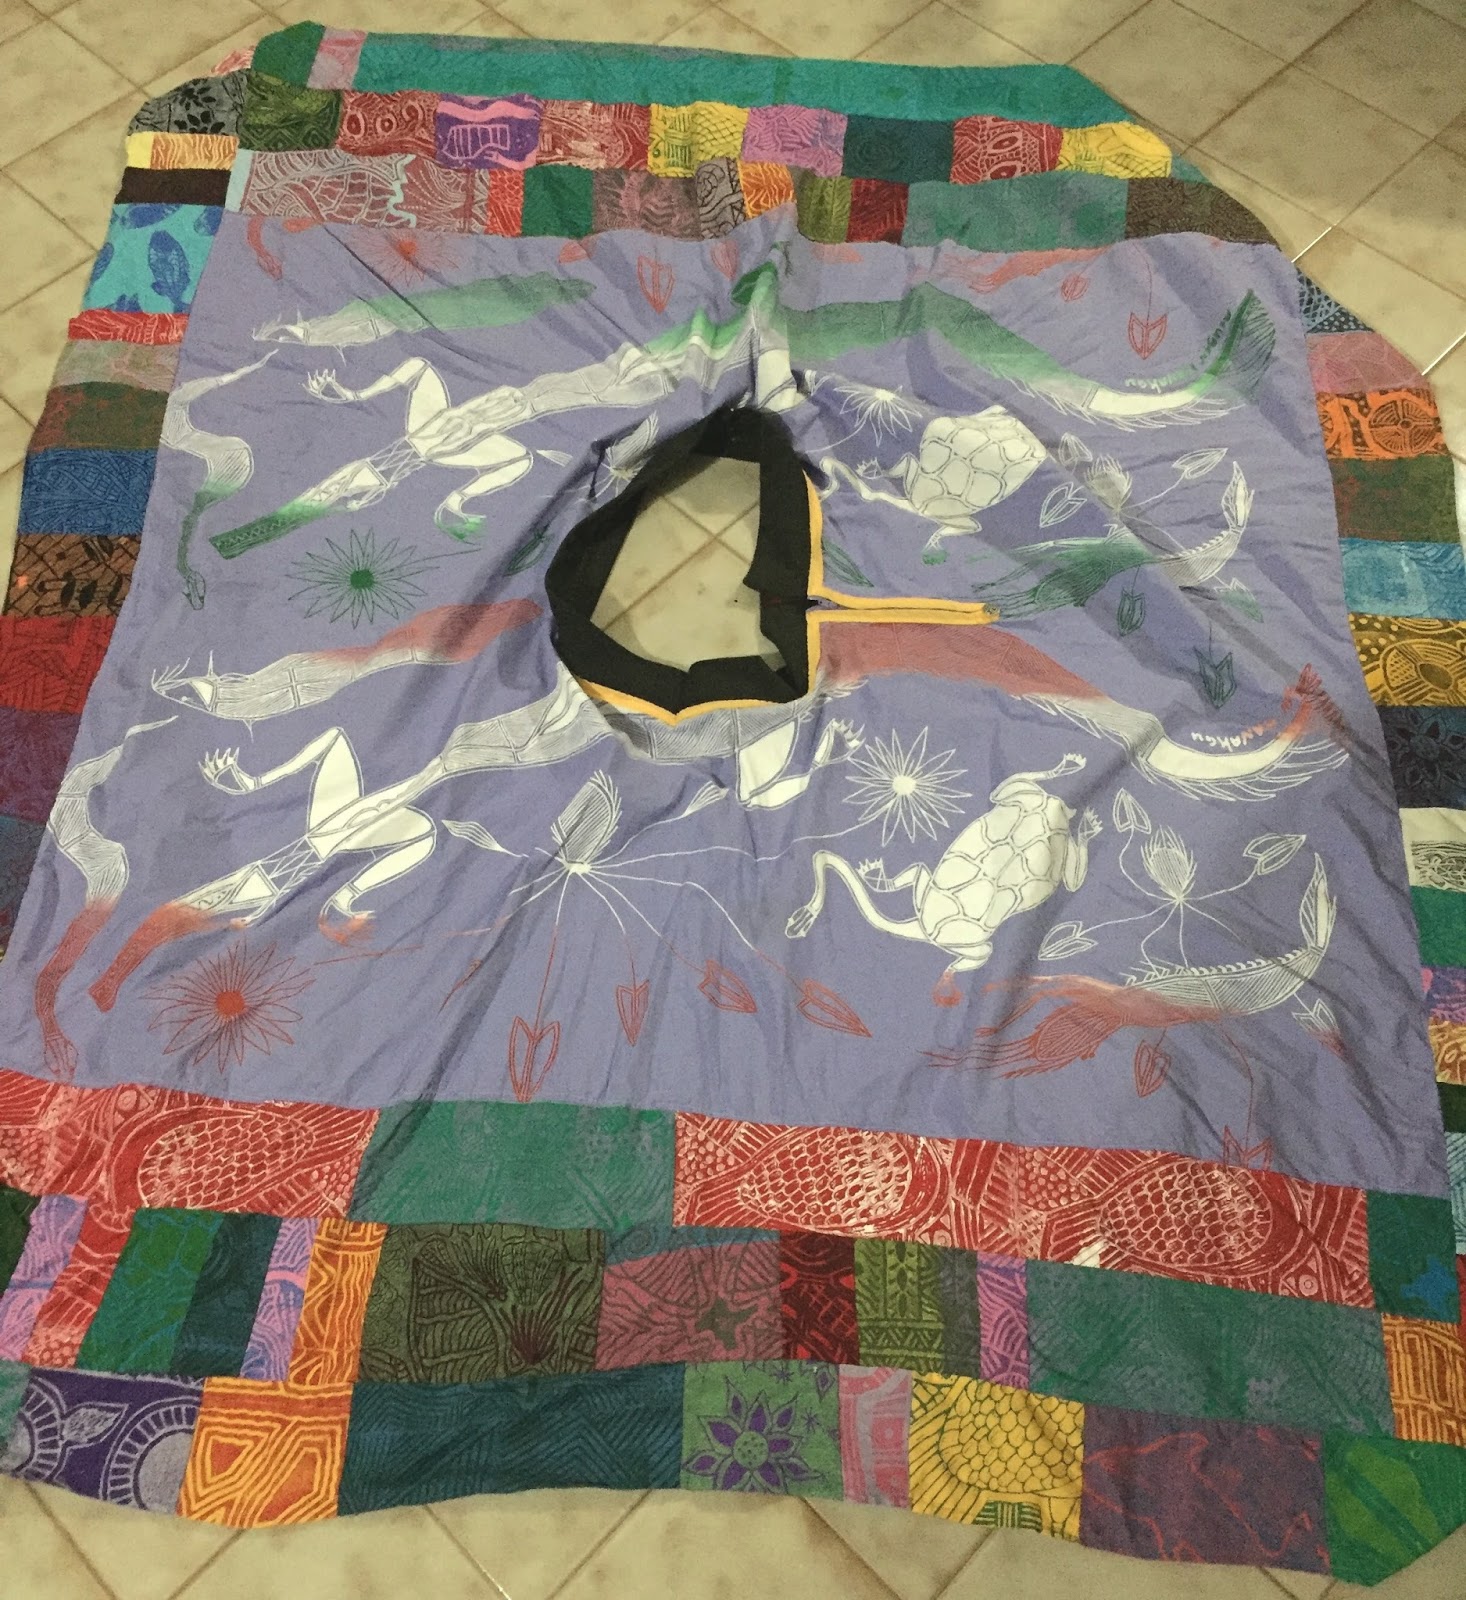
It's a great print, with crocodiles, turtles and eels. I also love that it has variegated paint - a wash of colours. I'm very fond of wearable art.
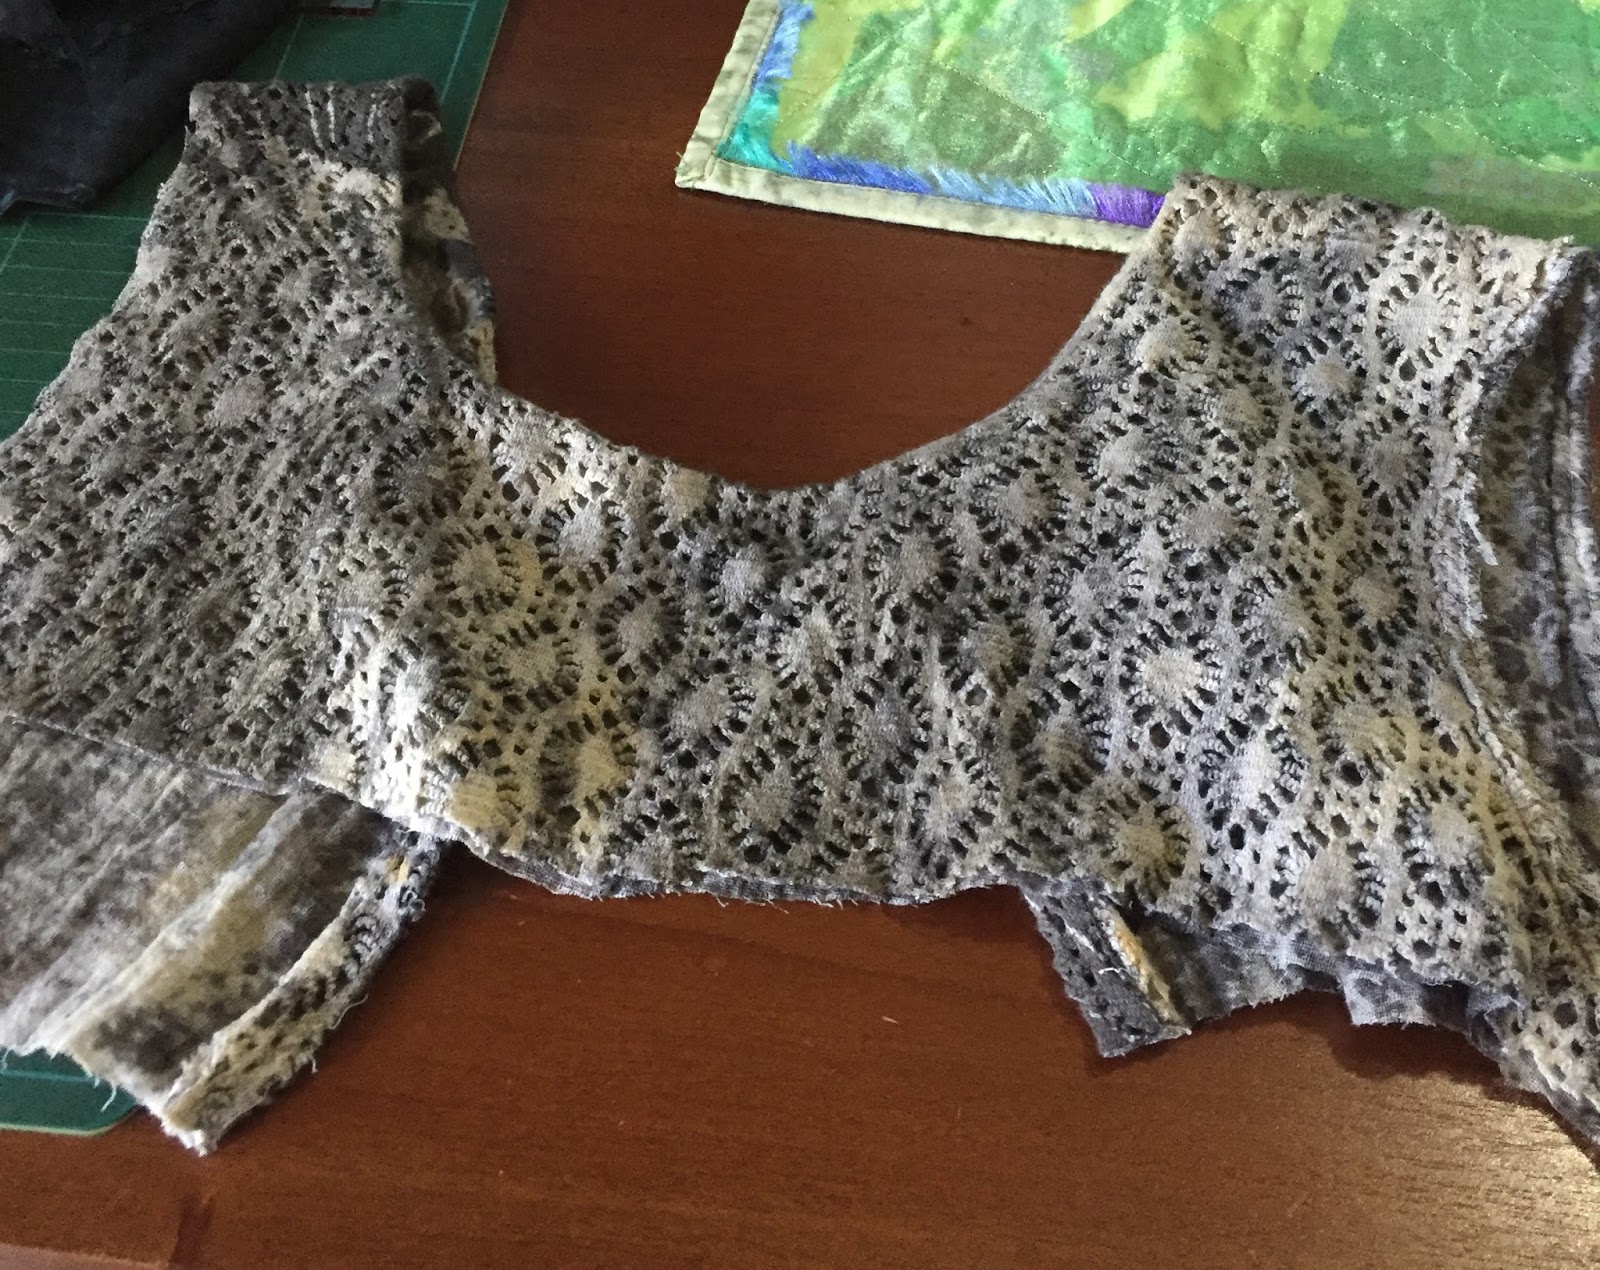
It was a rectangle, about 1.2 x 1.5 metres, and I wanted to make it into a skirt. I folded it into a cone-shape and cut a hole in the middle. This is the basic design for a handkerchief skirt.
This gave me a shape like this:
I put a zip in the back, on one of the long edges, and used binding tape on the top edge to seal it. It also had a jersey stretch waistband, my favourite trick at the moment.
And then oops... when I pulled it on, the short sides were too short!
I only had the small piece of hole fabric left, so I needed to add something. I thought about putting triangles on the short sides, but thought it would look too odd.
I decided on another row of fabric instead (I apologise for my dodgy little drawings).
What would go with the skirt fabric though? I pulled lots of things out of my fabric stash, but with that pale purple and all of the other colours nothing worked!

When I had four boxes worth of fabric strewn across the table, chairs, bench and couch in a rage I finally spotted a plastic bag full of something that was a pretty crazy idea...

When I go to art fairs and print shops, I ask if they have fabric off-cuts for sale. Often you can get a bag of scraps, with prints on them, for $10-$20. This gives you a store of decent-sized pieces that can be used for patches, pockets, features and patchwork. I had quite a collection, from three or four different print workshops, IN ALL DIFFERENT COLOURS! Sometimes inspiration hits me in the strangest ways, and it all works out for the best. 

I laid a few out against the skirt fabric and decided that it would work. But I would need three rows on the short sides to add enough length, and a matching row on the long sides so that it didn't look funny.

Rather than painstakingly matching each and every piece, I just started sewing them together until I had enough in a row, making sure that I didn't have too many greens together, etc. Not all the scraps were suitable, as I wanted them to be a uniform height.

I overlocked every single seam. It was very time consuming. 
But when I sewed the rows onto the skirt and hemmed the bottom it was definitely worth the effort!
I call this my Crazy Rainbow Skirt!
I wore it for a couple of months and found that the four points of the rectangle were dragging on the ground. Rather than chop it off, I just folded the points up and stitched them down.
If I had cut them off, the inner seams would have shown when the skirt swayed. This way they didn't.

A common comment that I get is 'I couldn't wear something like that!', and my response generally is, 'Why not?'

Friday, February 17, 2017

Eco-Dyed Dress to Skirt Refashion

You may have seen this dress in a previous post, as part of the Eco Dyeing Workshop that I did.
I loved how it turned out, but it was JUST too small for me on top. My mum suggested that I turn it into a skirt, so after some thinking about the logistics I did.

The skirt was gathered, meaning that it had a lot more width to work with than when it was attached to the top. So the first step was to separate them. 

Chop chop!

TOP
SKIRT
I had cut them so that the zip remained on the bottom with the skirt, as I knew that it was unlikely that I would turn the top part into a crop top or anything. I overlocked the top edge to seal it and started to think about what waist band I wanted.

I could have just put elastic in it and worn it as a pull-on skirt, but then I would have needed to take the zip out. I also like higher-waist skirts (I may have mentioned this, maybe 4.. 5? times now).

I went through my fabric stash and pulled out some material that I could make into a narrow band, but kept looking at the scrap of the top part.

The patterned, dyed cotton is very groovy. Why let it go to waste?

There was almost enough around the waistband of the top to fit me. I cut one sleeve off and overlocked the edges, and added it to one side to lengthen it. I made it so that it would wrap over as well, to pull it firm around my waist.
A wide ribbon hemmed the top edge. I used it as binding because it would be less bulky than doubling the top over and would be more comfortable against my skin. It also means that more of the pattern can show.

I finished the wrap over with velcro to fasten it. This gives me some wiggle room in the skirt, but it also lies flat (which buttons don't always do).

This is the end result! It is light and comfortable, and fits me perfectly around the waist.
One of the sleeves made its way onto another skirt that I had op-shopped. I threw it in the wash with other new clothes and ended up with a pink stain on it... a shame, and I should know better. Still, I like the odd shape that the sleeve made on it.

Saturday, February 11, 2017

Dragon Age Inquisition Cosplay Planning

My most ambitious foray into cosplay is going to be costumes from Dragon Age Inquisition, one of my favourite games. I loved the whole Dragon Age series, and am waiting impatiently for the fourth one to be announced...

I believe in doing things properly. And I'm mindful that anything I dress up in is subject to photographs being taken and posted publicly online. I would rather not make the 'Comicon Worst Attempts at Cosplay List'.

When I do a cosplay, I also make two so that my friend does it with me. She was a Journey traveller, will be the Harley Quinn to my Poison Ivy at some stage, and will be an extremely well-dressed Orlesian with me by the time this cosplay is done.

It took some planning. 


Inspiration photos from the concept art book and the game itself.


Bonnie Sims, merchant (cosplay friend)
Duchess Florianne de Chalons (me)

Very basic design sketches for elements of the outfits.


The stand-up ruff for the duchess is going to be challenging, especially given that it has a scalloped edge on top. I was lying in bed awake at midnight the other night thinking about creating a sleeve, sewing wire into it, and then hand-painting...

Both costumes have ball skirts, which will require underskirts to get the full volume.

And some inspiration and research into what I can base things on, and what materials I need.


For the duchess' skirt, I have decided to print the moth-eye-like patterns onto the fabric, rather than trying to sew them.

I have designed and cut out a lino print block to do it, and have bought the brown and orange fabric paint to use. The fabric prints will be one of the first steps.
Originally I was planning on buying blue fabric for Bonnie's skirt and also printing it, but finally realised that it was too big a task. It saves me time and money to buy a blue/gold brocade that is close enough in pattern to match the game. I found a quilt cover on sale that was absolutely perfect.

But I had still made the lino blocks anyway, so here is one:


How to start?

I gathered all of my materials, to make sure that they matched and, as I was using pre-made dresses and things, that they fit.

The under-dresses I bought from op-shops: they are both pre-loved wedding dresses with substantial skirts. This was easier and cheaper than buying metres and metres of tulle and making my own.

I got a corset from ebay for the top part of my costume. It is going to be heavily altered:
I also bought about 20 metres of braid for my costume, in several widths and styles.

The masks are the only part of the costumes that I properly outsourced. ArmoryRasa on Etsy has done an amazing job, and far better than anything I could ever make. His masks are leather, so they are light to wear, but have been finished with metallic-look. Check it out:
I'll have to remember to take photos as I get into making these. Wish me luck!

Sunday, February 5, 2017

Journey Traveller Cosplay

In recent years I have gotten into cosplay!

So when I travelled to PAX 2015, I wanted to dress up at least one day. I love costume parties, and this has now been extended to forays into cosplay (a contraction of the words costume play, is a performance art in which participants called cosplayers wear costumes and fashion accessories to represent a specific character.). 

But an issue I have with costumes is that so many of the female ones are skimpy! One of my favourite games on Playstation came to the rescue: Journey.

Simple? Check.
Fully clothed? Check.
No foam armour or elaborate weapons required? Check!

I went to Spotlight and bought something like 12 metres of dark red cotton fabric. Then there was:
  • a couple of metres of bright yellow cotton
  • some silver fabric paint
  • several packets of iron-on fabric bond paper
  • a plain full-face mask
  • stretchy black fabric to cover the mask
The costume is in 4 parts:

  • Cloak
  • Hood
  • Scarf
  • Mask

The tutorial that I followed was from this website:
Venture Cosplay
And it was amazing! I altered it a little, but in general it was a great tutorial to follow with every step you needed.


Scarf

I printed all of my glyphs first, using the silver fabric paint. I cut my own template out of a stiff, plastic sheet and used a small sponge to dab the paint on. I didn't mind the slightly-faded look of the end result.
I actually made two full costumes, as I have a friend who cosplays as well. So I printed 12 glyphs for our scarves, with an additional two glyphs to make into bags for us to use on the day. I didn't want my cosplay look spoiled by my usual black backpack!

Once everything had dried and been ironed to seal it, I cut the glyph shapes out.

To make the red shapes on either side of the scarf, I used another template and red fabric paint. I thought that doing it all in small bits of fabric would be too fiddly, so printing was easier. Less things to sew down!


*Image thanks to Venture Cosplay

The red geometric shapes were ironed on with iron-on fabric glue, and then sewn down around the edges.
In the game, you are on a Journey to an unknown endpoint, and you pass through different challenging areas. Your poor scarf becomes frayed, so I deliberately let this happen to the edges. The scarf was joined to the top of the cloak.
What we did discover on the day... is that you don't want things hanging down too low because people in the crowd will step on you! Some creative pinning with merchandise was required (lucky Fallout 4 was a feature):


Hood

The hoods took some trial and error. Lots of error. And more trials of my patience! 
There are little ear-like points at the top of the hood. And on the first one that I made they were far too big, but also the hood was too small for my head. I cut patterns out of paper and kept fiddling until I was happy.


All of the sewing was just attaching the correct pieces and then hemming in red and yellow.


Mask

This was probably the easiest part. I put glue all over the mask and stretched a square of black fabric over it. Once it had dried in place I trimmed the edges and glued them on the back, and cut eye holes.

I thought about putting organza across the eye holes as well, but honestly I ran out of time.


Cloak

Now, these were a lot of fabric to work with. Unlike the circle shape that Venture Cosplay used, I based my cloaks on an existing pattern that I already had. My main reason for this was that I needed enough fabric to fit around my shoulders and still have the cloak fall down far enough. Being tall, it was hard to find fabric with enough width to cut this circle straight out. 

Instead of one circular piece they were in four sections. I joined these four pieces, overlocked each edge, and then hemmed the bottom and top.

A simple seam closure at the top kept the cloak closed. The cloak was heavy, which would put strain on any clasps or hooks that I might have used instead.
The hard part: the pattern. 

There are big, darker red triangles that come up from the bottom of the cloak. These were ironed on and then the edges sewn down.

Next was the yellow pattern. This is where the iron-on fabric glue saved me again. I had more than 50 small yellow pieces to attach in this pattern, as well as the two lines that ran the full length of the bottom of the cloaks:
I pinned the bottom yellow strip, then pinned the uprights into place, and ironed all of them down. After that I ironed the top strip down as well, and by leaving it to last I could cover up any place where I may not have cut the uprights exactly the same size.

Everything was pretty secure, so I only sewed the long strips down and not each individual upright - which would have taken hours!

What I did discover once I had done this, was that the cloak is meant to have a red strip at the bottom as well and I had left it out. Luckily I had narrow red binding bias at home, so I used this to create the red strip.
It was hours of work, and a lot of fabric to be man-handling once the cloaks were one whole piece. But it was well worth the effort.
We wore red shirts and tights under our cloaks for the day, as well as our matching bags:


PAX 2015


There were some amazing cosplayers at PAX, and we were pleasantly surprised at how many people knew the Journey game and came up to us for photos. We would just hear 'Journey!' called out constantly, as people tended to forget that our characters were just called 'travellers' in the game.

The more you re-play Journey, which is only short but amazing and beautiful, and find more hidden glyphs, or help other travellers out, the more gold patterns appear on your cloaks. I aim to add more to ours in the future!

Here's a few fellow travellers we met. Enjoy.
We joined these guys hanging out in the breezeway.
This woman could barely move without running into someone, but it's an amazing cosplay of Kerrigan.
The Jawas from Star Wars were really cute.
Mass Effect is my favourite game of all time, so it was great to see a few people dressed up.
Final image from Tridian on imgur, who took our photo on the day.