Friday, February 23, 2018

Repairing the rascally rip - mending pants

Why is it that our clothes often break in the most inconvenient places? This pair of my husband's pants had ripped in the groin and he was going to throw them out, but I was pretty sure that I could fix them.
I went into my stash to see what I had. I actually keep scraps of jeans fabric for this very eventuality, but I didn't know if I had any black that would be suitable.
While it would have been entertaining to patch them with a fluro green owl, I was actually looking at the wear of the fabrics. The other black material that I have was too black, it hadn't faded like the pants had over years of wear. But the owl fabric had, so it was a good match for a patch.
I didn't need a huge piece, so I cut around the owls.
It was tricky pinning the patch on, because I had to thread my arms through the legs of the pants to reach the spot. But I made it secure eventually and carefully put it through the sewing machine. I used a Jeans needle, which is designed for this kind of fabric.
I cut the ripped part out of the inside of the pants once it was mended, because otherwise it would just keep fraying and annoy him when he wears them. I used pinking shears, to try and slow down any further fraying.
Not very obvious, is it?
And because of where it is in the groin, you actually don't see most of it when the pants are worn.
 Now there's some more life in them 🙂

Friday, February 16, 2018

Skirt Refashion: retiring the owls to everyday wear

I love this skirt, but the fabric is starting to fade and I suddenly feel like wearing other things to work. What to do? Why, make it into something else of course! This is a refashion from work wear to everyday wear.
I want to remove the zip from the back:
Because I'm going to do that, I'll need to shorten the skirt so that it has a wider waist otherwise I won't be able to get it on over my shoulders or my hips. I also want to put elastic in to make it easier to pull on for everyday wear. 
I think this is about where I'll cut:
First step: get out the ripper and take the waistband off and remove the zip.
I wanted to separate the waistband from the fabric so that I could use it on something else. Then I chopped the top section off.
When I went to cut the bottom off I remembered that I had made it high-low at one point, so the bottom is uneven.
It means that I cut a decent amount off to make a straight bottom. The owls still look holographic!
That leaves the space from the front of the skirt to patch.
I happened to use a scrap of the fabric that I had made a pocket from, too. A quick straight stitch sew on. I found the elastic that I wanted for the waistband (after searching 2 boxes I realised that it was on my desk).
Once that was sewn on I hemmed the bottom and started to think about the top. Slight issue: I had cut too much off and now the pocket was in the way! I had to unpick some of it and fold it down so that I could actually sewn the waistband.
But I did it and popped the skirt on the mannikin to pin the waistband and check the length. I had to make the waistband wide enough to be able to thread the elastic through.
It's much shorter now!
It only took a couple of minutes to get the elastic threaded through, using a big safety pin to guide it. I always pin both ends in place so I don't lose them - very annoying to have to try and dig them out! 
A final, 5cm quick-sew to close the waistband and the new skirt was done! 
#lovelypennypatterns

Friday, February 9, 2018

Funky Fiji Fabric Skirt

A friend brought me back this fabric from her recent trip to Fiji. It is so me!
Originally I thought that I would make a cowl neck dress from it, but when I reviewed my cupboard I realised that I really didn't need any more dresses. I could make pantaloons, but they aren't really my thing. I decided on a skirt, for everyday wear.
The fabric is very light and I thought the best design would be to have a waistband of some kind to support it. I could try some folds to make it fit, to keep the bulk of the skirt. This fabric needed it, rather than a slim shape.
I looked through the refashion pile to see if there was anything I could use as a waistband or otherwise.
There wasn't, but it did inspire me all over again to get stuck into some of those projects!
I decided that simple was best. I was going to make a tube of fabric, then use elastic to create a comfortable waistline. This way I wouldn't have to cut the fabric at all.
I started by hemming the raw edges. the fabric was very slippery, so it was just as easy to hem it rather than overlock the edges.
Then I sewed the sides together to create a big tube.
I found the elastic that I knew I had in a box.. somewhere... Nice and thick.
I sewed a tube around the top of the fabric, just wide enough to fit my elastic. I left a hole at one point, so that I would be able to thread my elastic through. 
Using a safety pin on the end, I pushed the elastic through and
I pinned it roughly where I thought it needed to be, then tried it on and adjusted a few times until it fit. I like to wear these kind of skirts on my hips.
After I cut the elastic to length I sewed the ends of it together and then sewed the hole in the waistband closed. Then I used an existing skirt to determine the length that I wanted this one to be as it was dragging on the floor.
I cut it to length and hemmed the bottom. I'm sure that scrap will come in handy for another project!
The final result: comfy, funky skirt that only took an unhurried hour to make.
#lovelypennypatterns

Sunday, February 4, 2018

Printing: Copying a Dress Design to Refashion Pants - Part Two

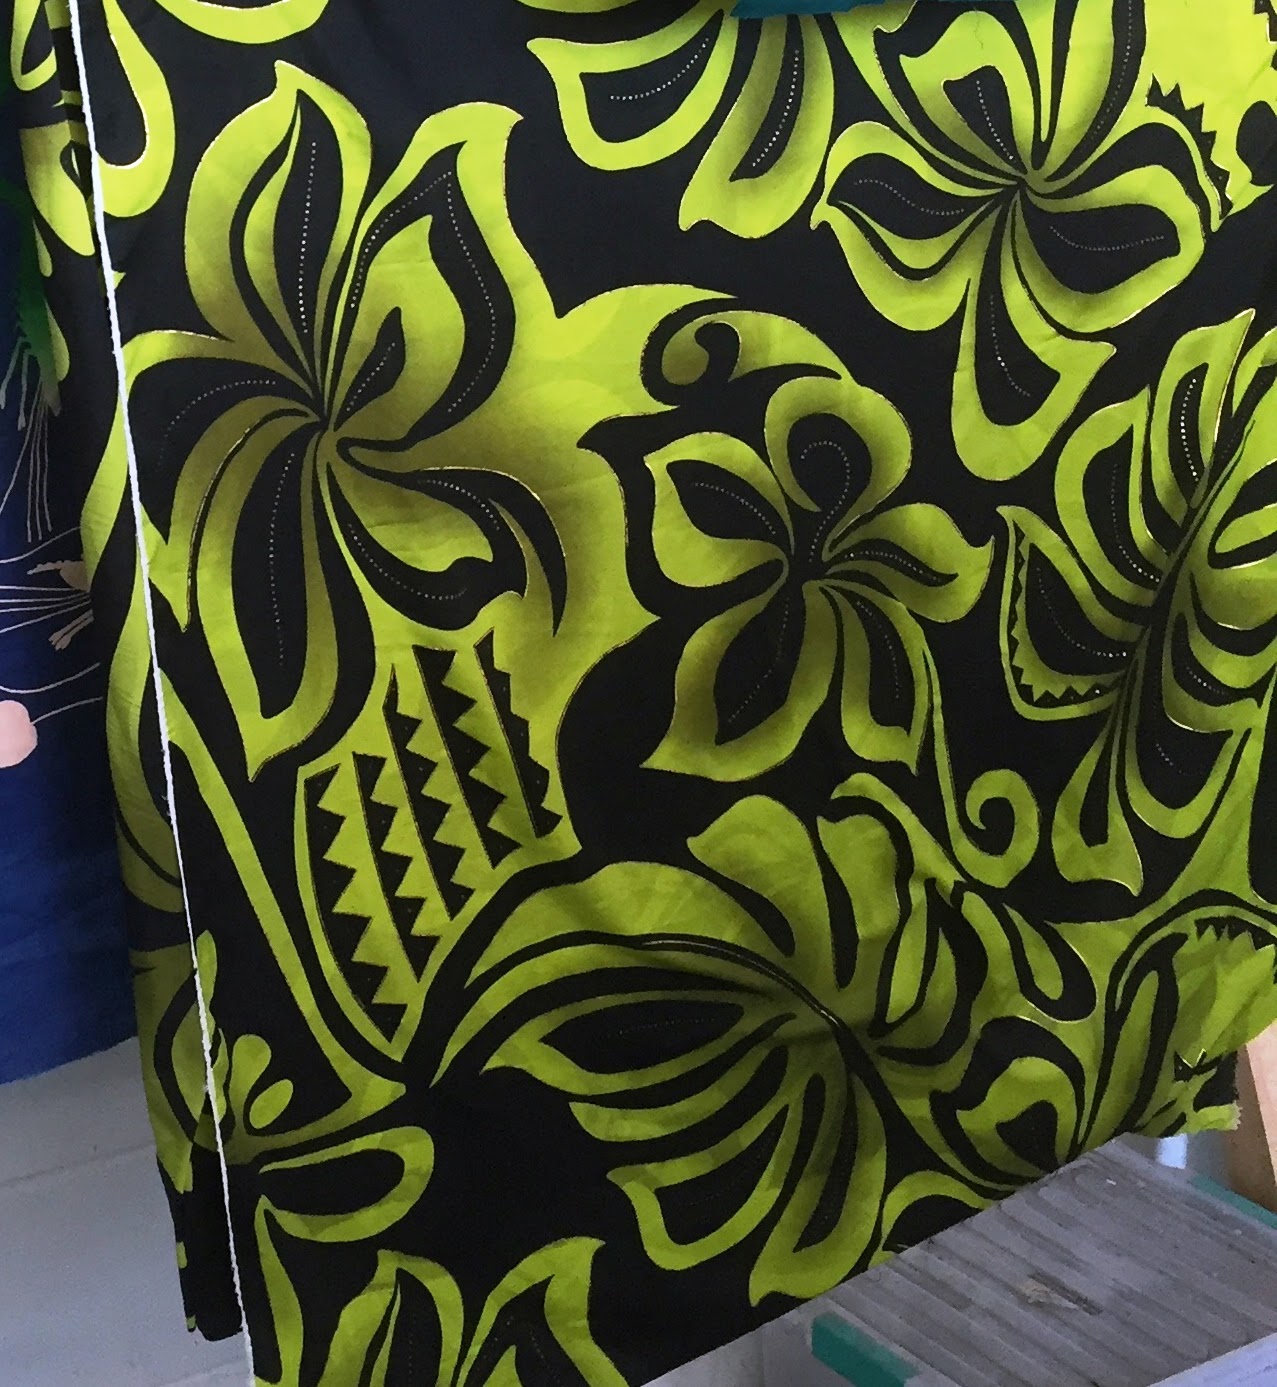
In this post I started printing to copy a dress design that I came across. I had a pair of white pants that I printed to look like this:
As I had unpicked the pants to print them, I now had to sew them back together to fit me. I need some shape in these pants - the original pants had an elastic waist and a drawstring and I wanted to remake them with a zip front so that they are quite fitted. I got out my black jeans to use as a pattern.
The white pants were quite a bit bigger than my jeans. 
What I had to watch when I cut them down though, was that they didn't have the stretch in the fabric that the jeans have.
I used the top of the jeans as a template and made a rough pattern. I mostly needed the shape where the zip would fit in. I've never cut pants out before.
You can see on the jeans how it overlaps and fits together. I'll have to decide what to do about the button, too.
Once I had cut the two legs out, I pinned all of the seams with safety pins so that I could try them on.
Still a bit big in the waist, hmm. The legs are the right size, but I will need to hem the bottom.
I did some quick tucks with pins and was happier. Now to actually make them fit like that...
They fit pretty well in the back!
Overlocked all of the raw edges.
And started trying to figure out the zip in the front. I hadn't cut the front shape of the pants quite right, so it took some cutting and pinning. 
I had to fold some of the front fabric under, to create the zip line.
Maybe I should have cut the excess off, but I knew that the extra fabric would stabilise the front. So I left it and sewed carefully around the metal eyelets from the original pants.
I pinned in place and thensewed the bottom half of the zip, and then the top half, making sure that they lined up.
Sewing machines generally come with a variety of feet for different purposes. The A foot, on the left, is the regular/general sewing one. The E foot, on the right, is for zips. Having all of the stabilising metal removed makes it easier to manoeuvre the sewing around the ridge of the zip.
See how it sits in the groove below?
Once the zip was in I could make the pants fit properly around the waist with a couple of darts sewn in.
Chopped some length off the legs to make them fit, using the rotary cutter and a rule to make sure I did it straight.
A very quick hem on the bottom.
I also made some more belt loops out of the scraps, as I must have removed some when I made my husband's costume. I like to have extra belt loops, so that the waistband doesn't scrunch up in a weird way.
There was a hole next to where I wanted to put a belt loop on the back, so I did a quick patch job on it at the same time.
Only a couple of the original belt loops remained and they're the white ones. I found a plain black button in my stash and created a button hole to match.

I removed the front right pocket of the white pants when I made my husband's costume. Since that's my dominant hand, I wanted to put a pocket back on to use. Given the odd patterns on the pants, I didn't think it would make too much of a difference having two different pockets.
Finishing the sewing off: tying off all of the loose threads, my least favourite thing. 
The finishing touch: an iron-on motif from the local sewing store. A lot more fiddling and bits to finish than I thought it would be. When I had gotten to putting the zip in I thought it would only take me another half an hour! 2 weeks later...
It took less than a minute to iron on.
Liking the view from here and they fit really well.
And my stripey, crazy pants are done. Do I dare wear them to work this week?
 #lovelypennypatterns