Showing posts with label recycle. Show all posts

Saturday, April 25, 2020

Upcycled kimono fabric top

I originally bought two of these pieces of kimono silk to use for my wedding dress, almost 8 years ago. The concept didn't work out and the fabrics have sat in my stash for all this time. The white piece was a gift from a friend that I have used as a scarf. I needed the extra fabric for this project though so it was time to refashion it.
https://drive.google.com/uc?export=view&id=1luqnQn3B12W9l-xW6s9_7Yk5GOfWnomY
This Simplicity pattern is a new favourite of mine
- one of the few that is generous rather than stingy with its measurements. 
There was just enough fabric to cut the top out! The front and back both have seams down the middle, but they look fine.
https://drive.google.com/uc?export=view&id=1yvPix8n0Glb_mYcIRTzxbfUJeuSxl7HG
Kimonos are made from panels of fixed-width fabric, which is why I knew that I could use the two completely different pieces.
The embroidered piece is stiff and has a lot of loose threads on the back that would catch on everything.
https://drive.google.com/uc?export=view&id=10lfN7xwsVruV5uQ2H5FqaG9xhdqs6EYi
I decided to line it with fabric from a dress that I didn’t wear because the cotton was too thin. Green is my favourite colour!
https://drive.google.com/uc?export=view&id=1fLy5HTg9bS9MTu5HM8HCx80AzaJ63U0N
It made the front bulkier but way more comfortable. It also made the seams less bulky. Time to sew the front and back together!
https://drive.google.com/uc?export=view&id=1geArTQomFqwqjWrQhnKEwhRNbmx_gsTF
The next question was sleeves or no sleeves?
https://drive.google.com/uc?export=view&id=120KP3Y4iClAWDOIKiyFnXbSxmTaa7yS-
I went with the sleeves, sewed them on and created a collar.
https://drive.google.com/uc?export=view&id=1T7S5bnSxHUwUYg34rNxOlMBftaoXWzll
I hemmed the bottom, turning the cotton to the front for a contrast. 
https://drive.google.com/uc?export=view&id=1fOJP2FslattQu8aIXxrU7ziGFqsgRsR4
Finished top!
https://drive.google.com/uc?export=view&id=1AYwc4DYLFg-5jdLbRWohrNQpT-jWdqlP
Thought about wearing to to work for frock up Friday, but the outfit was a bit much!
https://drive.google.com/uc?export=view&id=1N8BupBJ3w48ze6JWiOHA8NisYNEBZe01
#lovelypennypatterns

Saturday, April 4, 2020

Shorts to Skirt Refashion with a bush chook

A friend donated me this pair of shorts to do as I liked with them.
 They had an initial printing session, but I felt that they were missing something...
 So I decided to turn them into a skirt. I cut the leg seams open, turned them inside-out and sewed straight lines down the front and back.
 It made them into a nice little skirt.

#lovelypennypatterns

Friday, July 12, 2019

Op Shop Refashion: Denim pants to skirt

This refashion has been sitting on my pile for a while. I wanted to turn this pair of denim shorts into a skirt. The first step was to cut the legs open.
The front seam doesn't sit very well when you convert it, so I have to open it up and stitch it flat.
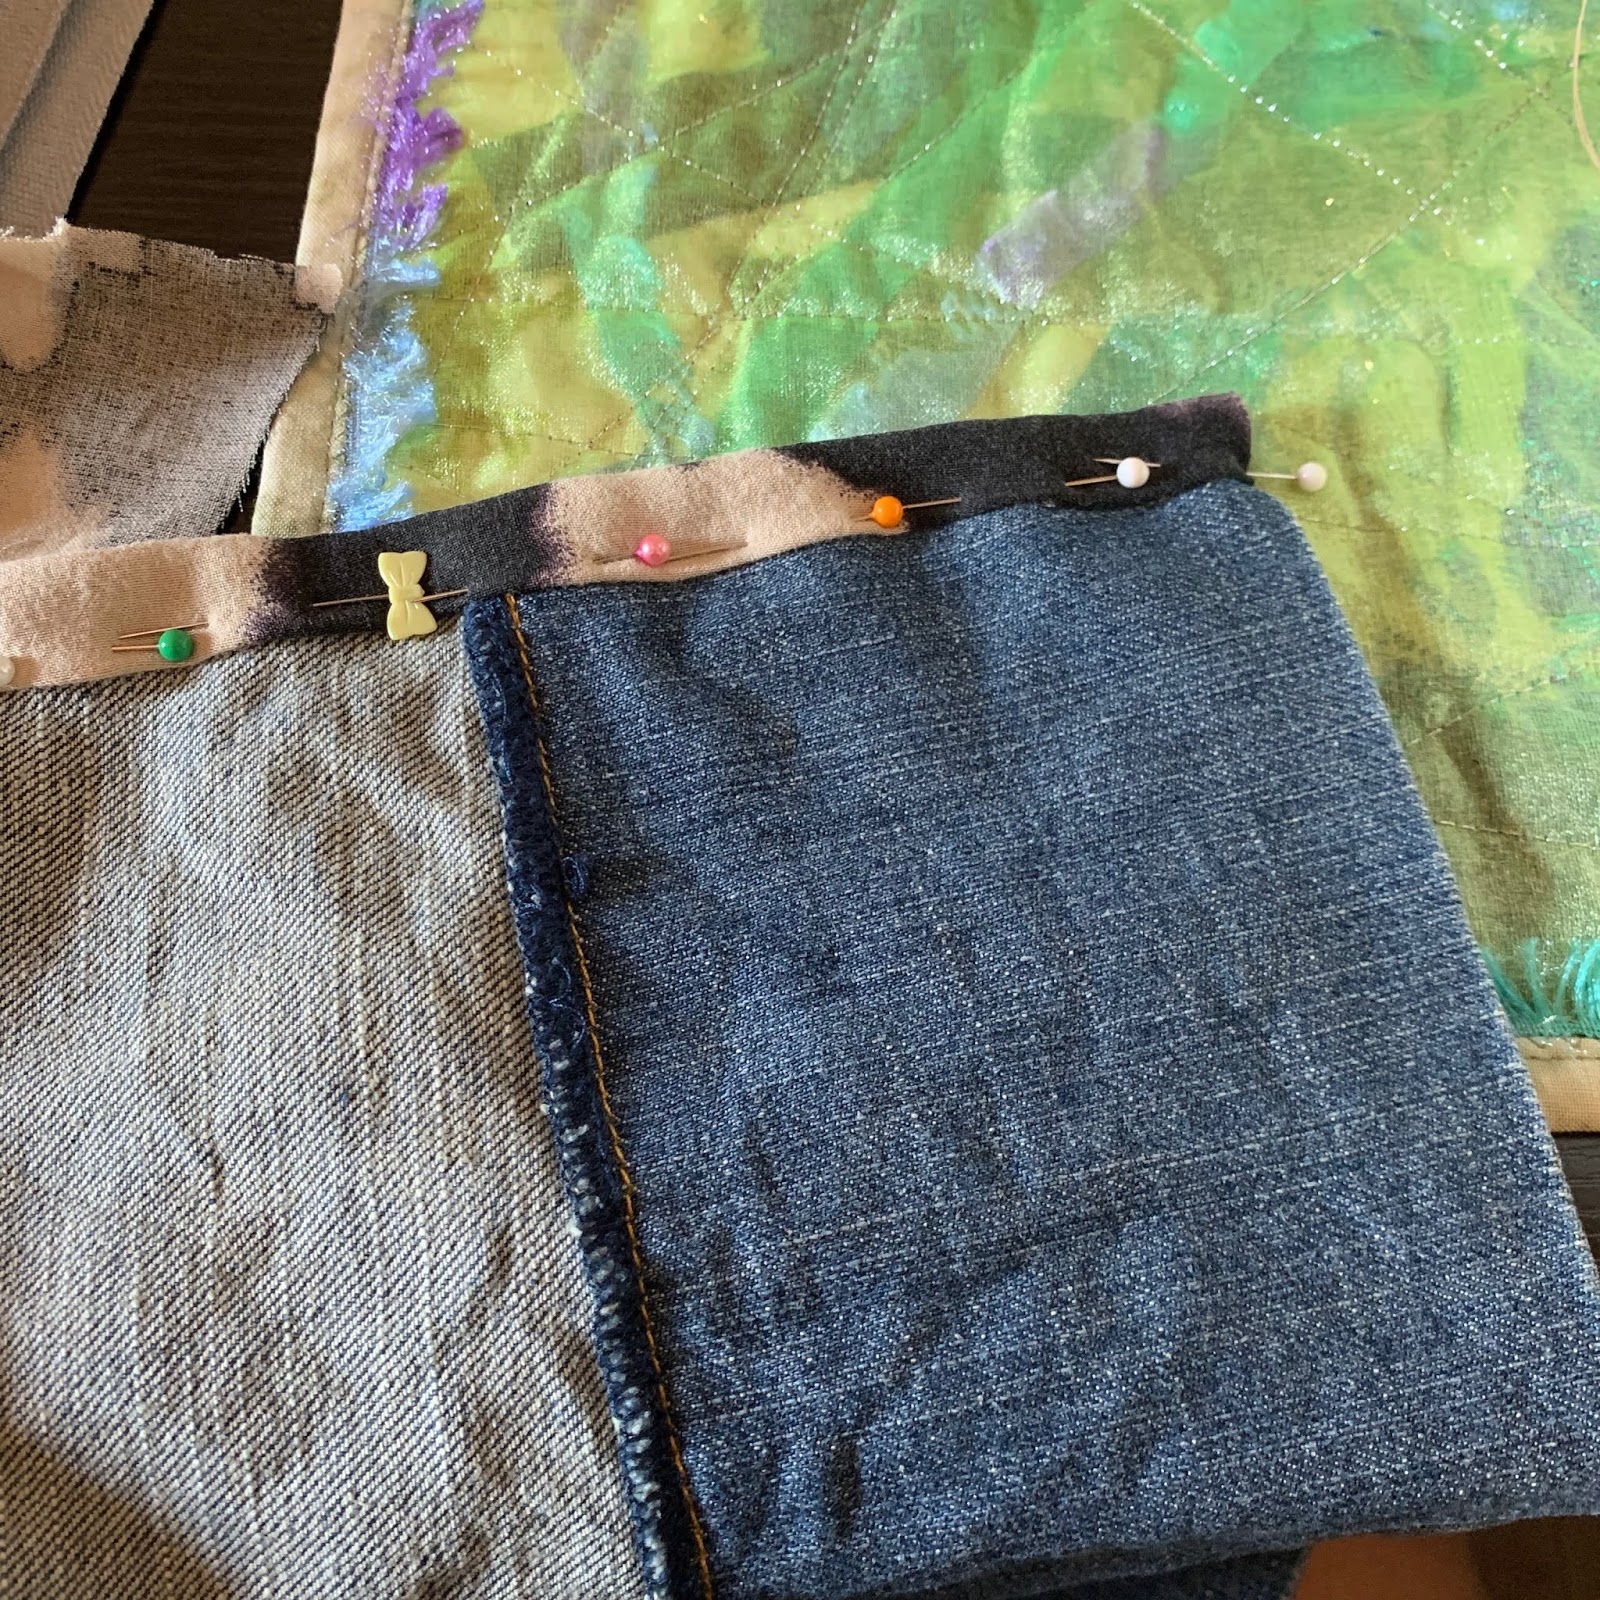
I has to rethink how this would work, given that it was raw edges that I was pinning down. I decided to seal them instead. 
 This would mean that the edges wouldn't fray and would be more comfortable to wear.

 After that I patched the gaps with dyed cotton napkins and a bit of lace.
 Back and front: 
 This is destined for my Christmas craft stall! 
#lovelypennypatterns

Thursday, April 11, 2019

Pillowcase + Skirt = Funkier skirt!

Not much blogging happening at the moment-I think I spend so much time on a computer at work that I don't want to do it at home! 
But I have been sewing. 
I picked up an op shop skirt a while back because I liked the colours. Too small for me, but with some upcyling it would be nice for someone else. A lovely light denim and a cool vine pattern on it.
In my stash I had a pillow case that I had dyed from white/yellow flowers to blue/green flowers.
I thought it was a pretty good match to the skirt. I pinned it in place to try.
And I really liked it. The bit I chopped off the corner made a great pocket, too. 
I like good-sized pockets on my outfits! 
And there you have it: a whole new skirt! 
A bit longer, but I love the shape of it.
The next craft stall is in May, so hopefully this goes to a good home. 
#lovelypennypatterns

Thursday, November 22, 2018

Upcycled denim jacket with rust dyed fabric

This denim started out as any denim jacket does: plain and blue. But though I like blue, I'm not so keen on plain. 
So I started adding eco dyed lace.
And then some eco dyed patches, because these spring prints needed a garment home.
A sleeve unpicked from a rust dyed shirt.
Some grumbling from my machine about sewing through denim!
That scrap of eco dyed lace that I loved, that just needed the right thing to go on.
And there you have it: ready in time for my stall.
 
#lovelypennypatterns

Tuesday, November 6, 2018

How-To: Setting up a craft stall to sell my refashioned clothes!

It's finally time again: all the dyeing and crafting is paying off and I am going to have a craft stall at Christmas time. I haven't been a member of an art organisation for a number of years, so it's kind of exciting.

What I have:
  • tables - folding ones, so light and easy to take around
  • stock - below!
  • table cloths - my husband gave me a great idea, and I added some dyed fabric to a green felt-like under-cloth that we got
  • coat hangers, so many! I tried taking all my clothes off them, because I didn't want to buy any more.. but I had to buy more.
It's always better up here if the stall ends up being inside because of the weather, which it is.

What I'll sell:
  • eco-dyed clothes
  • refashioned clothes
  • recycled jewellery
  • beach glass jewllery
I am thinking about making sign on a piece of fabric that I've dyed: Penny cello - Refashioning & upcycling. I think a theme helps with these kind of things. It's good to diversify in the dyeing, printing, jewellery, but being able to say that I follow a recycling ethos kind of wraps the stall all up together. 
I sourced clothing racks at the local shop, going for the nicer-looking wooden ones rather than the cheaper metal ones: 
I hoped that 3 would be enough. Until I pulled everything out, I wasn't really sure how much I had! These racks were pretty annoying to put together...
But I got there! Three is definitely enough, I don't need any more. (Excuse the unfinished sewing pile in the corner - better do something about that this week!)
Practice setup at home:
The mirror needs to be hung, but that's on my final to-do list. Really happy with the spread of colour- I was hoping it wouldn't be too brown!
 My stall size is 3x3m, which is quite big. But between the racks and the pop-up change tent I need it.
Now indoor space has its own intricacies: mostly needing light!

Not sure how the small lights will go, I may need something bigger. Once I know what power will be available I can decide.

Let's talk about pricing 

I always find it hard to quantify what something has cost me to make, because even if it was low materials cost it often took some time to make. An artist friend recently posted that she valued her services between $55-75/hour, and when I think about materials and time that sounds about right.

Something I came across was a store where nothing was more than $50. I like the marketing concept, that it makes things seem more affordable. So none of my tops or jewellery will be over $50. Just the skirts, and some of the dresses: but they're pretty, one-off silk ones that I hope someone will fall in love with.

A trick with stalls is to have a range of prices: small things for stocking-fillers, that people will buy as gifts; mid-range that people might buy for gifts but would also buy for themselves; and some more expensive, bespoke things that will appeal to someone looking for something special. I hope I've covered all of those bases!

I've created some neat signs:
And I've settled on a logo, now that I'm being a bit more serious about all this:
Look out for the photos from the day! 
#lovelypennypatterns