Sunday, April 30, 2017

Does Fly-In Fly-Out foster creativity?

My husband has been a fly-in fly-out worker. He goes away for work for a period of time, and then comes home again for an equal period of time. To fill the evenings and days that he is away I sew. A lot. Because there is just too much time to myself, even around catching up with friends and family.

It used to be more effort to get all of my sewing out in the previous place we rented. I used the table when my husband was away at work, and had to pack everything up before he came home so that he could use it.
My desk was covered in my computer gear, so I had to use the fold-up plastic table. It bounced from the force of the sewing machine!

But now I have my half of the hobby room, which turns into my 5/6 of the hobby room when I have it to myself. I can come home from work, take the cover off my machine and go for it. Which I do, and it's great to have that option as I have a chair covered in UFOs (unfinished objects) that has gradually been going down.
Creative space aside, one of my pet peeves is people who go, "Oh, it must be soooo nice to get rid of your husband for all that time!"
No it is not, as I miss him terribly.
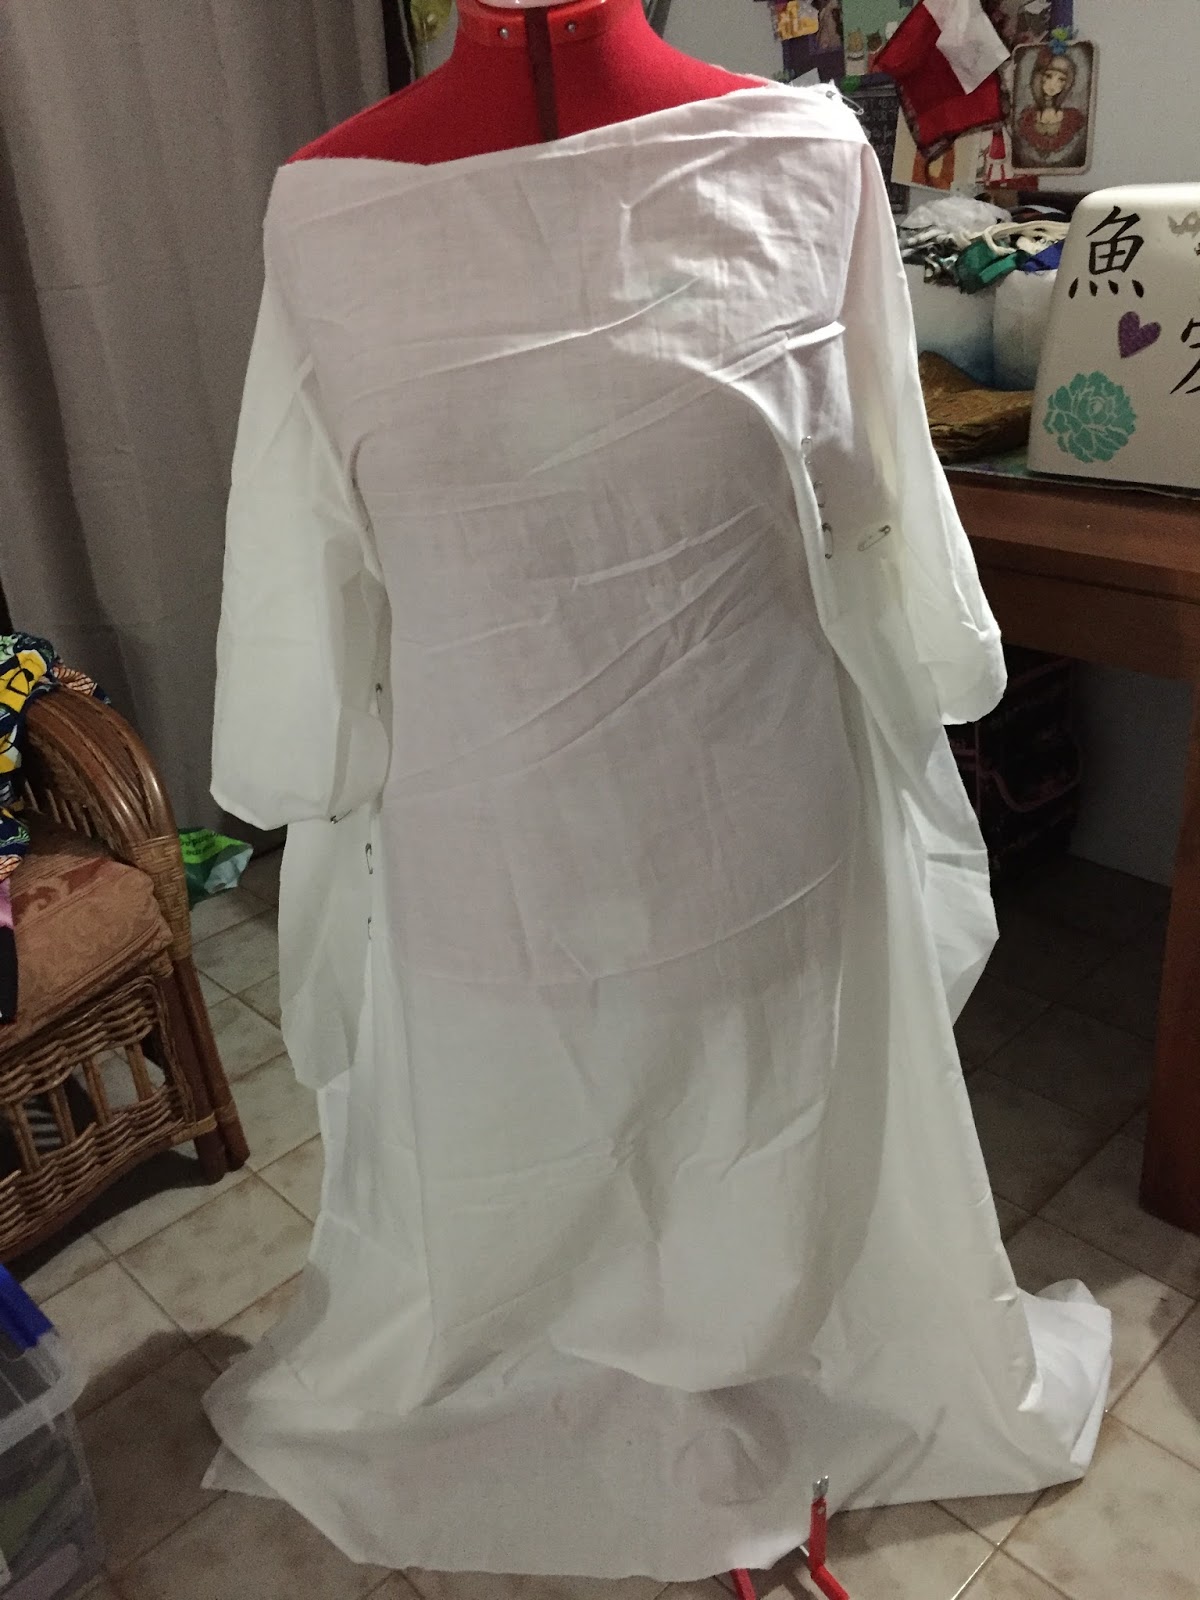
It is through the generosity of my husband that I have my dressmakers manikin and overlocker that help pass the time when he is away. He always tells me the things that I make look nice... unless he honestly thinks they're ugly, ha ha.

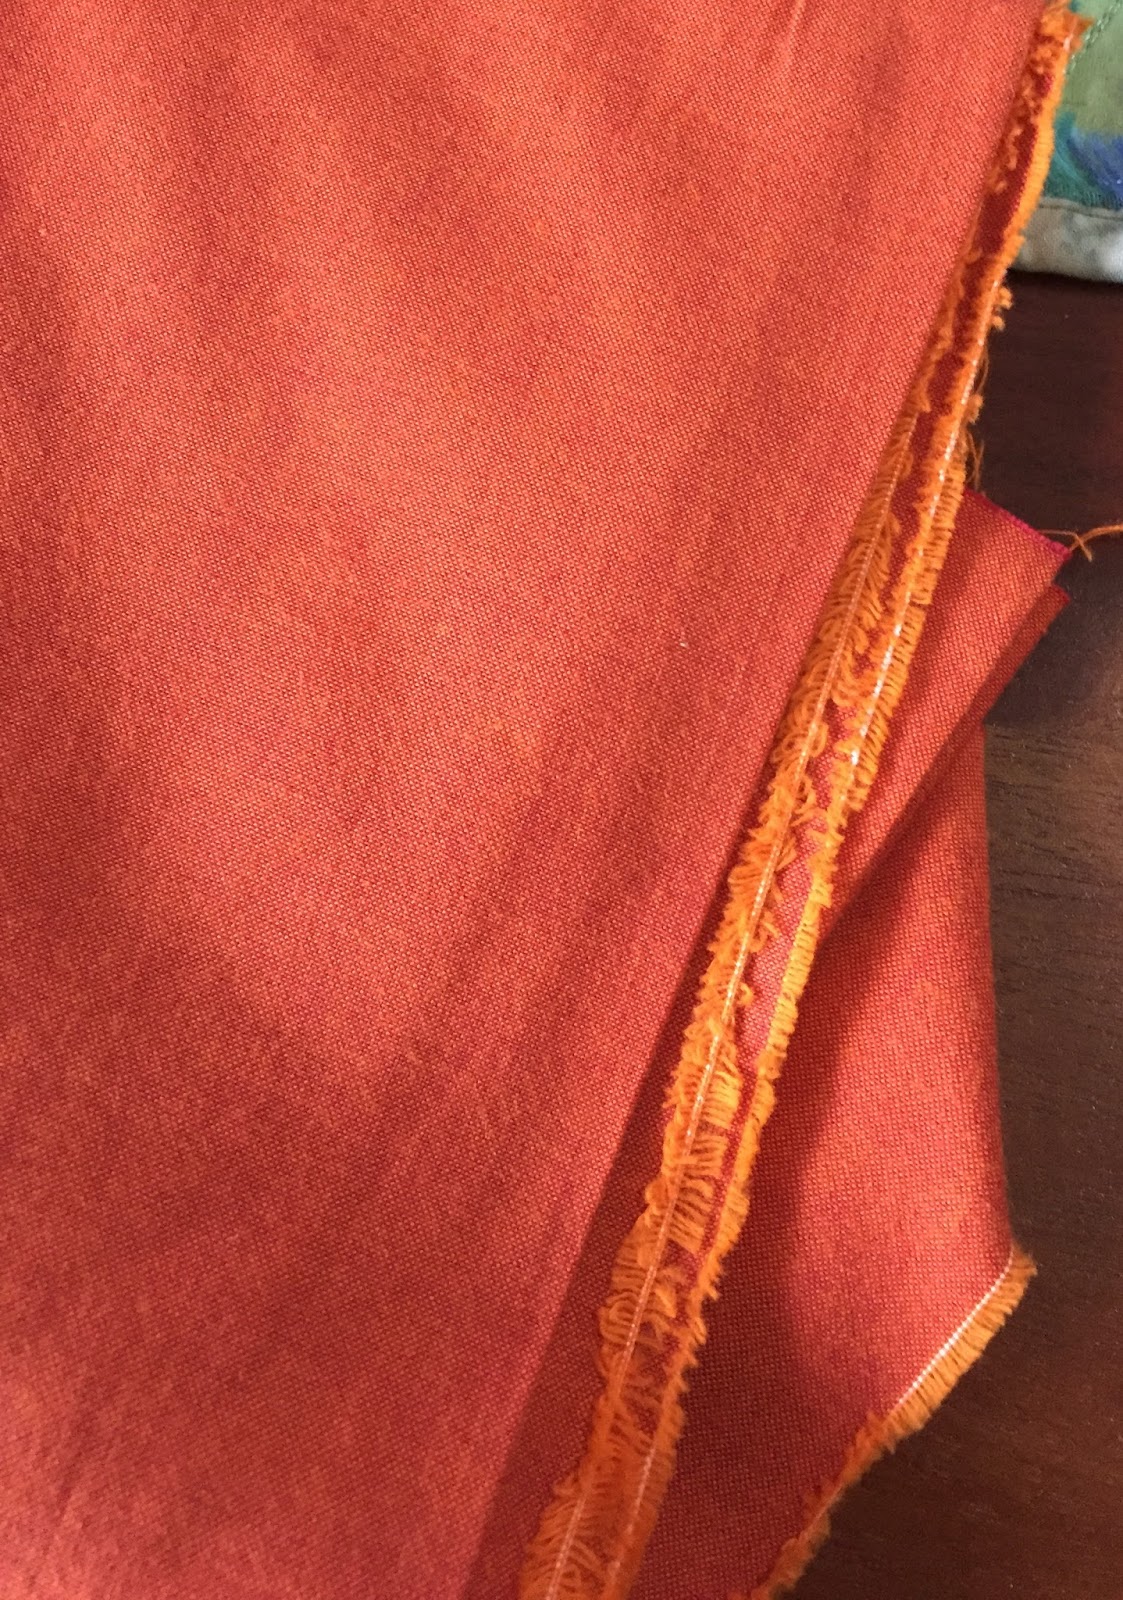
Due to his absence I took on this project from work to sew old light-pole banners into massive bunting to be used for a commemoration event this year. It filled some time when he was away: 24 hours' worth of sewing in the end, spread out across weeks without my husband. The results of the last few months of absence are hanging here for all the world to see.


So yes, FIFO gives me time to be creative, but it isn't balanced by the time that I lose.

Wonderful Whirligig Dress

This piece of fabric was given to me as a birthday present, so I wanted to use it for something special. Every time I look at it I see a different angle to the pattern - it's awesome!

I had it wrapped on the dressmakers manikin for weeks, changing it this way and that, then leaving it to think about it. It's beautiful fabric, light linen, amazing pattern; but I decided that it needed something to break it up.


I took my piece to the fabric store and looked at cottons to go with it (cotton is the most practical fabric for my climate). It's an odd combination of olive green and burnt orange. I liked this pale green poplin and brighter orange woven cotton:


I knew that I wanted a long skirt. The fabric is flowing rather than stiff so unless I put an underskirt in it was going to be clingy, but I liked that. Maybe I have too many A-line skirts in my cupboard! 


I had intended to use this dress pattern (below), but after I tried making the top part and literally threw it across the room in anger I gave up. I could not get this to wrap across my chest, no matter what I tried. It gaped in the worst possible way, even with darts in it.

Own pattern it was! This was my concept design:
I tried a few different combinations and liked this one the most:
I have a home-made top pattern that I have posted about here, that I could pair with a skirt pattern. I would need to leave extra seam allowance to put a zip in the back from neckline down to hips.

But then these dresses were an inspiration that made me want to drape some more fabric on my mannikin!

Resident Magazine, NT - Model, Magnolia Maymuru - Designer, Sarina Cowcher "Under the Canopy" 2017 collection
Resident Magazine, NT - Model, Chloe Moo - Designer, Sarina Cowcher "Under the Canopy" 2017 collection


I'm not a huge fan of caftans: I like a bit of shape in my clothing. I have a figure, why not show it off? But a caftan is basically two squares of fabric sewn together, with seams and connection points that give it shape like the ones above. With my fabric it could make a very special, very simple dress! It's been months since my birthday, so I needed to get a move on...

I didn't want to cut the fabric until I was sure that this would work. I decided to make a dummy dress first from an old sheet that I had. 

But I didn't have much success...

Trial 1


 Sacrificial maiden anyone?

Trial 2


Something about... potato sack dress?

None of the shapes worked! So I went back to my original design, with the top and skirt joined, and started cutting the underdress out. I just didn't want to ruin this fabric, because it was so special.


IT DIDN'T WORK OUT AGAIN!! The underdress was a potato sack too! 

Tearing my hair out, I resorted to a skirt!! I had wanted to make a tulip skirt. So I did. 

Trial 3

I started with a trial skirt and took the skirt from the underdress, in orange, and cut three petals out. Put a zip in the back. And ended up with this.


Front
Back
 On the mannikin.
Then decided that I wanted to keep this as an underskirt and added a zip in the back and a waistband with a tie (that I got from an op shop for 50 cents!)
I cut new petals out of the fancy fabric. And hemmed all of the edges.


Played with the layers until I was happy. Ah, sitting on the floor pinning, the glamourous life of a seamstress.
And here it is complete:


I wore it to work a couple of days later... and discovered that the petals gaped rather alarmingly all the way up my thigh! I did a quick safety pin save at work and took it back to the machine to close the gaps. You just don't know how clothes will sit until they're complete!


I now have a cowl-neck shirt cut out and pinned on the mannikin, to match my beautiful new skirt. Go me! 

Friday, April 28, 2017

Bridesmaid Dresses

I waited to post this after my lovely friends got married, rather than preempt the wedding photos.

There are a lot of different definitions of bridesmaid dresses these days, which I love. I asked my bridesmaids to find a green dress, in any colour green. My bride did the same: I was tasked with finding a red dress to wear. Preferably a brighter red, not dark, or orangey, etc.

At a month before the wedding, after 4 failed dresses (I'll get into that) I finally got The One in the mail. Because as often happens, if you go looking for a specific colour of dress suddenly no one stocks it! Green came in, a lovely bright green, about the time that I started my quest. Not helpful in this case.

The first dress I found was nice and it was in a local shop. Comfortable stretch/linen, quite plain, but very flattering lines.
But I made a mistake when I bought this, because it was too small in the back and gave me bulges.

I broke the golden rule: never buy things you have to make major alterations to, especially if it is a nice garment.

I kept trying the dress on, as I did love the line of it. But I was never happy with how it looked in the back. So I added side panels in to make it bigger. My bride had been talking about lace for herself, so I knew that I could use some on my dress.

It was simple to do. I cut open the side seams and inserted panels. All of the edges were overlocked to seal them.
I had to put darts in the front, to make it more fitted. But the back still didn't sit right -there may have even been MORE bulges.
In a last-ditch effort I tried putting a scarf over it to hide it all!I don't know why I'm smiling...
It was no good. I hated it every time I put it on. So 6 weeks before the wedding, I turned to eBay. These dresses were lovely styles that would suit me, and were cheap. So I bought all three.


The problem? Despite the measurements saying they were XL, when they arrived they were way too small! I ended up selling them to a friend at work who happens to love red.

Luckily I had seen another dress online from a shop that I regularly ordered from that looked good. As usual, I ordered one size too big. The sense of relief when it arrived a week after the eBay disasters was palpable. This was The One. It fit, with a minor seam at the side to pull the bodice in tighter. My bride was ok with the belt. It went with my shoes. Success! 
Not wanting to waste anything, the first red dress experienced a cutting session and was turned into a nice, long skirt. 

Hopefully, lesson learned! Happy wedding photo:

Friday, April 21, 2017

In a flap for a flapper dress

I admit that I can't help myself when it comes to costumes these days: I will make one rather than buy. It has its advantages, because I know that I will like them and they will fit well. On the flip side it may cost me more and take me longer... although the quality is also guaranteed.

When my work Christmas Party theme was 'Hollywood', my husband suggested that we go 1920s so that he could wear a suit and his bowler hat. I agreed, but after a quick look online for a flapper dress I wasn't encouraged.

Vintage frocks were absolutely gorgeous, fully beaded, stunning creations... but mostly small sizes.

Costume packs weren't exciting at all.

So I pulled out a plain brown slip that I had in a drawer, bought a pile of different braids in red and black and started pinning to my dressmakers manikin. Unfortunately I've changed phones since I made this, so I don't have any work-in-progress photos.
The pattern on the front was inspired by looking at a lot of photos of dresses from the 1920s. Many of them feature geometric patterns, particularly diamonds. A good a place as any to start. 
I began with a plain diamond in the middle and worked my way out. I could have easily kept going and completed the whole front and back with braid, but it would have doubled the price of what I had already spent on it.
Of course there is the obligatory fringe, of which there are three layers. It was the most frustrating part to sew, actually, as once I had one layer on I had to make sure I didn't catch bits of it in the next layer when I sewed it on!
I cut the original brown straps off the slip and added my own. I did try to cover as much of my bra straps as I could, but didn't strive for perfection.
I already had the jewellery, and made myself a headband that I added feathers and brooches to. I've worn it again since, for my birthday party in 2016 - 1920s theme!

And this explains why I have two different haircuts in the pictures 😉

Friday, April 14, 2017

Beach Glass Necklaces & Jewellery

As I have said before, I love beach glass. I went through a period of making lovely hairclips and big, chunky necklaces from it, and I still do the odd one now and then.

Here are some of my creations, with plans for more in the very near future. 

I think it's about time I had a craft stall again!

Glass, paua shell, 150 yen worth of Japanese coins 💰
 
Red bamboo coral, jasper, beach glass 🌊
 
White and blue beach glass
 
I called this "Coral me Christmas" for an exhibition. Beach glass, shell dangles, and bamboo coral pieces. 🎄
 
This was called 'Fun and Happy'. I made it to donate to the Cancer Council for a fundraising auction.
White and brown beach glass goes well together, particularly with a dash of blue and silver.
Another hair clip with beach glass and jasper.
This was made to match a dress. Onyx in the centre, with beach glass and paua shell.
Beach glass and pink quartz.
 
One of my favourite pieces, this was a heavy collar using several different colours of glass. I made a second, similar one on commission as well, after the first sold at the gallery exhibition. 
White and brown glass again, with a shell piece and some brass love hearts. It decorates my mum's house.
I often make forest/leafy-themed necklaces. This has white and green glass, wooden circles, and green glass leaves.

These next two necklaces are more recent, and were donated to a charity auction. Both sold, proceeds to a good cause.

Skull ring and white glass.
 Winter-theme, with seed bead strands and dangling snowflakes. The middle pendant is a piece of coke-bottle glass, nice and heavy.