I took a week off between ANZAC Day and May Day this year, which made a nice little holiday. I spent the first three days over on the Sunshine Coast at Woodford doing a weaving workshop with artist Aly de Groot.
There was heavy mist when we drove up there - not a very auspicious start!
It was a weaving and basketry workshop. Our teacher designed the three day workshop around an idea/story about sea life and rubbish.
Day 1 - Jellyfish
Plastic bags are often mistaken for jellyfish by the larger sea creatures that eat them.
We started out by making string out of fabric and plastic bags.
Making the string.
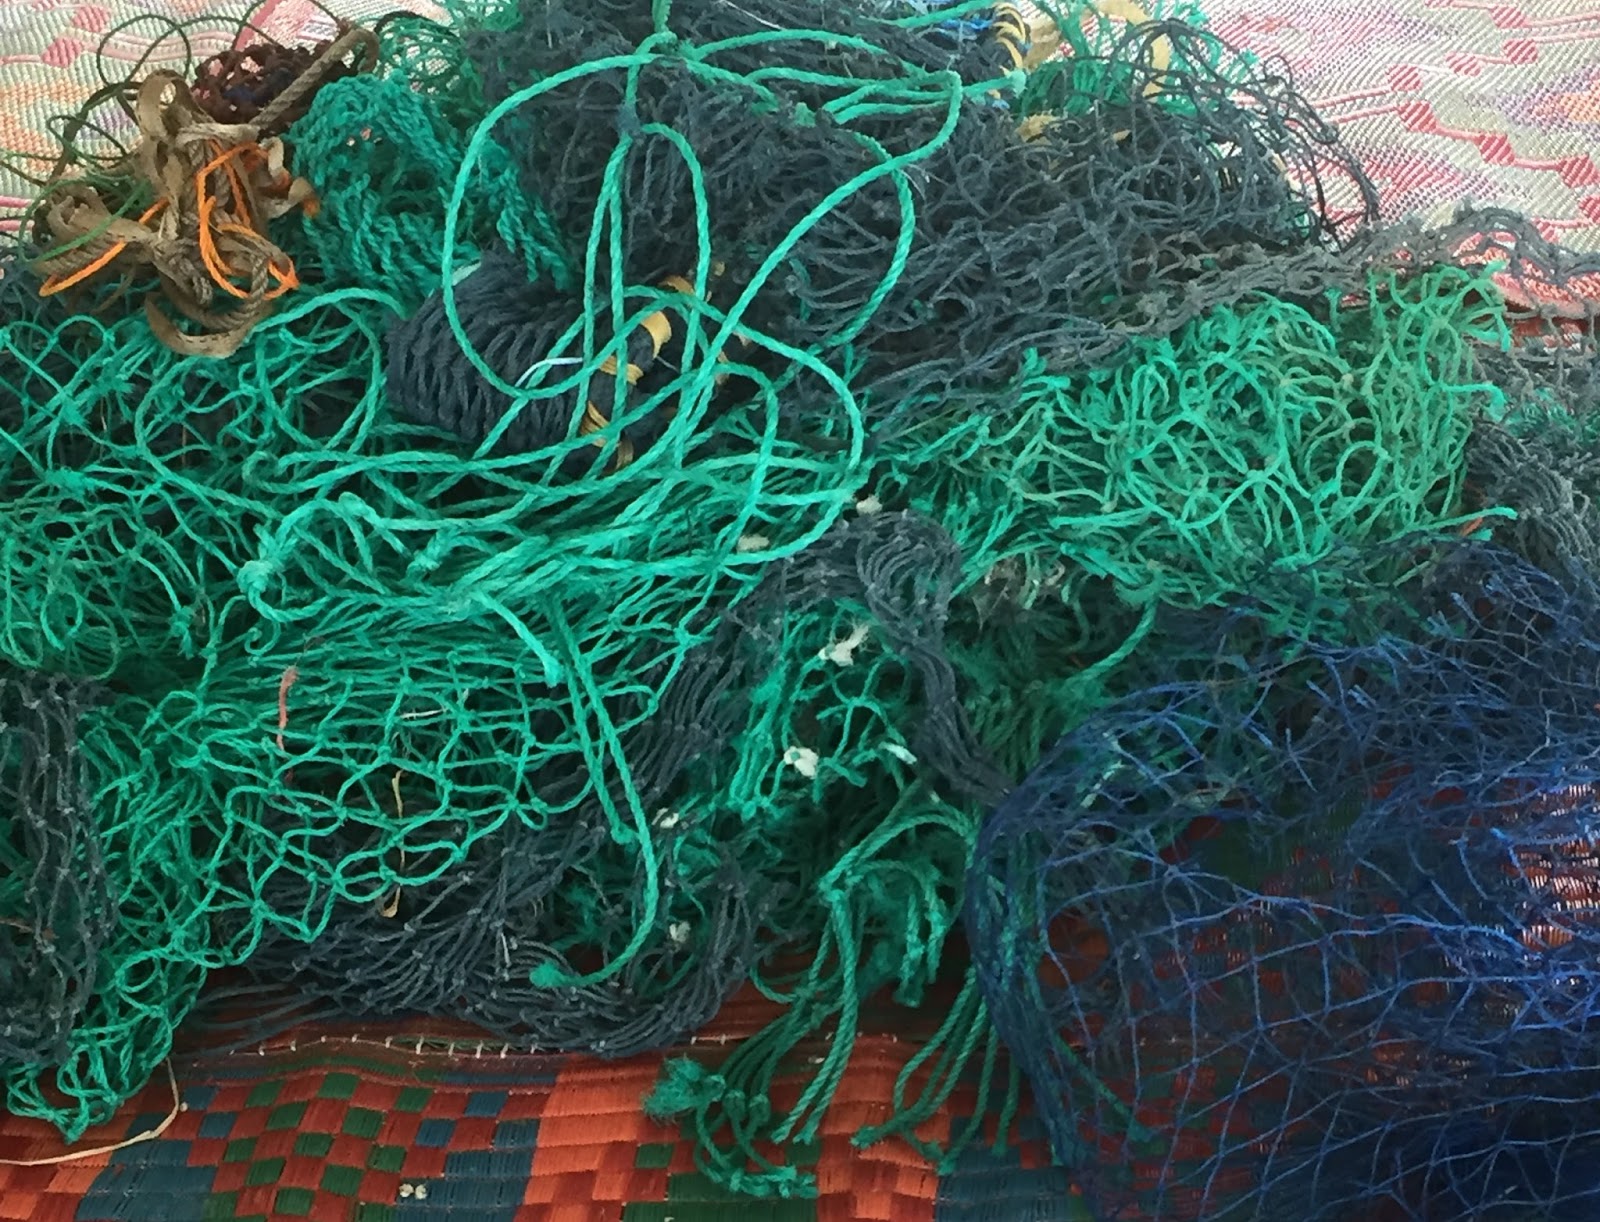
My collection.
The strings then became the spokes of the basket/tentacles of the jellyfish. We used fishing line to weave it.
Part-way through making the bell of the jellyfish.
The tentacles hanging down.
I deliberately curved my bell in so that it had more shape.
The finished jellyfish! I plan to hang it above my desk at home.
I had a go at making the jellyfish from fishing line only, which resulted in the one on the left here.
Some people added ribbons and beads, which was a great effect.
The day finished with a lovely sunset over the campground!
Day 2 - Turtles
Turtles are one of the main sea creatures that eat plastic bags, thinking they are jellyfish, and usually die as a result. We made turtles out of ghost nets that had washed up on the beaches in the Northern Territory.
The technique for the day was coiling, where we shredded the nets into strips and sewed them into a basket shape.
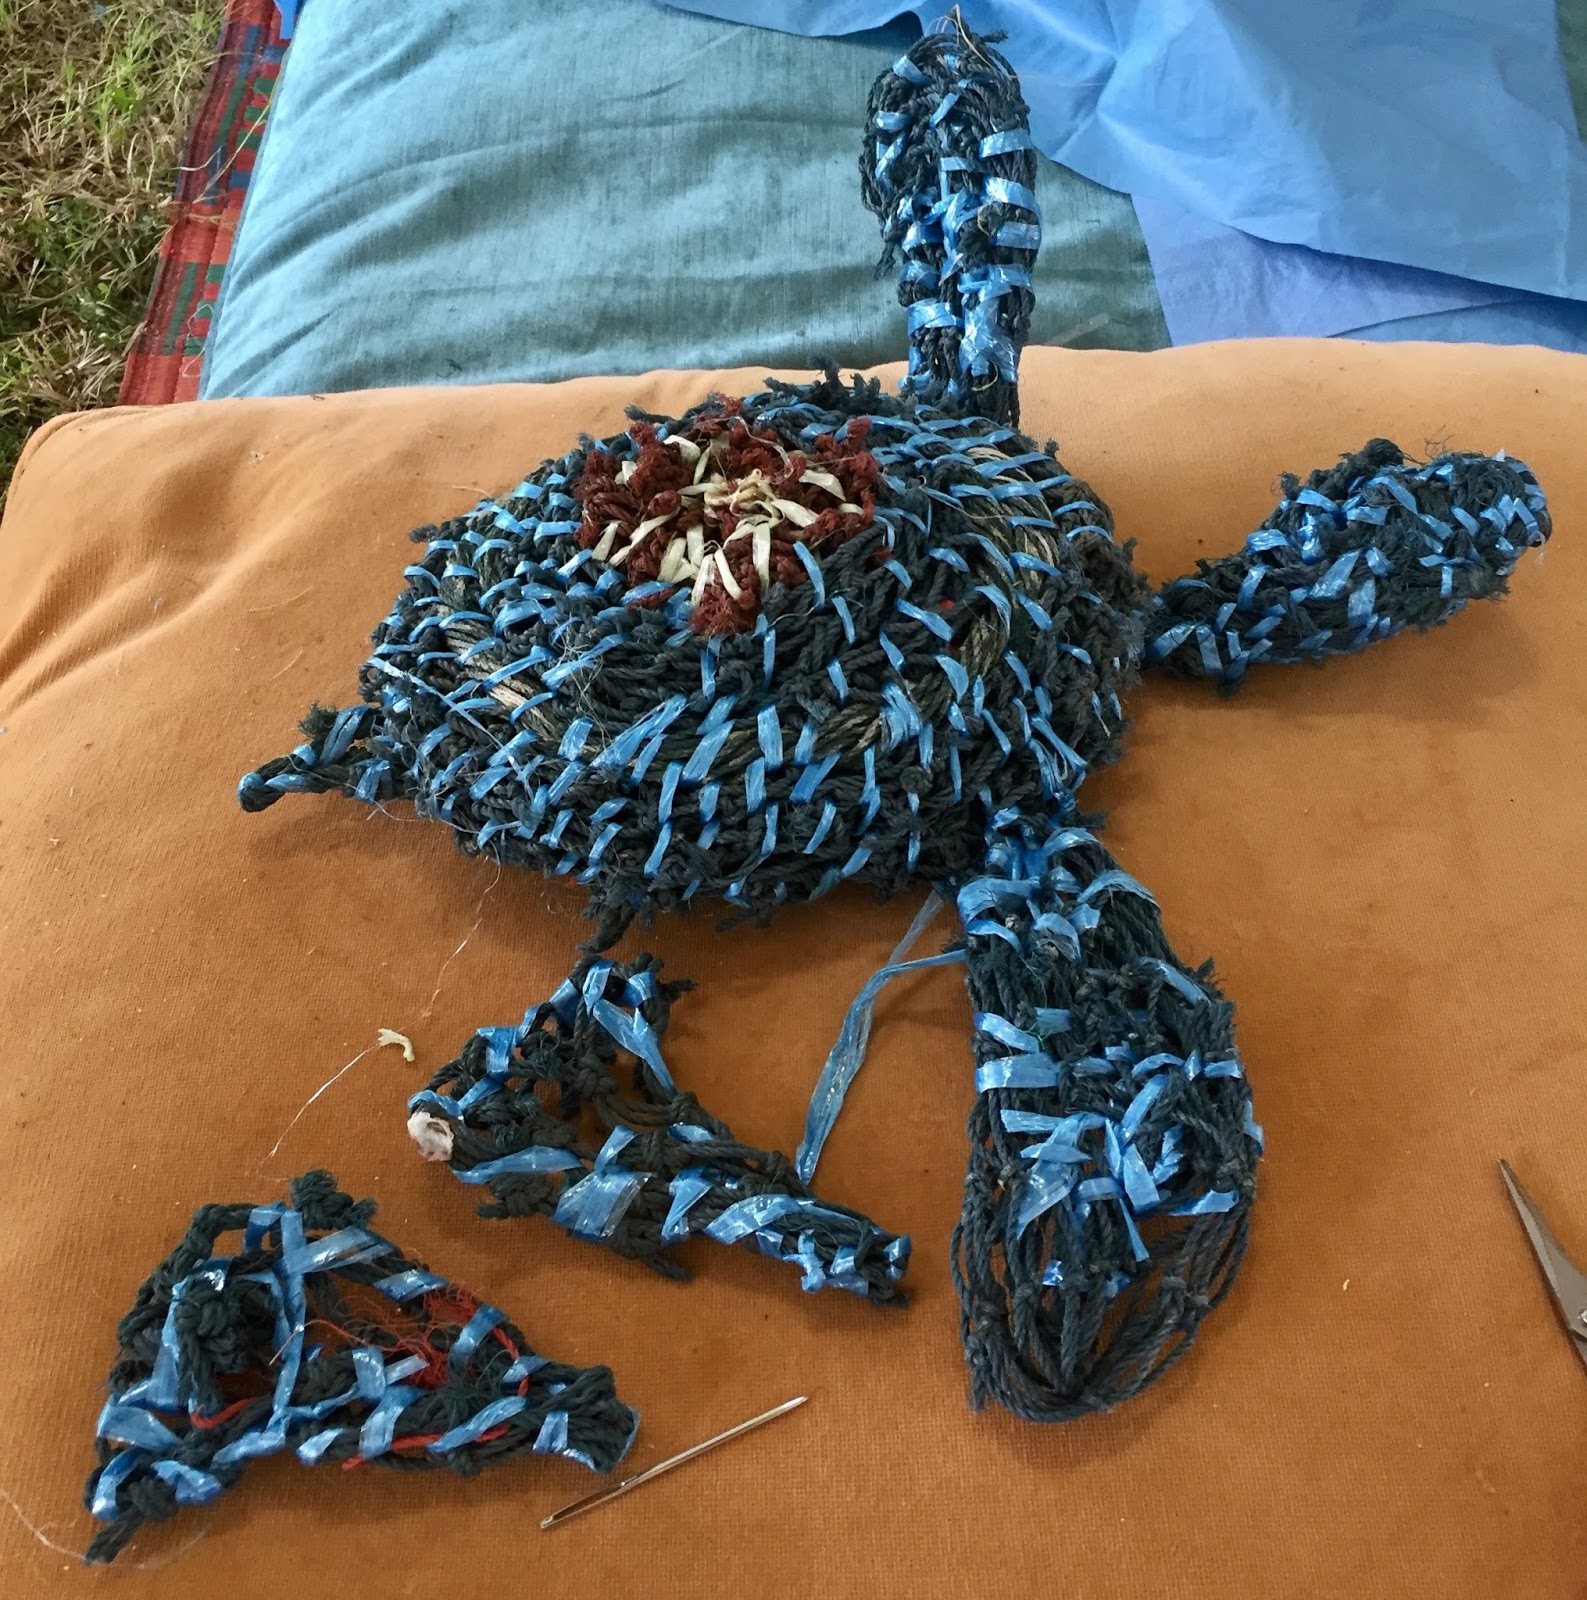
This basket became the shell of our turtles, and we made a mini one for the head.
This was my turtle, complete with ghost net fins. He was missing something...
My mum's turtle, in progress.
Our completed turtles. Mum coiled her basket far tighter than I did, so it turned out neater. We had a couple of Hawaiian lays, so I gave my turtle a makeover and some button eyes.
I finished my turtle in the morning that day, so I tried the coiling technique with strips from a t-shirt. It made an odd little bag that I have no idea what I will do with.
Our finished turtles, swimming in the tent.
Day 3 - Birds
It was a bit chilly on the third day and my hair was crazy. Great excuse to wear my Do Rag!
But the story continued anyway with birds: there are lots of varieties of birds around the ocean and they make themselves sick eating plastic bags and rubbish, and getting caught up in things and not being able to fly.
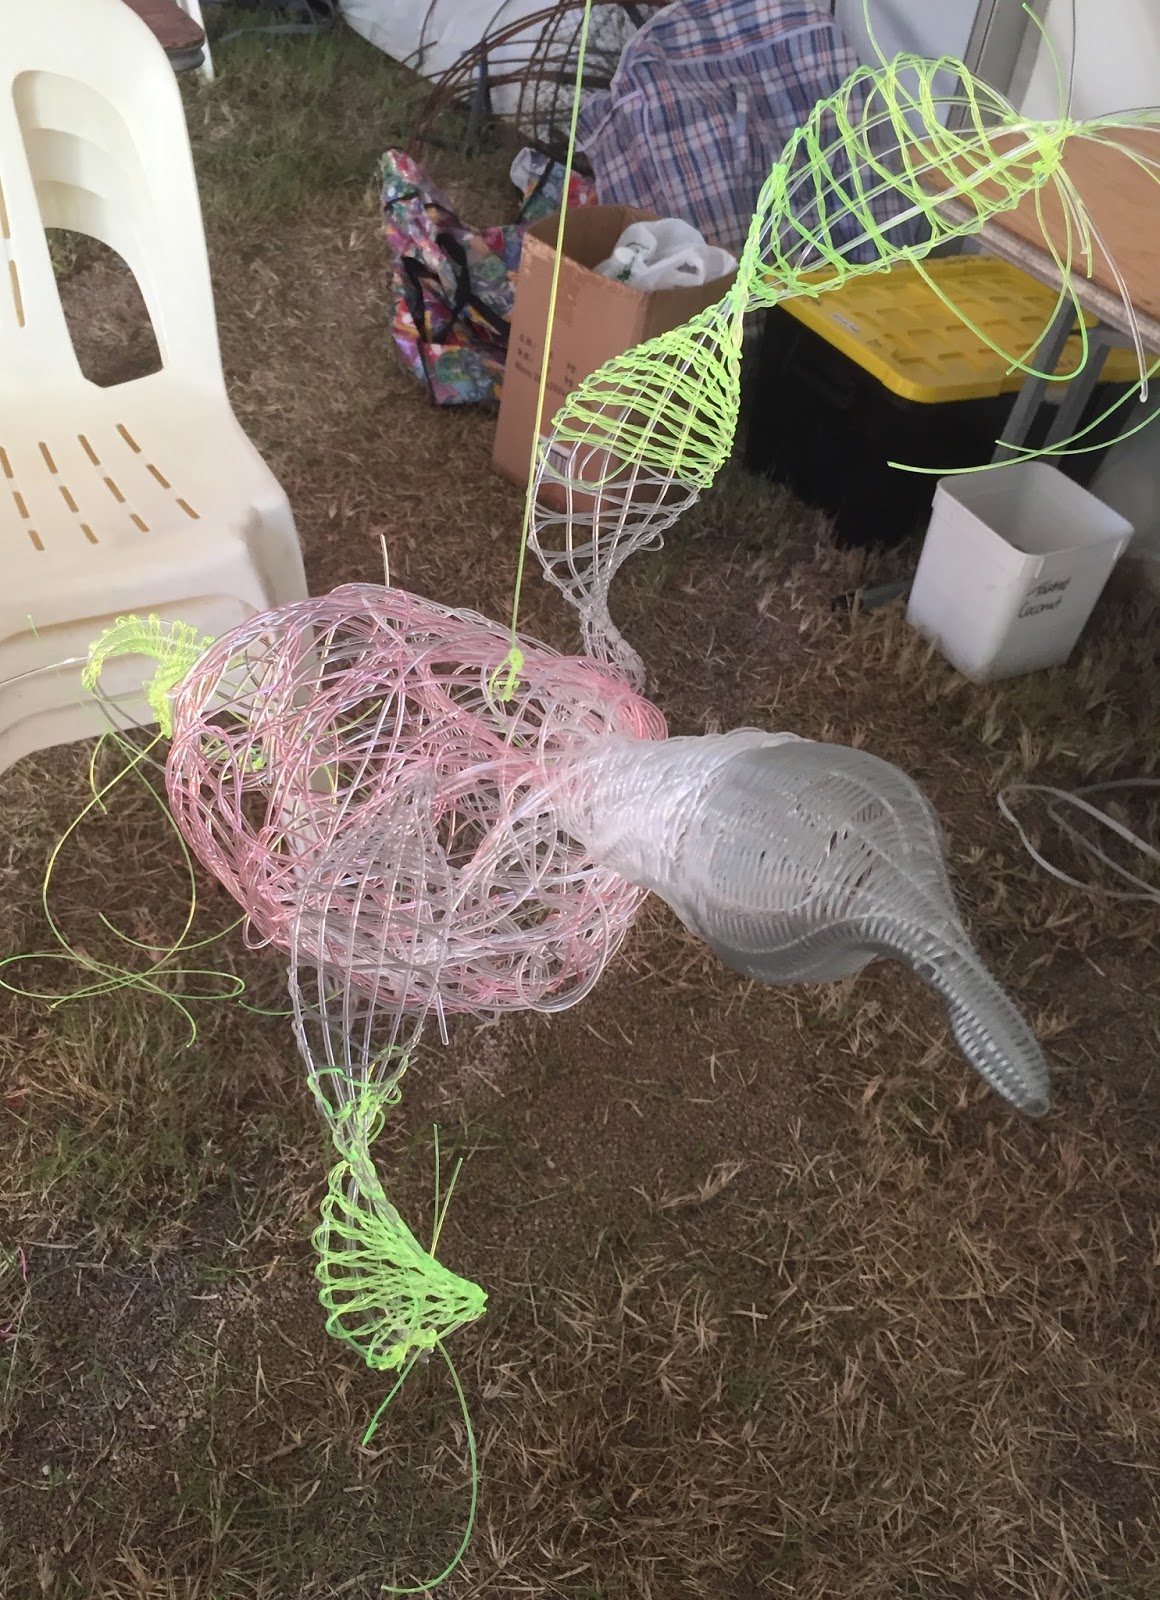
The third technique we learned was random weaving: like I do with wire, we made a "body" shape out of fishing line. Unlike wire, the fishing line was slippery and frustrating and wouldn't hold the loops! But we got there.
We then used the weaving technique from the first day to make our beak and head. It made my hands cramp, having to hold it so tightly! Here is the beak:
And here is the head. It turned out to be a bit seagull-like, so that's what I called it.
Mum went with a Magpie Goose- look at the shape of the head!
I had started making some flat versions of the jellyfish from the first day, trying to copy earrings that Aly de Groot had made. It was even harder when it was flat! Very slippery.
I continued these with some fluoro green fishing line and made some wings. I also made a third one for the tail.
My finished Mardi Gras Seagull!
Another lovely sunset on the third day.
The inside of the woven tree-house, all lit up.
The people who did the giant puppet-making workshop did a great job!
I can see more jellyfish on the horizon...