Showing posts with label top. Show all posts

Friday, June 22, 2018

Salvaging and Refashioning a Top

For my Whirligig fabric, I had created an under dress that was then chopped up for a skirt. This top is what remains of it, and I am loathe to just throw it out. Everyone needs shirts, right?
All of the edges are overlocked and the pieces are joined at the shoulders. Part of the reason that I rejected it as a dress was that the darts would not sit properly with the weight of the skirt dragging it down. It sat funny over my bust and was a little bit tight. Luckily I hadn't sewed the side seams, so it can still be salvaged.
If I don't make a long top or dress I'll have to cut the zip short at the bottom. A shame, but I don't make many dresses so it isn't likely to be worth my effort unpicking the whole thing.
So how to salvage this?
I think this will be an everyday top, so I want it to be longer than the cropped shirts that I make to match my high waist work skirts. This way I can wear it with shorts.
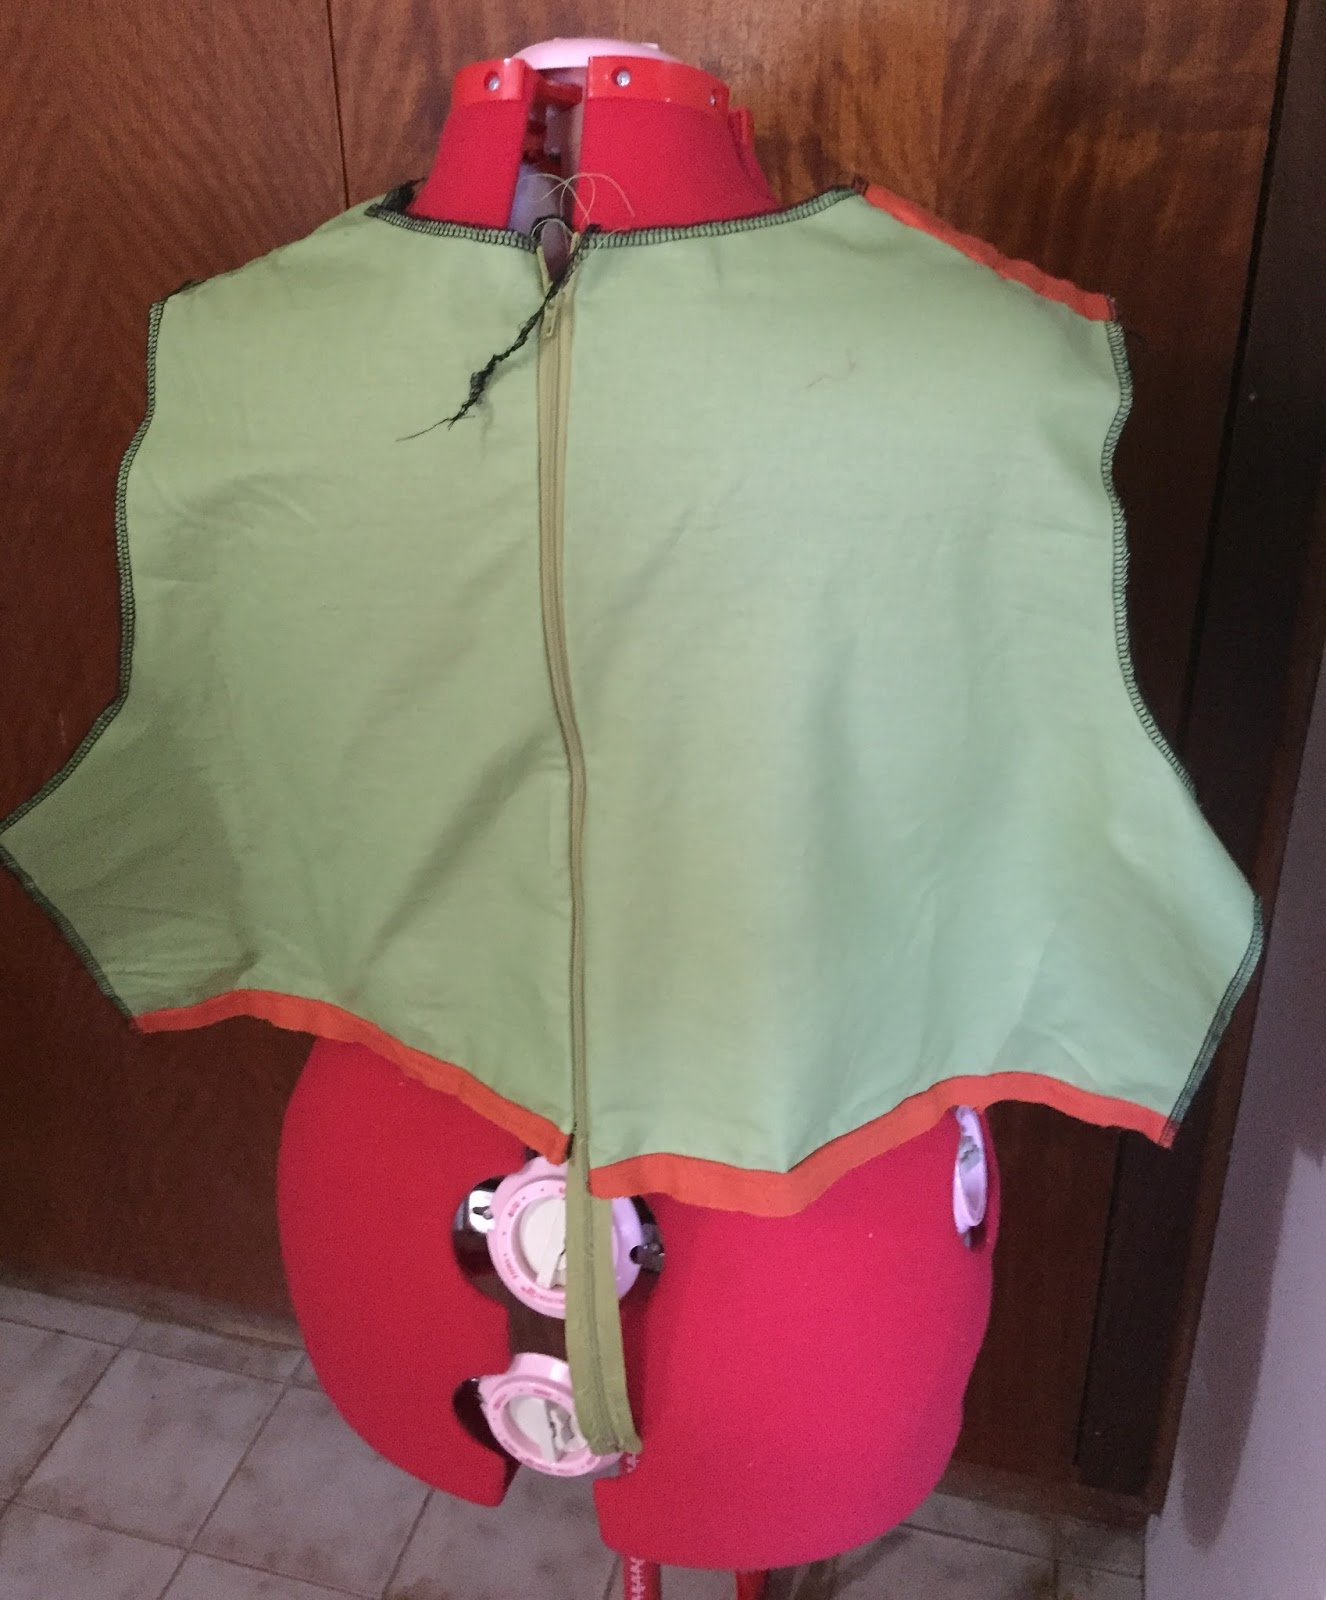
The shoulders and arm holes were too tight, despite me cutting very generous seam allowances, so I put inserts on both sides of the shoulders. I like quirky, which is why they don't match. I am still thinking that there may be an overlay anyway, which will disguise this. It will need to include some orange though, or it will look extremely out of place!
When I pin the sides together on the manikin it looks fine. But dressmakers manikins rarely fit every body type - I often add padding to the bust of mine to fit my figure.
This fabric is also too light for a top on its own: I had issues for the Poison Ivy Cosplay that I did with it too. Heavier fabric sits better and also disguises any unsightly bulges or bra lace. With the Poison Ivy top I covered it with leaves until this wasn't obvious anymore. I'll have to do something else with this top.
I tried it on again, now that it didn't have the weight of the skirt attached, to see whether it fit any better.
It was better but still not amazing.
I needed to add fabric in the sides to make the top bigger around. Given the orange strip on the shoulder, this seemed to be the obvious colour.
I'm trying very hard not to buy things at the moment, both to use what I have and to save money. But I did a big clean out one weekend and re-arranged everything. I now have a box of scraps, two boxes of fabric aaaaaaand a BOX OF TIES! Time to upcycle 😁I really like this idea, from Pinterest. 
I turned to my stash for inspiration.
I buy more almost every time I go to an op shop. Some of them are silk! The patterns are so gorgeous and I have found ones from England, Italy and America. It was easy to dive into the box to find some things to add to my new top.
I thought about putting a bottom fringe of ties on it, which would look cool and add length, but I might not have enough of the right colours. It looks great on this skirt on Pinterest
A couple of possibilities:
Now that's an idea!
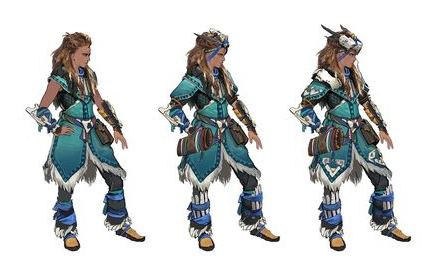
The shapes and colours remind me of the game I'm currently playing, Horizon: Zero Dawn. It has all these fabulous geometric shapes and colours, beads and braids. Maybe this can be inspired by it.
I pinned some ties onto the shirt on the dress manikin and left it for a while, fiddling inbetween working on other things. But it just wasn't speaking to me.
And then I found this great fabric top at the op shop. 
I recognised the print from the Aboriginal art workshop in Maningrida straight away. And the top, it turns out, is from a local dressmaker, Raw Cloth. What a find for a few dollars! I rather liked how they colours all went together:
Lots and lots of pinning. The bottom edge is really cute!
And when I wondered at some point where all of my pins were, I remembered... they were here!
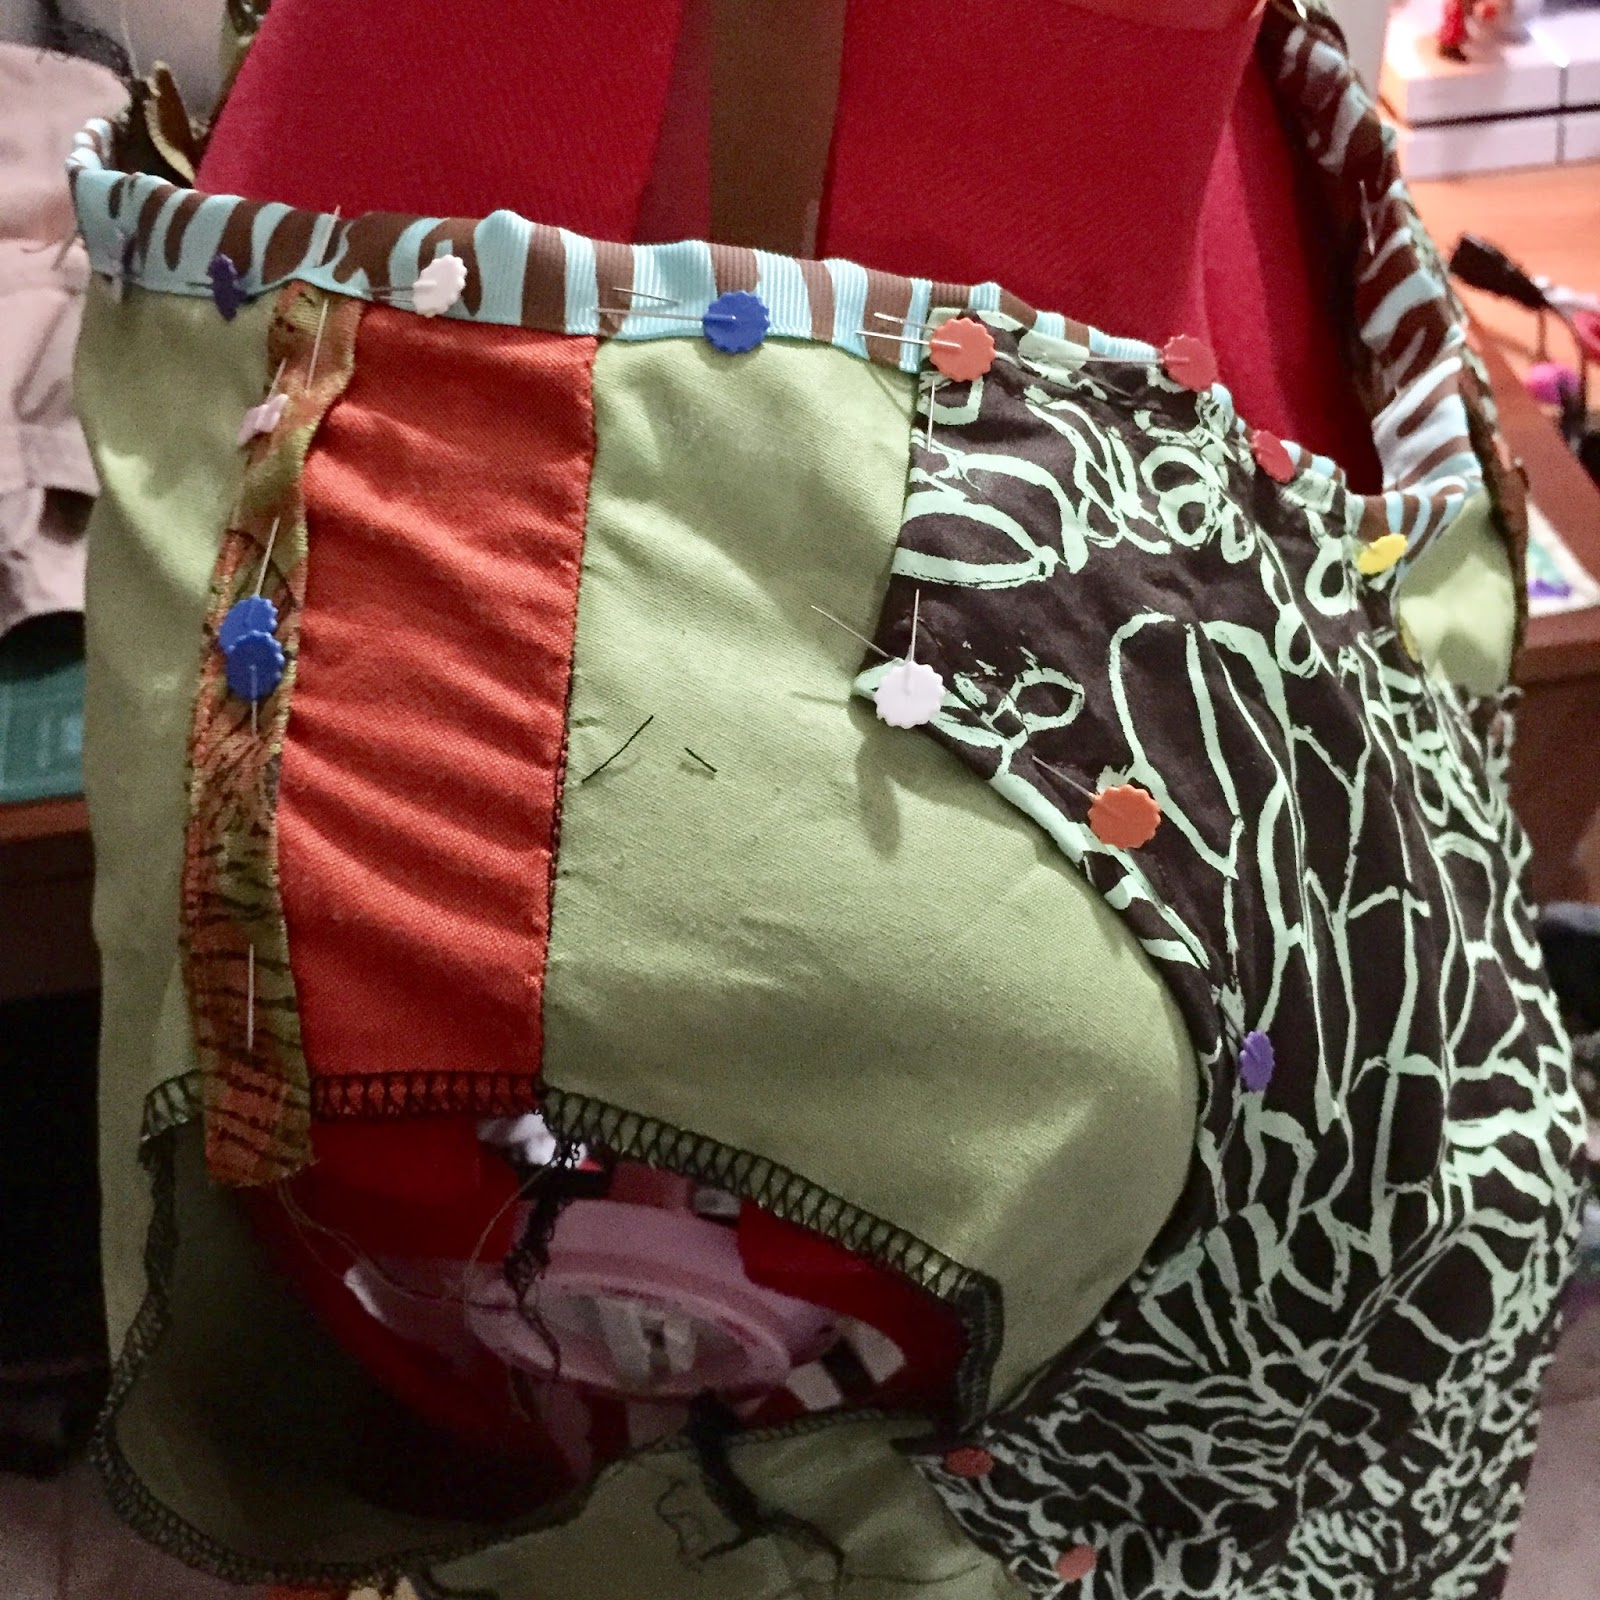
Hmm, really like that neckline. There is no such thing as too many colours.
And then lots and lots of sewing, but it came together! I didn't think I could keep the tail though...
I'm particularly happy with the back, it all aligned nicely.
There is still some sewing to go, but you get the idea! A completely different top is on the way.
#lovelypennypatterns

Thursday, January 25, 2018

Eco-Dye Refashion: Steaming Silk Shirts

I tried something new when I eco-dyed recently. Previously I had boiled to dye my items, completely immersing bundles in water and gum leaves. This time I tried steaming as well.
I got a steamer with my new pots and invested in a second camping stove so that I could run two pots at a time.
I had one pot boiling dye while I set the second one up to steam. 
I had tried a little bit of steaming with my mum, and she got very clear leaf prints that were more delicate than those of boiled dyed clothes. I couldn't wait to try it. 
I had seen a lot of people with silk scarves dyed with rose petals and other flowers and assumed that they had been steamed.
My hands were too dirty for in-progress wrapping photos, but here are the two silk shirts steaming away over the boiling pot. One started out cream and the other a tan colour.
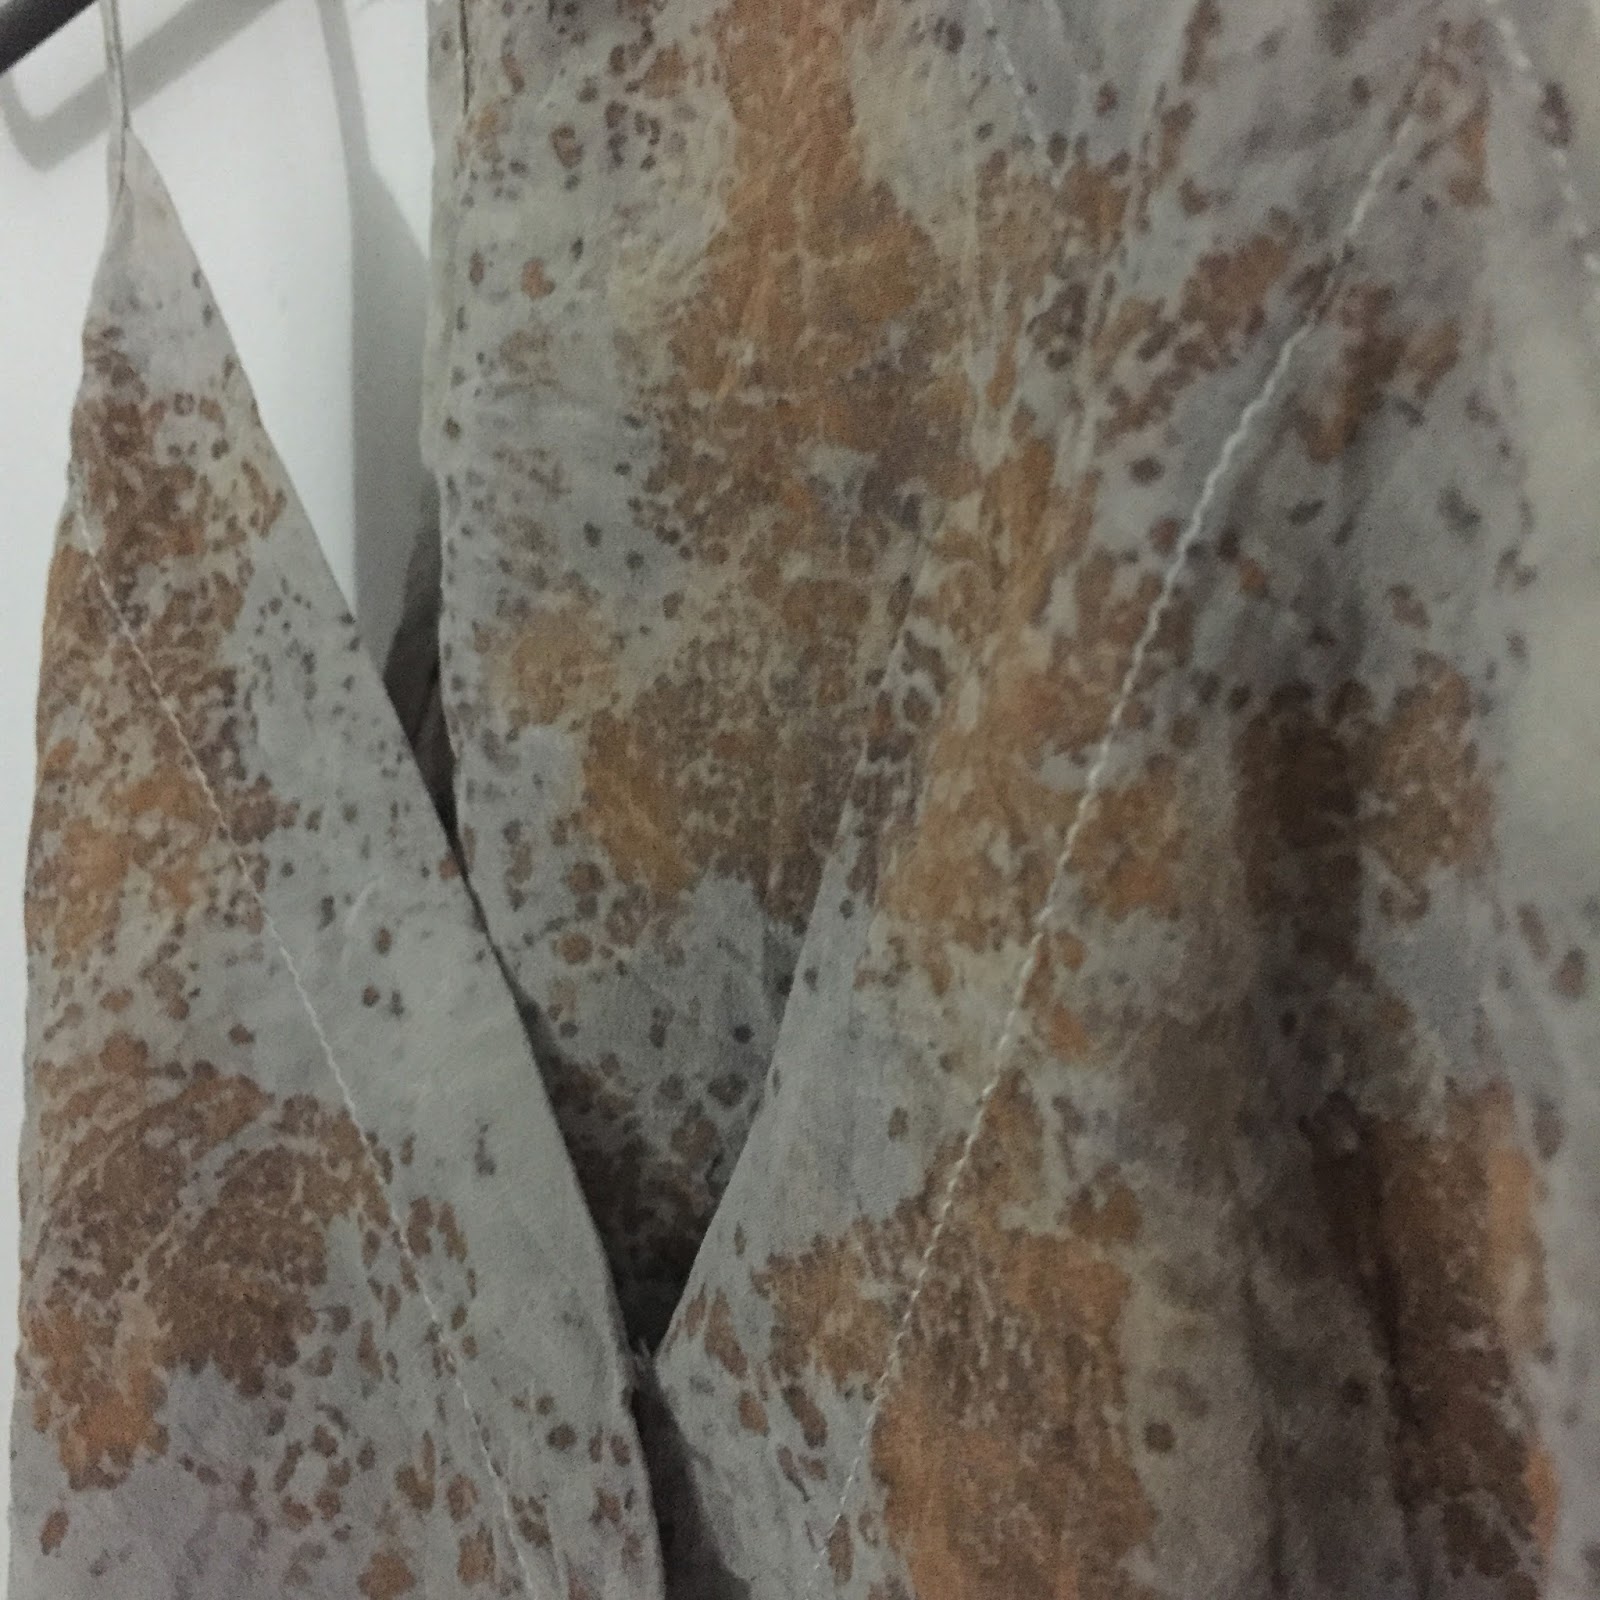
The final result? Well, it turns out that the rusty items don't steam into the fabric very well, but the tea leaves and leaves certainly do! This was the cream shirt:
This leaf print isn't as clear as I had hoped, but perhaps I didn't tie the bundle tight enough?
 I do love this speckled effect on the front though.
The tea leaves created a lovely pattern.
The second shirt was wrapped around a horse shoe, but other than some black colour the pattern did not come through.
Another leaf in the middle.
And a nice wash of copper colour from the tea leaves.
An interesting collection of patterns on the back, too.
I think this odd pattern here is one of my favourite from these two shirts!
More things to play with next time 😊

#lovelypennypatterns

Friday, December 22, 2017

Refashioned denim shorts to funky printed skirt

I got these pieces from a friend's stall at the Christmas Craft Fair, the fabulous Liz Martin.  Not the use it was intended for (napkins), but as soon as I saw them I wanted them on a skirt! I often look at people's craft and want to wear it rather than use it for what it was intended.
 There are two different designs but they match very nicely.
 I had half a pair of denim shorts leftover from another project that were the inspiration for this skirt.
 So I chopped that extra bit of leg off so that it was less uneven.
 And was even left with a pocket on the back!
I used pinking shears on the edges because they were going to be too hard to overlock to seal the edges. Given that I'll be sewing over the edges, they should be ok.
 I started randomly pinning the napkins on. They're a good length, about at the knee.
 Some gaps emerging, but that can be dealt with.
Another test will be how see-through they are... but they passed! 
I needed something to patch the gaps so  I went into my stash. This is what I came out with.
I like how they look together.
Once I had the concept and general design finalised, I un-pinned it all so that I could overlock the edges of the material sections.
After that it was a matter of pinning it all in place again. I did it in a way that I could do long, overlapping seams, rather than lots of small seams. By pinning it all straight up it made sure that I covered all of the gaps. I noted that some of the napkins overlapped: it is was significant then I would have trimmed them so that I could save the scraps for something else It wasn't too bad in the end, so I left it.
The big piece of the echidna fabric was perfect for layering, because it was an offcut with damaged print.
 Accidentally sewed some of the pocket down, so I had to unpick that part and hand sew it instead.
 Finished skirt on.

 It was a little bit loose (the pants were several years old) so I took it in a little.
  Very happy with this project!

Friday, November 17, 2017

Op Shop Refashion - Shirt to Open Jacket

I've never been a fan of business jackets, finding that they don't fit well and don't suit me. So when I found this op shop shirt I thought it was time to change my look. Polyester, but as I am going to wear it indoors I think it will be ok.
It has big shoulder pads, not a style I need.
Very easy to remove those with an unpicker/seam ripper. Often these are sewn in separately, so you won't undo any major seams by removing them.
I'll keep them and use them for something else. They make good padded pockets.

The shirt also has pearl button and loop fasteners on the front.
They're very nice, but I want an open jacket for comfort.
More unpicking! I watch a lot of TV when I do this.
It left some stitches and marks in on the fabric, but they were easy enough to remove.
What I was left with was one side of the jacket with a placket, which is an opening used to help put clothes on in an easy way. On this jacket it tucked under the other side so as not to leave a gap in the middle.
I pinned it under and sewed it down, so that it was out of the way.
All dressed up and happy at work!