Showing posts with label tulle. Show all posts

Tuesday, June 6, 2017

Recycling my wedding dress

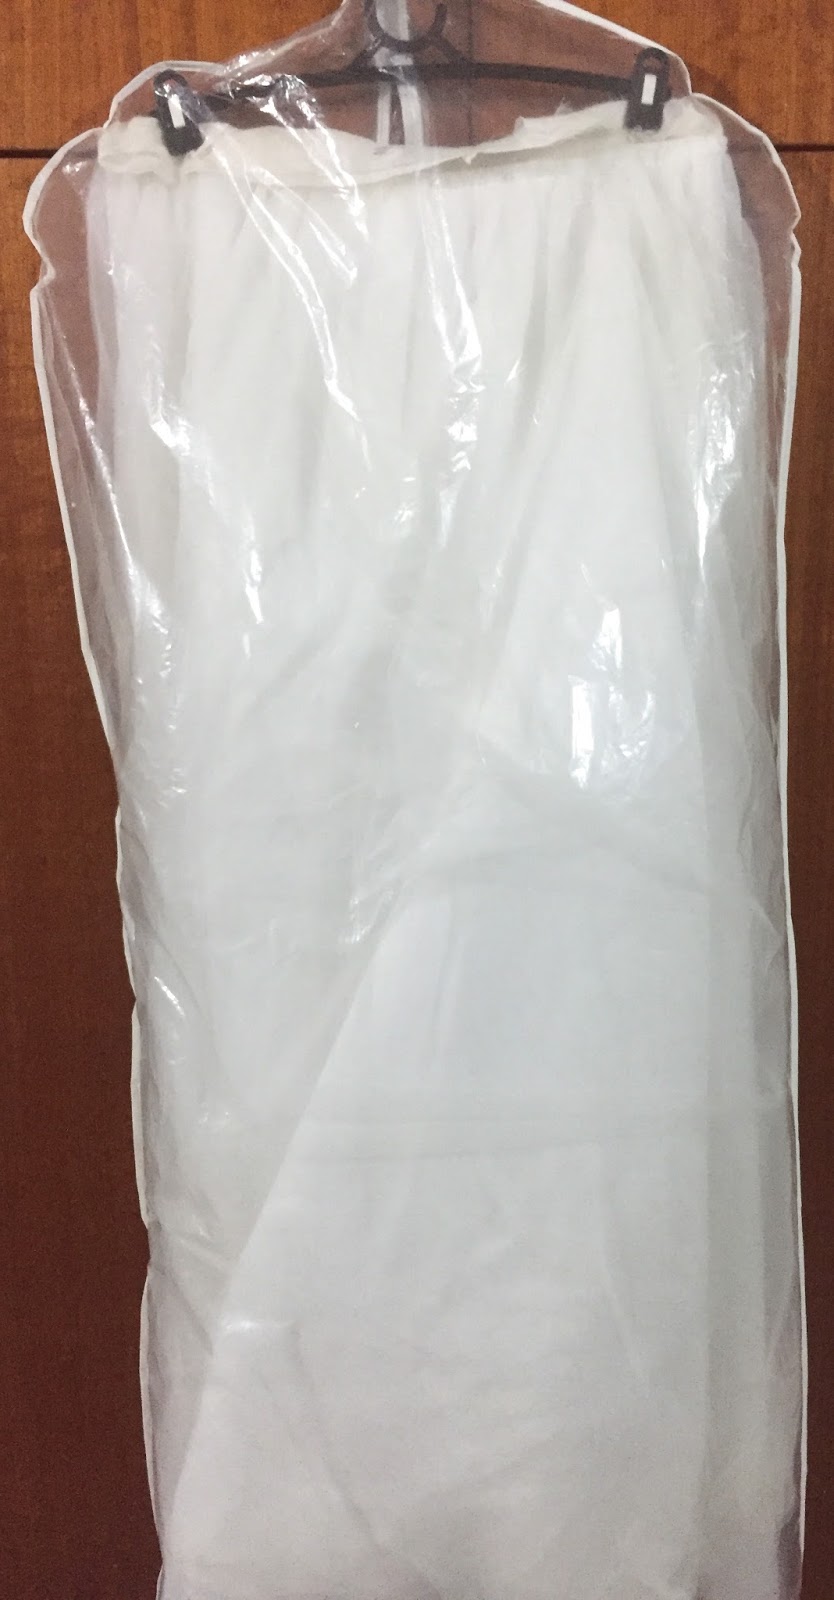
As often happens, we change body shape and the clothes that used to fit us don't anymore. This was the case with my wedding dress.
 I was never precious about the dress. It cost me a whole $145.00 on sale. But it was what I wanted to wear. I had bought a dress originally off eBay, where you send your measurements  to China and they send you a dress back. I thought "Ok, this will do" until about 2 months before the wedding... Mum took me shopping then and we found the dress above. It was strapless, so we took the beaded straps off the first dress and put them on this one.

I have had the dress in mind for a while for another project, to use the boofy underskirt as the base of a cosplay dress because purchasing and layering that much tulle is far too painful. Better to re-use what I have as well, to give it more life.
Cosplay aside, I am also singing in a choir show where I am required to wear a wedding dress for one of the numbers (ABBA - I do I do I do I do I do). So this was a great opportunity to refashion my dress.

I did try it on as-is, and had a couple of problems:
  • the straps are too short now
  • my bust doesn't fit in the top
  • as a result of the above, the zip won't fasten.
The answer: separate the two.

So that's what I did. I got a pair of scissors and snipped out the fabric that connected the skirt to the top, connecting under the bust. The top actually sat further down, so it's long enough to wear as a cropped top on its own.
I didn't want a veil when I got married, so my very talented mother had put a puff of tulle around my shoulders instead. I loved it! I made my own necklace, and a beaded hair piece to go with the giant white flower I had found. The only thing I really splashed out on were my earrings - Swarovski!
Back to refashioning.
This is the skirt on its own:
The zip came out quite easily and I was able to insert a new one without too much trouble. However I only had long zips in my stash, so I had to cut one off (it was recycled anyway).

The trick with cut off zips is to sew a stopped at the end, as below, so that it won't pull off.
I pinned the zip in, only catching the bottom layer of the skirt with the pins.The tulle layer actually disguises the zip, so I let it float over. Because I wasn't sewing both, it made it hard to manoeuvre  in the sewing machine. I ended up hand-sewing the zip in.
I used a piece of satin that I had and made a long double-sided strip to use as a waist band.
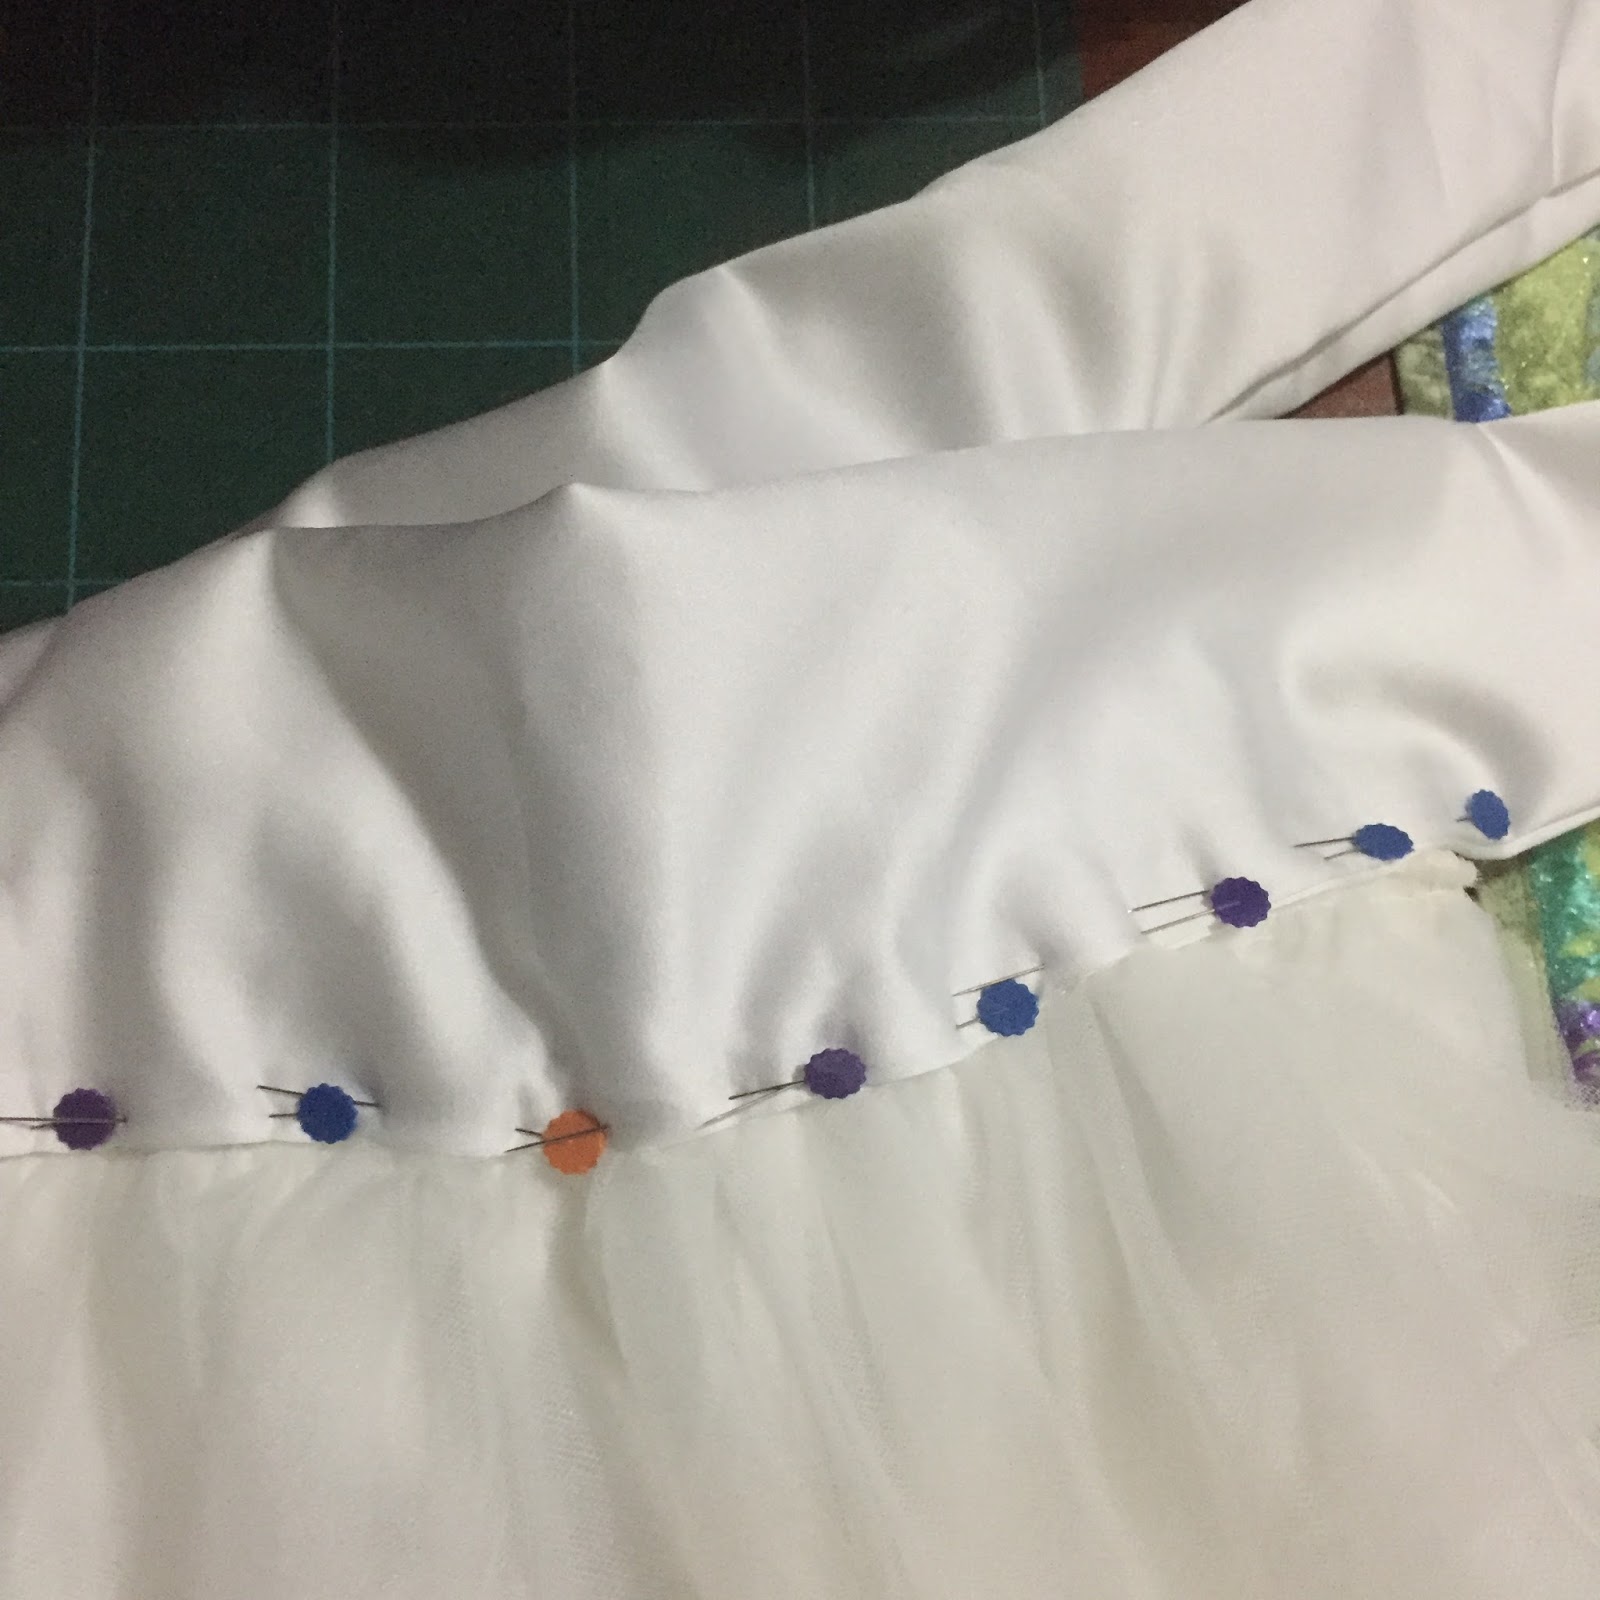
It tied at the back, further disguising the zip.
And there we are - a separate, white tulle skirt that I can wear with anything.
On to the top.
I removed the tulle and put it in my stash for a future project. I picked the zip out of the back of the top as well, because it was too small I needed to add extra fabric in.
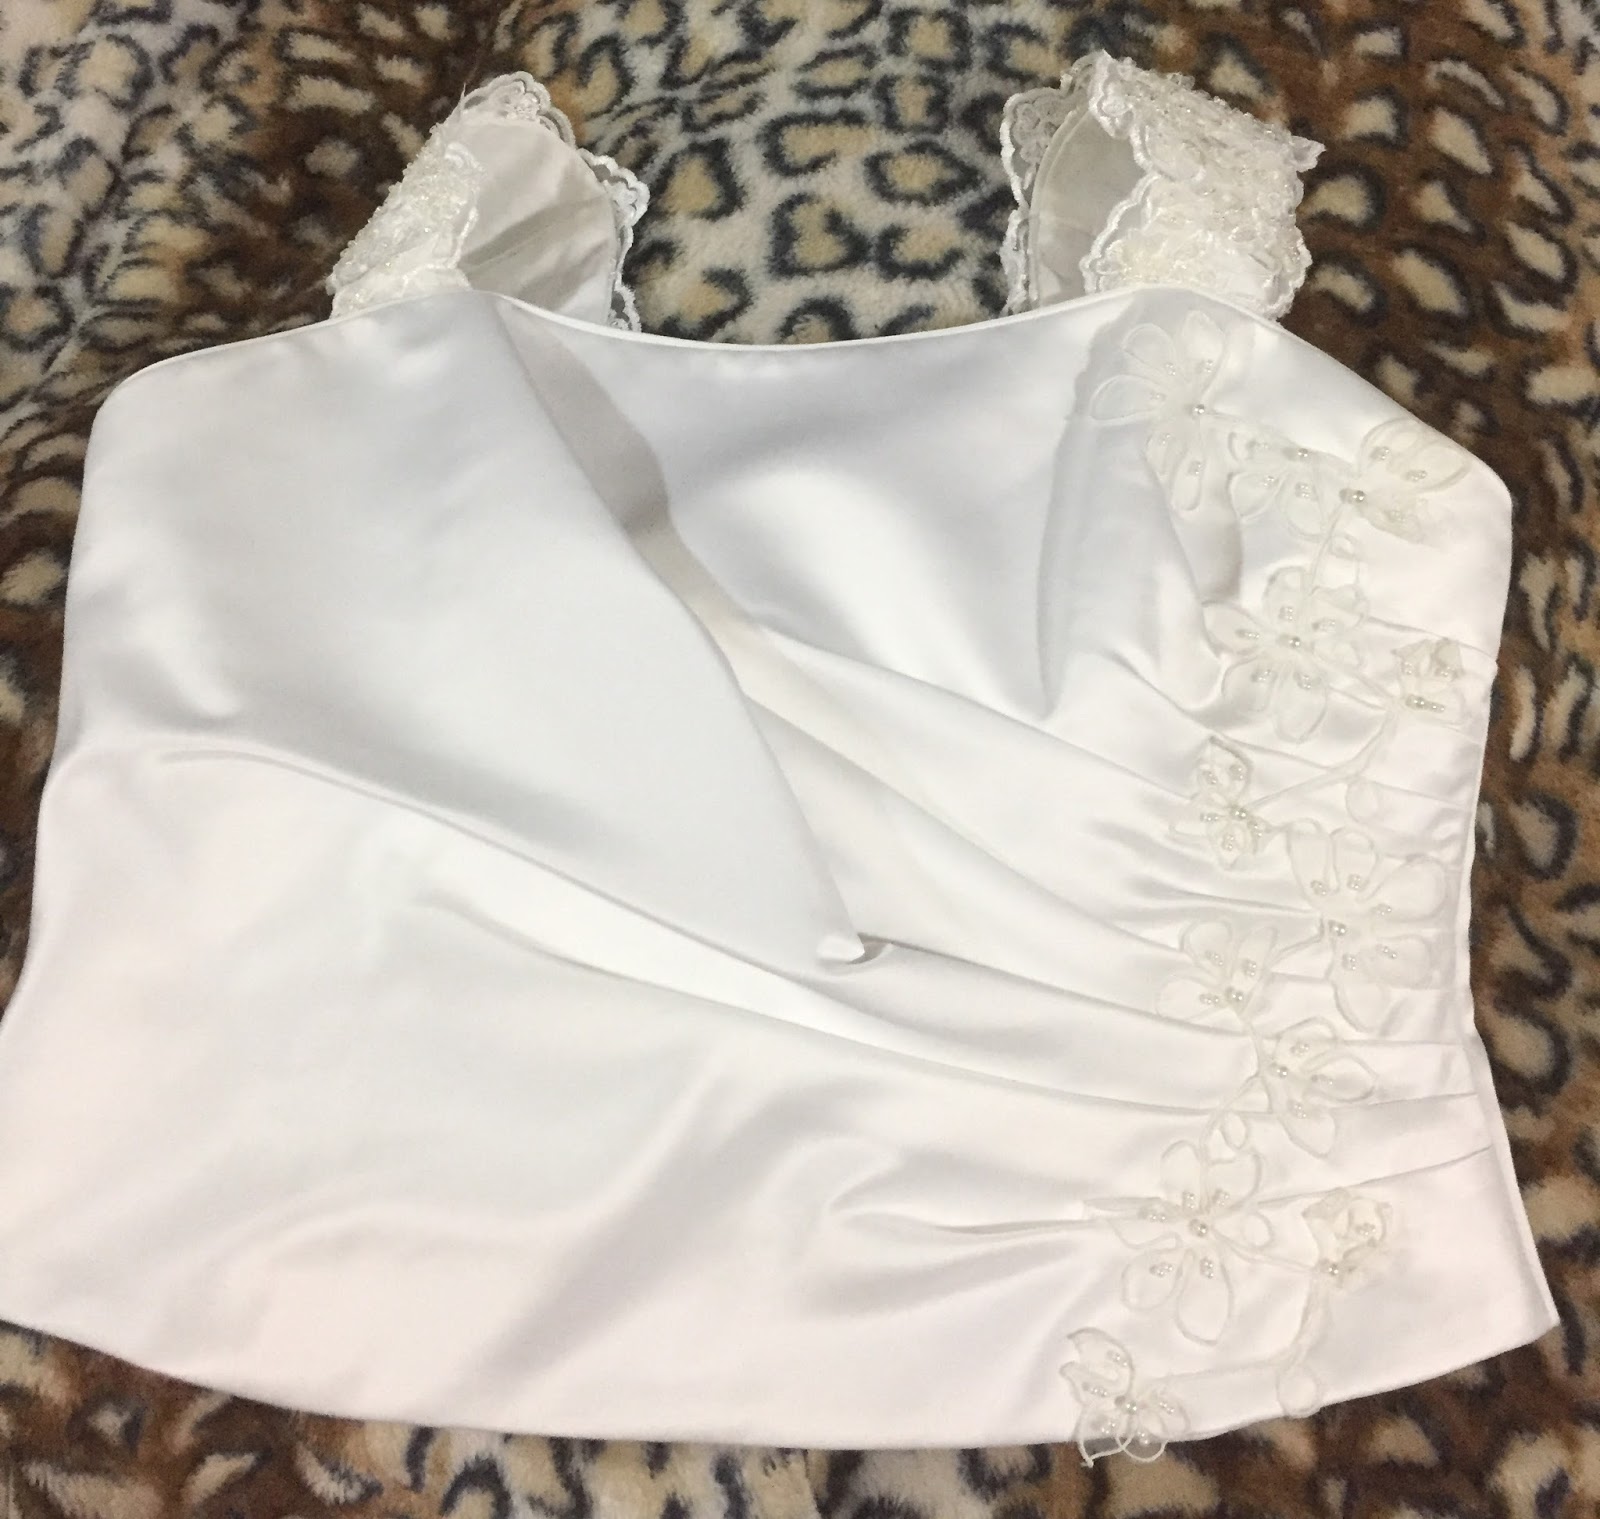
As the straps were too tight now, I also unpicked the back of them so that I could add more length. The beads may not work now that it's no longer a wedding dress, but we shall see. I can always put plain straps on instead.
I lengthened the straps with some more satin and pinned them to try it on. It still looks a lot like a wedding dress top. Since I need a wedding dress for the show I'm singing in, I'll leave them for now. I will just hand sew them on though, which will make them easier to remove and replace later.
I had bought a cheap wedding dress for another project that came with a white satin wrap - perfect fabric to match my wedding top.
For the back I cut two lengths and overlocked the edges, and then sewed the zip in the middle. It would be easier to put the zip in and then attach the fabric to the top.
I shaped the piece to an upside-down v-shape at the bottom, as the zip was longer than I had thought and I didn't want to cut it off. But I also thought that it would look nice. This spot, in the middle of the back, is often where shirts ride up when we sit down as well: the extra length of fabric would prevent this.
But once I had sewn it and tried it on, it looked odd. So I tucked the little tail under and hand sewed it down.
And here is the refashioned dress!


Thursday, January 12, 2017

Poison Ivy Cosplay


New Years Eve 2016 brought around a Superhero & Villains dress up party

So of course, I needed a costume. 
But what to wear? 
Who to be? 


So many heroines wear skintight costumes, which is just not my thing. I had been thinking about a new cosplay for a Comicon trip we're planning, and decided that I would do my take on Poison Ivy for the party.
I went to Spotlight and bought the following:
  • bright green cotton poplin (for the top)
  • green tulle, the stiff kind
  • teal green organza
  • dark green stretch jersey
  • alllllllllllllll of the ivy!


I have a wonderful husband who bought me a dressmaker's manikin a couple of years ago, so a lot of what I was about to do was easier. 

Step 1 - Make the underskirt

Using a straight skirt that I already own as a template, I doubled the fabric over and cut the skirt out. I made the stretch side-to side, so that I could just pull the skirt on and not have to worry about adding a zip.

I whizzed both sides through the overlocker, hemmed the bottom, and made a waistband that would sit up high (flattering for my body shape).


My overlocker: 


Step 2 - Fun part of the skirt

There are four layers of tulle and organza on this, of various lengths and cuts. A long tulle length on the bottom, then three layers of others. 


Originally the tulle frill on the front had a straight edge, but I decided that it needed to be spikier.

 I put ivy under each layer all around the skirt, and then over the top. It was all hand-sewn on.


The end result (back view):


Step 3 - The top

I have started making my own tops rather than buying them, though I did look at op shops for a few weeks to see if I could find a base green dress or shirt to alter for this project. I found nothing suitable.

Recently I bought a couple of mid-riff tops to go with high-waist skirts, and liked them so much that I cut a pattern off them.


Very simple, with a single dart to make it more fitted in front. They are short tops that sort of float over the waist, just covering the top of a high-waist skirt like the one I made above.

I cut the front and back out, with a 1cm seam allowance, and overlocked all of the individual edges. 


Then I put the darts in the front to make it fit and joined the front and back together. I hemmed the bottom and the neck, as I knew I was going to cover them with leaves so they didn't need to look amazing (keeping in mind that I made this in the space of a couple of days).

The next step was to put the basic top on the dressmakers dummy and start pinning ivy leaves on.


I sewed all of the individual leaves on with straight stitching, so that the edges would still move. This made the leaves stick out at all angles.

I had cut triangles and odd shapes out of the tulle when I made the skirt look more leaf-like, so I sewed all of these scraps onto the back to make it look better:
I liked the way they looked hanging from the bottom as well:

Step 4 - completing the costume

I sourced a long red wig from a local costume place, and some of the resin gum that you use to attach prosthetics to your skin. I also bought a bright red lipstick and a green makeup texta.

With some scraps from the shirt and extra bits of ivy, I made a couple of "vines" that I could tie on my wrist and arm.

I forwent jewellery, as I figured I was wearing enough interesting things.

I looked for green shoes, but apparently beige is the very "in" colour at the moment, so I added some ivy to one of my favourite pairs of shoes for the night instead:


Testing the wig out, as well as the resin I had bought to stick the leaves onto my face:

The final result: