Sunday, July 16, 2017

Creative Garden Warfare

We have these cheeky little bas- native bush chooks (Orange-footed Scrub Fowl) that dig around in the mulch and dirt to find insects to eat. The problem is that they make a huge mess and end up flinging my plants out of the garden!!!

Today I got a bit creative with how I was going to discourage them.

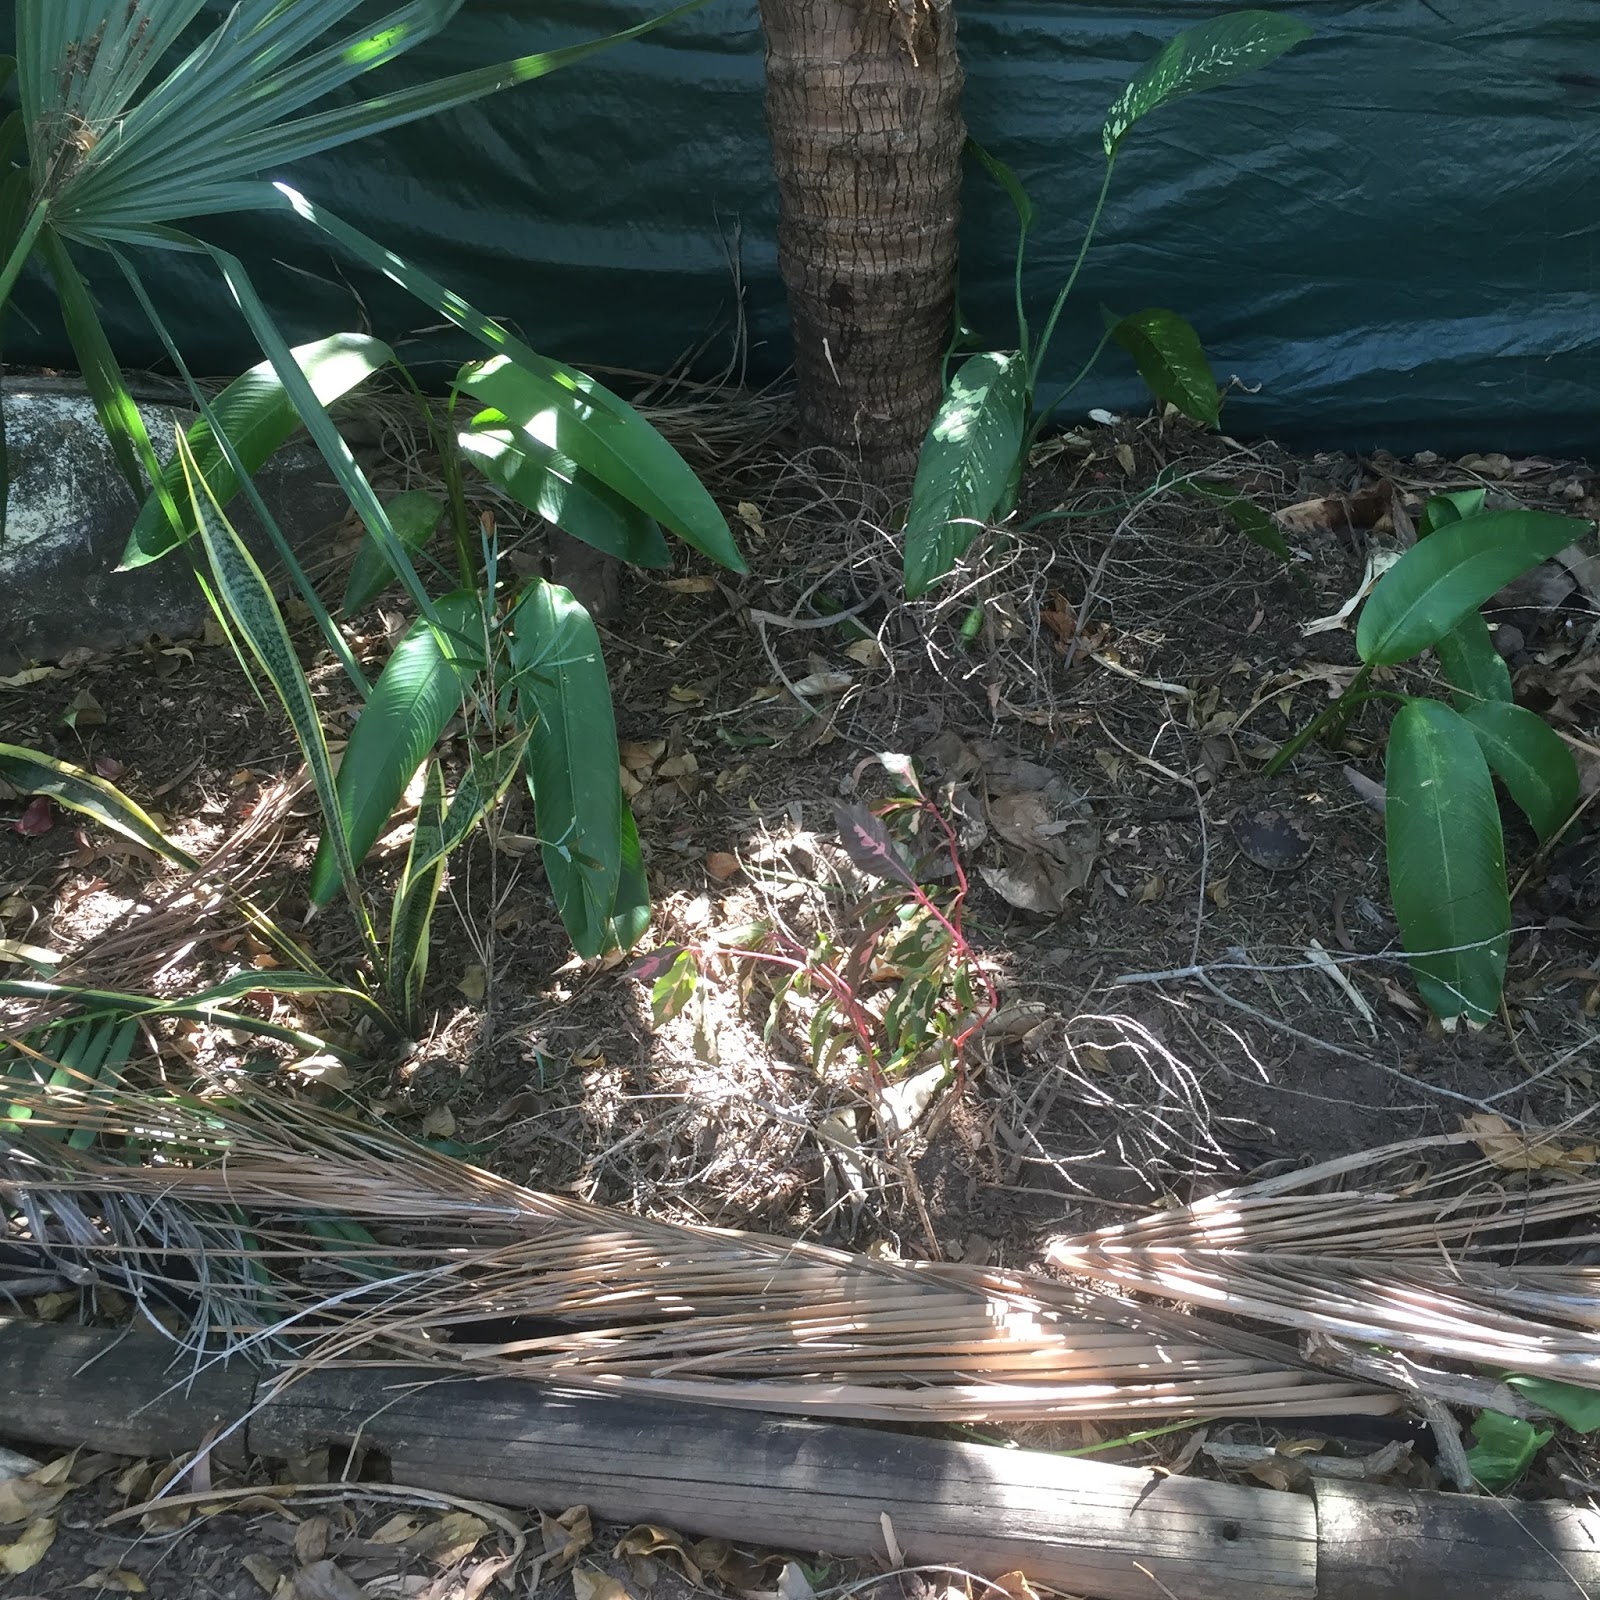
I put some more plants in, for a start, because if is harder for them to dig around things they are less likely to do it. Then I created natural shields for my plants: bits of bamboo sticking up, palm inflorescence pieces, sticks and palm fronds. Anything that would tangle around their feet and prevent them from digging around the base of my plants.
And that was just the bottom end of my garden... They used to stay away from the small garden below the back balcony, but recently they've gotten into it and kicked half the mulch out onto the path.
I did some reading and decided to work with a couple of things. 
1) People have found that stringing up old teddy bears stops them from visiting the garden. Sort of like a scarecrow. I didn't have any teddy bears to do that with, but I had a few other things that I decorated with instead to see how they would go.
This little guy is now king of the yard.
And I have a Sea Wall! 
The jellyfish was from a workshop I did.
The fish I went out and bought this afternoon at a friend's open studio - Studio Elevenlee. My husband's response was, "Awww, tetanus fish,"... different arts for different people 🤣


The turtle I made at a workshop and the seahorse was an old wind chime that I found in the bottom of my gardening box. That box has had a good clean out now!

2) Fences, even though they are flying birds, can apparently still deter them. My neighbours have surrounded their vege garden with chicken wire, but have also put down hay mulch as the chooks don't like how it tangles around their legs.

So I took the pieces of two clotheshorses that we had around the place and made my own fence using cable ties and imagination.

Then I added bamboo to the top.
An then I started adding more things....
Random pieces of wind chime? Check. Old jewellery donated to me that has rusty clasps? Check. Sun catcher that I've had for years and found in a box? Check!
A small creation of mine that has been around for years. It started as part of a beaded headpiece. Then it adorned a flower pot. Now it's a fence-sitter.
Though cute, these flower sprays weren't particularly useful. This one is stabilising the middle of my fence nicely though.
Old mosquito coil holder?
These guys were cute plant ties, also from the box of garden randomness. They're just chillin.
And my garden gnome watches over it all - they have never kicked him over!
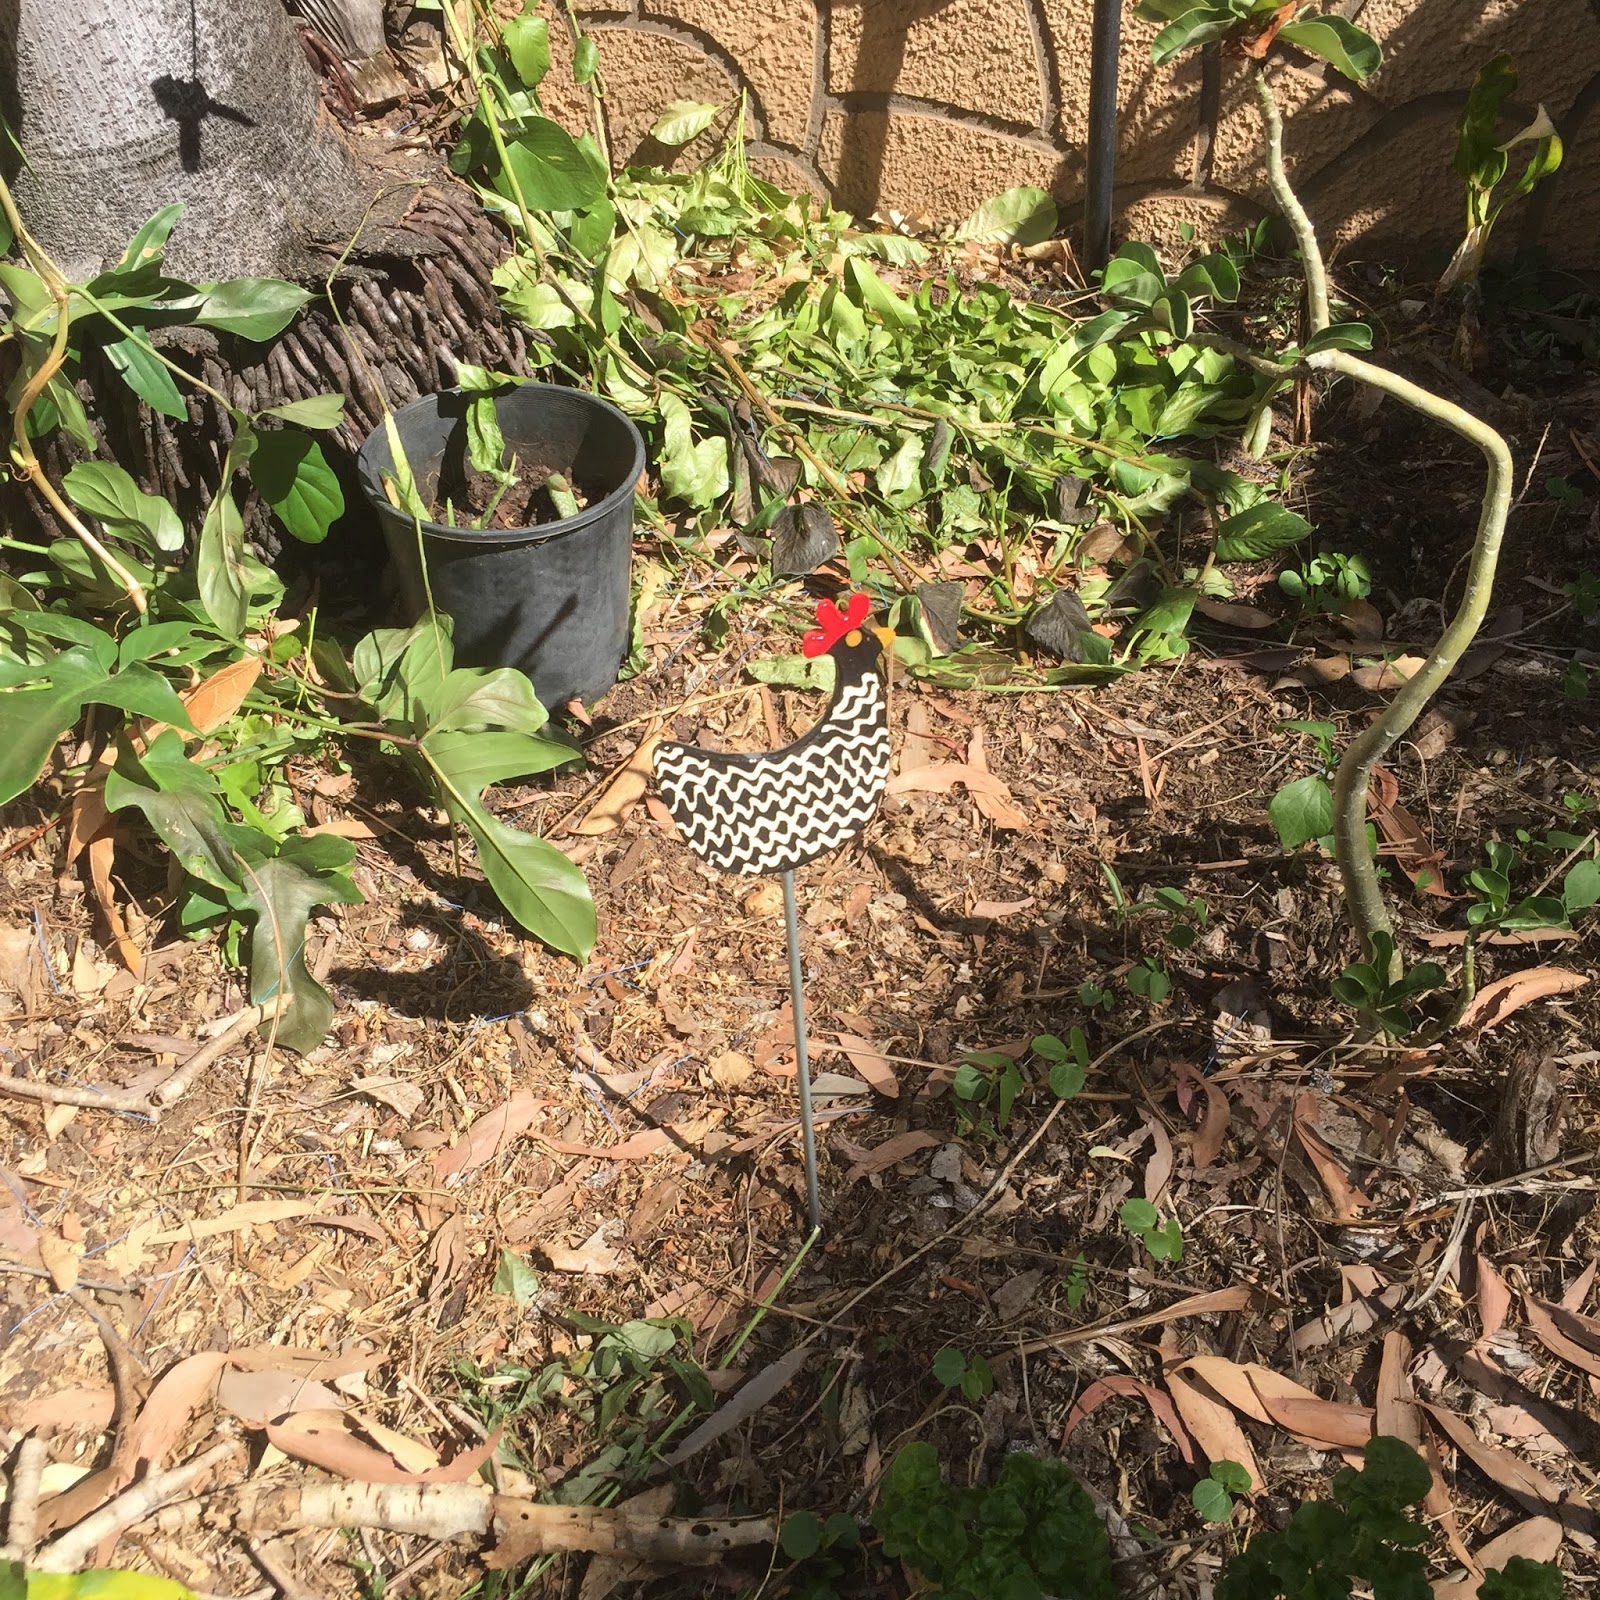
As a couple of final touches: I built a bird bath using some pavers and a mosaic bowl that I made years ago; and I put a ceramic flower and a chook in from Studio Elevenlee. I can visualise more of them in this space 😀

My aloe vera out the front was overflowing its pot, so I split a lot of the plants off and either put them in the garden or potted them up. A few little ones here for the laundry window sill, which is a nice, sunny spot.
I finished the day with a couple of well-earned champagnes, and can only hope that they won't destroy my work overnight!!!

Friday, July 14, 2017

Online Dress Refashion

One of the most frustrating things about online shopping is the sizing. You order a 16, it's more like a 12. You order a large, it's more like a small! Generally, things seem to be smaller than they should be. It's why I order 2 sizes bigger!

My work colleague ordered these two dresses and, surprise surprise, they were too small when they arrived. Not too drastic, though, that they couldn't be re-fashioned. The right one in particular is gorgeous fabric that shouldn't go to waste!
#1 The Pink and blue dress was too tight so I needed to insert panels on the side seams to make it wider. Thankfully the zip was in the back: this would have been tricky to pick out and re-sew and I would have likely damaged the delicate fabric.
It took a while to find fabric to match, until I had a different project out and inspiration struck me. It's a match!
I cut both sides open carefully. It has lining inside and rather than having to add an insert panel into the lining as well, I just overlocked the dress and lining together on both sides of the cut that I made.
Another option would have been removing the lining altogether but that would have made the dress see-through.


I prepared strips of the fabric to be inserted, having cut them long enough (or so I thought...). There is also a wide hem band on the bottom of the dress that I wanted to line the stitching up with.
I overlocked the two insert pieces and pinned them into place in the dress. But they were too short! I couldn't believe it... there was a gap of about 7cm at the bottom...
I sewed the strips in anyway and got a bit creative on the bottom, adding a t-piece of the fabric to secure the strip and to cover up the gap that I had left. It did have the effect of making the bottom stronger, which isn't a bad thing.


The owner of the dress is happy with the result, so that's what counts!

#2 - Green Dress

This dress is a couple of things: too tight and too short. We talked about what I might do to it and decided that the green would be too hard to match. What I would do instead is add black: insert panels on both sides, and add a length to the bottom. This would match nicely!

I cut both sides open:
As above, I overlocked the dress and lining together on both sides of the cut that I made.

I prepared strips of black fabric to be inserted, having cut them long and wide enough that I would have seam allowance. I cut them longer this time, too, after the first dress!
I made a hem at the top of the strip, rather than trying to neaten it up once the side seams were sewn. This became the new under arm section.

I decided that it would be neater to put the bottom extension on and then add the side panels. It looks a bit messy on the inside, but it worked on the outside.

I sewed both side panels in and hemmed the bottom of the black.
The finished dress. Inside:

Outside:

Happy customer!

Wednesday, July 12, 2017

Horizon: Zero Dawn Designs

My latest game obsession has been Horizon: Zero Dawn. It was visually stunning, absolutely beautiful in some areas.
The costumes have inspired me throughout the game. It's a world with giant machines in it and all of the characters wear parts of them, from plates to cords. The heroine is no exception.
The jewllery and head gear is very cool but a bit much to be wearing around the streets.
 The colour combinations are fantastic, so bright and striking.
I really want to make this one below!

Metal plates are a little out of my crafting range, but the shape and design could carry over.
Better get sewing...

Friday, July 7, 2017

Ties and Corsages for the Architect's Ball

This is another retroactive post and a friend will recognise the results.

I was given two lengths of fabric to use to make bow ties for two men and corsages for two women. They were going to the Architect's Ball, so they found some fabric with drawings on it for me to use. Here are the bow ties, that were simple shaped tubes turned right-way out:

Rather than proper bow ties, they had velcro on the ends so that they could be adjusted around the neck.

All of the leaves and flowers for the ladies were made from tubes of fabric. I didn't want there to be any loose ends, as these would fray over time. So I sewed everything inside-out, turned them through and stitched the openings closed.
Everything was then stitched together in layers and attached to the ribbons, which I bought to match.
Most of the pearls were sewn in, but the ones that didn't have holes were attached with a glue gun.


This one was my favourite out of everything:
I got a bit excited and made hair clips and hairbands as well!
The small white clips in the corner were the fraying exception, as I made them from scraps and it was a deliberate effect.
This flower below is attached to a kimono obi cord that came out of my stash. The beads in the middle are freshwater pearls.

I have a lot of fun when I'm given artistic licence, partially because it doesn't lock you into thinking about things a certain way. 

Saturday, July 1, 2017

Continuing the lime theme - top refashion

This was slightly too small for my comfort, so I fixed it. It was an op-shop find from my mum.
I cut the sides open and overlocked the raw edges.

I had leftover fabric from another project that I cut into strips to insert.
Slight problem when I tried it on again... still too small! 
Luckily the straight seam was easy to unpick on both sides and I could add another small strip in to make it fit.
All done.