Friday, June 9, 2017

Indigo Dyeing a Scarf

At the end of 2016 I did an indigo dyeing workshop at Woodford Folk Festival. It was lots of fun, and produced a scarf that I was very happy with. 

Indigo is an organic compound that produces a strong blue colour. It is used in traditional textiles in Japan, with stunning results. Essentially you clamp, fold or stitch your fabric, like you do with tie dye, so that the dye can't reach certain areas. This is what creates the pattern.

Being a modern workshop, we took our cotton scarf and used what came to hand. This was mine: I used beads to create round shapes, and a line of  strong bulldog clips to hopefully make a repeating line pattern down the full length of the scarf.
 This was my friend's scarf: there are tiles onto the folds, clamped in place to make shapes as well.
 And this was my mum's: she wound it around a tin can to create a different effect again.
You don't dip indigo for very long. It is a process where you dip it multiple times to make the colour stronger. One dip resulted in very pale blue; four dips in a stronger blue. I dipped mine as many times as I could: the pots we were using gradually ran out of dye as the group of 10 in the workshop dipped.
My final product: 
You can see the striations from the bulldog clips, which was exactly what I wanted! And the little bubbles from the beads on either end of the scarf were cute. This picture was when it was still wet. When it had been washed a couple of times and dried, it actually looked like this:
A lovely baby shower present for a friend :)

Tuesday, June 6, 2017

Recycling my wedding dress

As often happens, we change body shape and the clothes that used to fit us don't anymore. This was the case with my wedding dress.
 I was never precious about the dress. It cost me a whole $145.00 on sale. But it was what I wanted to wear. I had bought a dress originally off eBay, where you send your measurements  to China and they send you a dress back. I thought "Ok, this will do" until about 2 months before the wedding... Mum took me shopping then and we found the dress above. It was strapless, so we took the beaded straps off the first dress and put them on this one.

I have had the dress in mind for a while for another project, to use the boofy underskirt as the base of a cosplay dress because purchasing and layering that much tulle is far too painful. Better to re-use what I have as well, to give it more life.
Cosplay aside, I am also singing in a choir show where I am required to wear a wedding dress for one of the numbers (ABBA - I do I do I do I do I do). So this was a great opportunity to refashion my dress.

I did try it on as-is, and had a couple of problems:
  • the straps are too short now
  • my bust doesn't fit in the top
  • as a result of the above, the zip won't fasten.
The answer: separate the two.

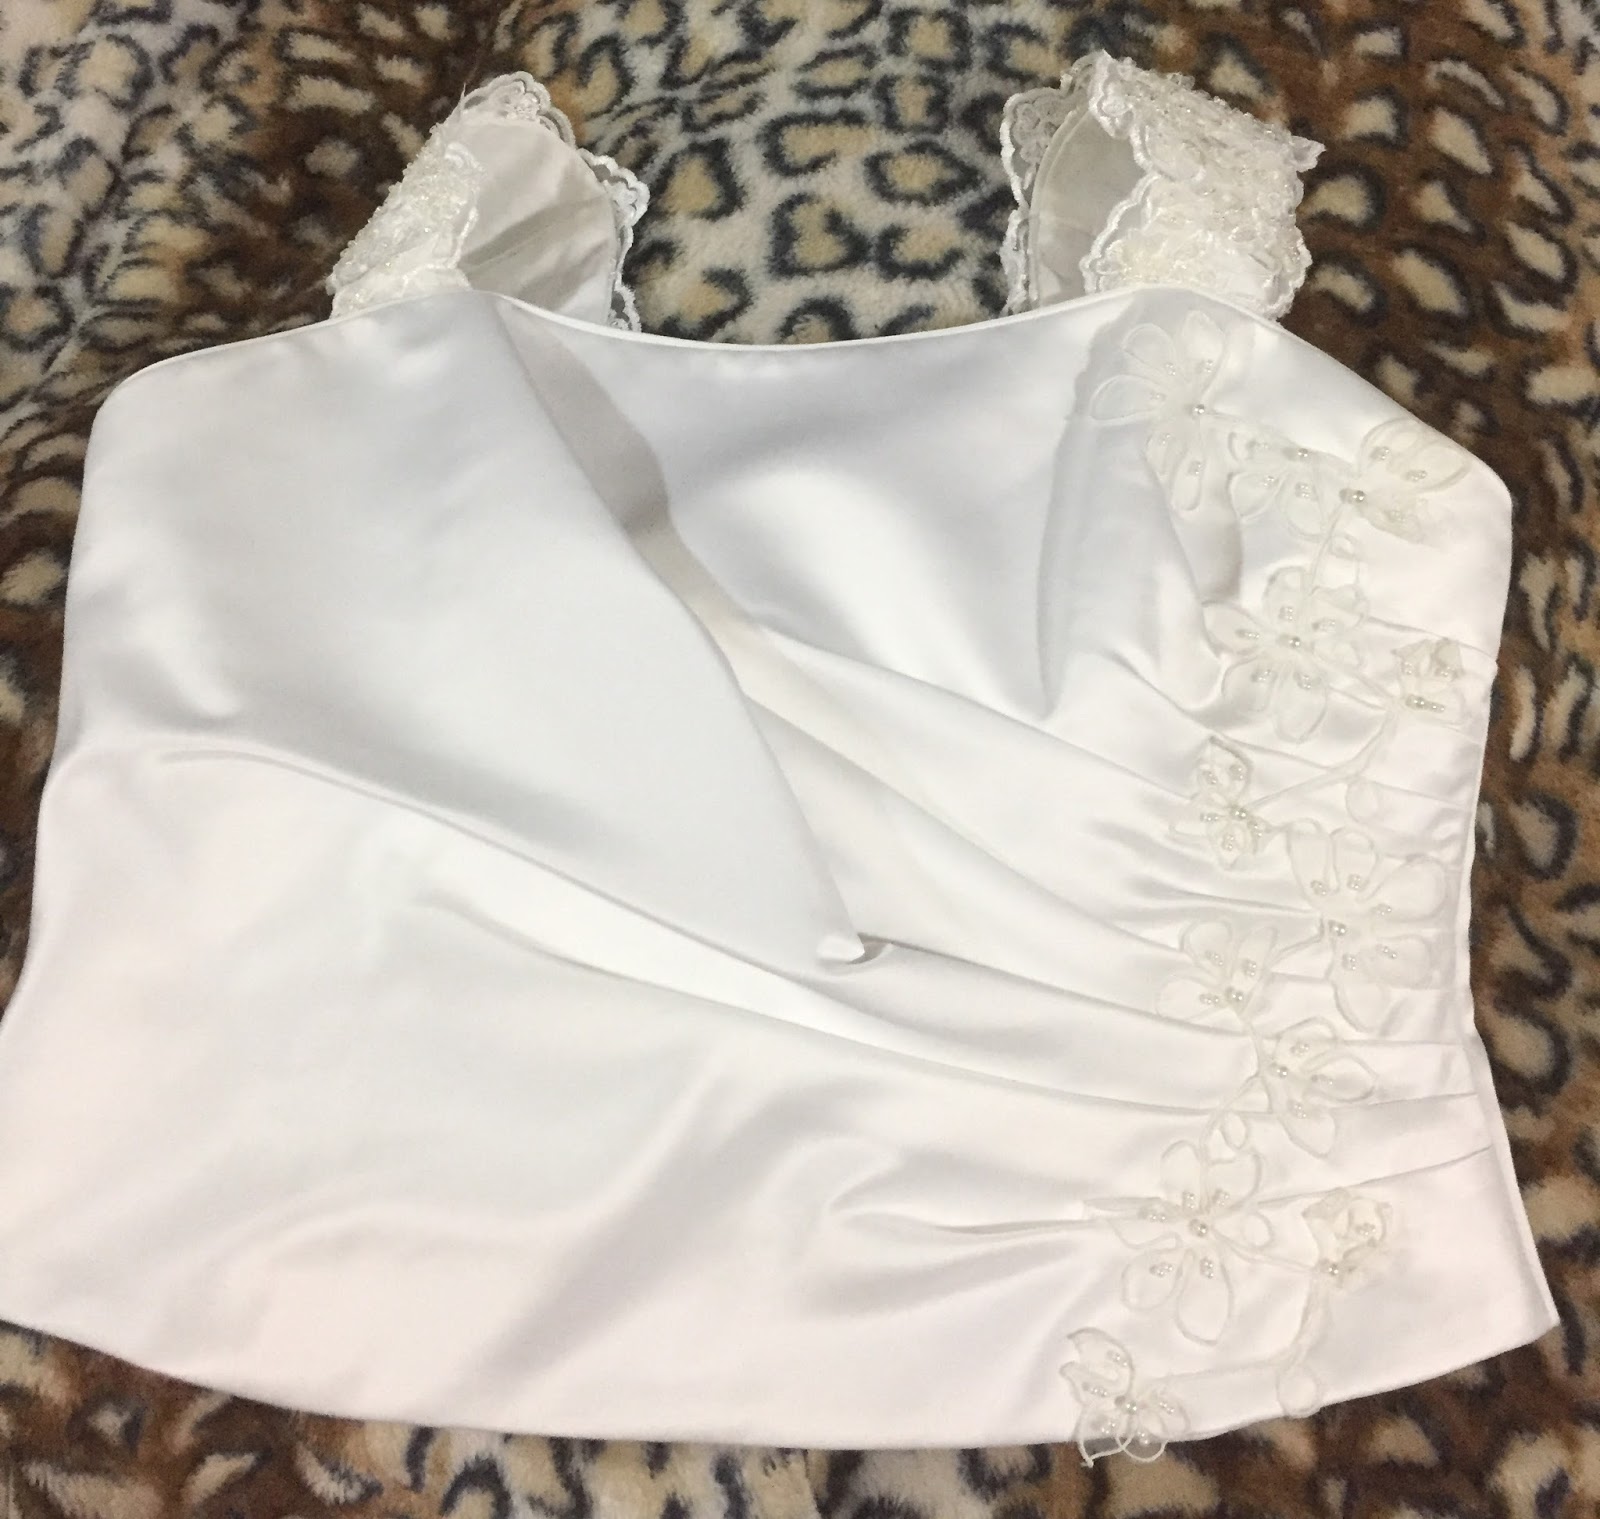
So that's what I did. I got a pair of scissors and snipped out the fabric that connected the skirt to the top, connecting under the bust. The top actually sat further down, so it's long enough to wear as a cropped top on its own.
I didn't want a veil when I got married, so my very talented mother had put a puff of tulle around my shoulders instead. I loved it! I made my own necklace, and a beaded hair piece to go with the giant white flower I had found. The only thing I really splashed out on were my earrings - Swarovski!
Back to refashioning.
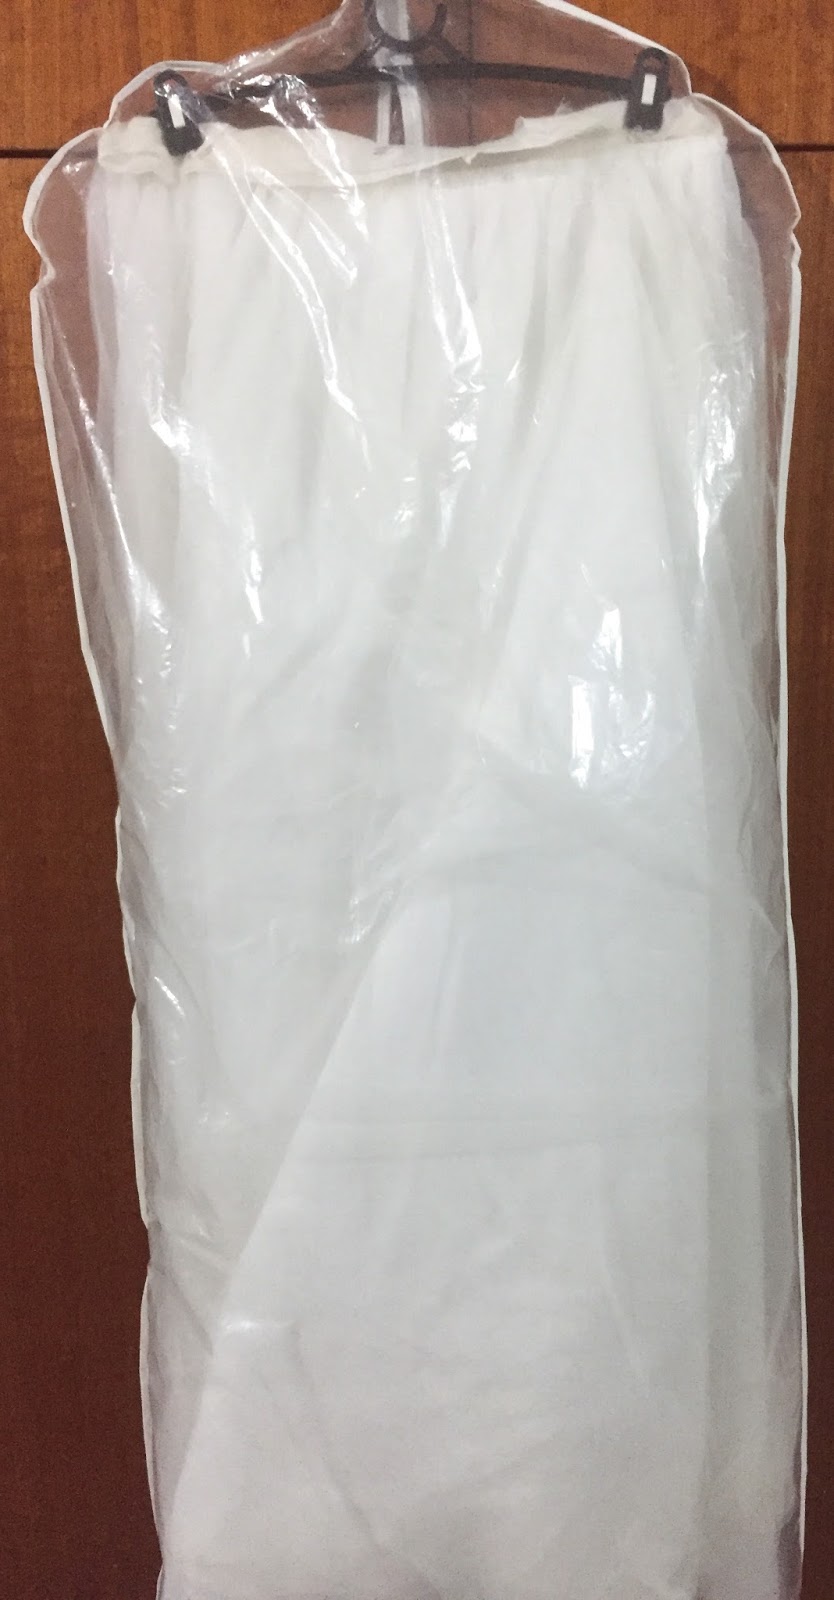
This is the skirt on its own:
The zip came out quite easily and I was able to insert a new one without too much trouble. However I only had long zips in my stash, so I had to cut one off (it was recycled anyway).

The trick with cut off zips is to sew a stopped at the end, as below, so that it won't pull off.
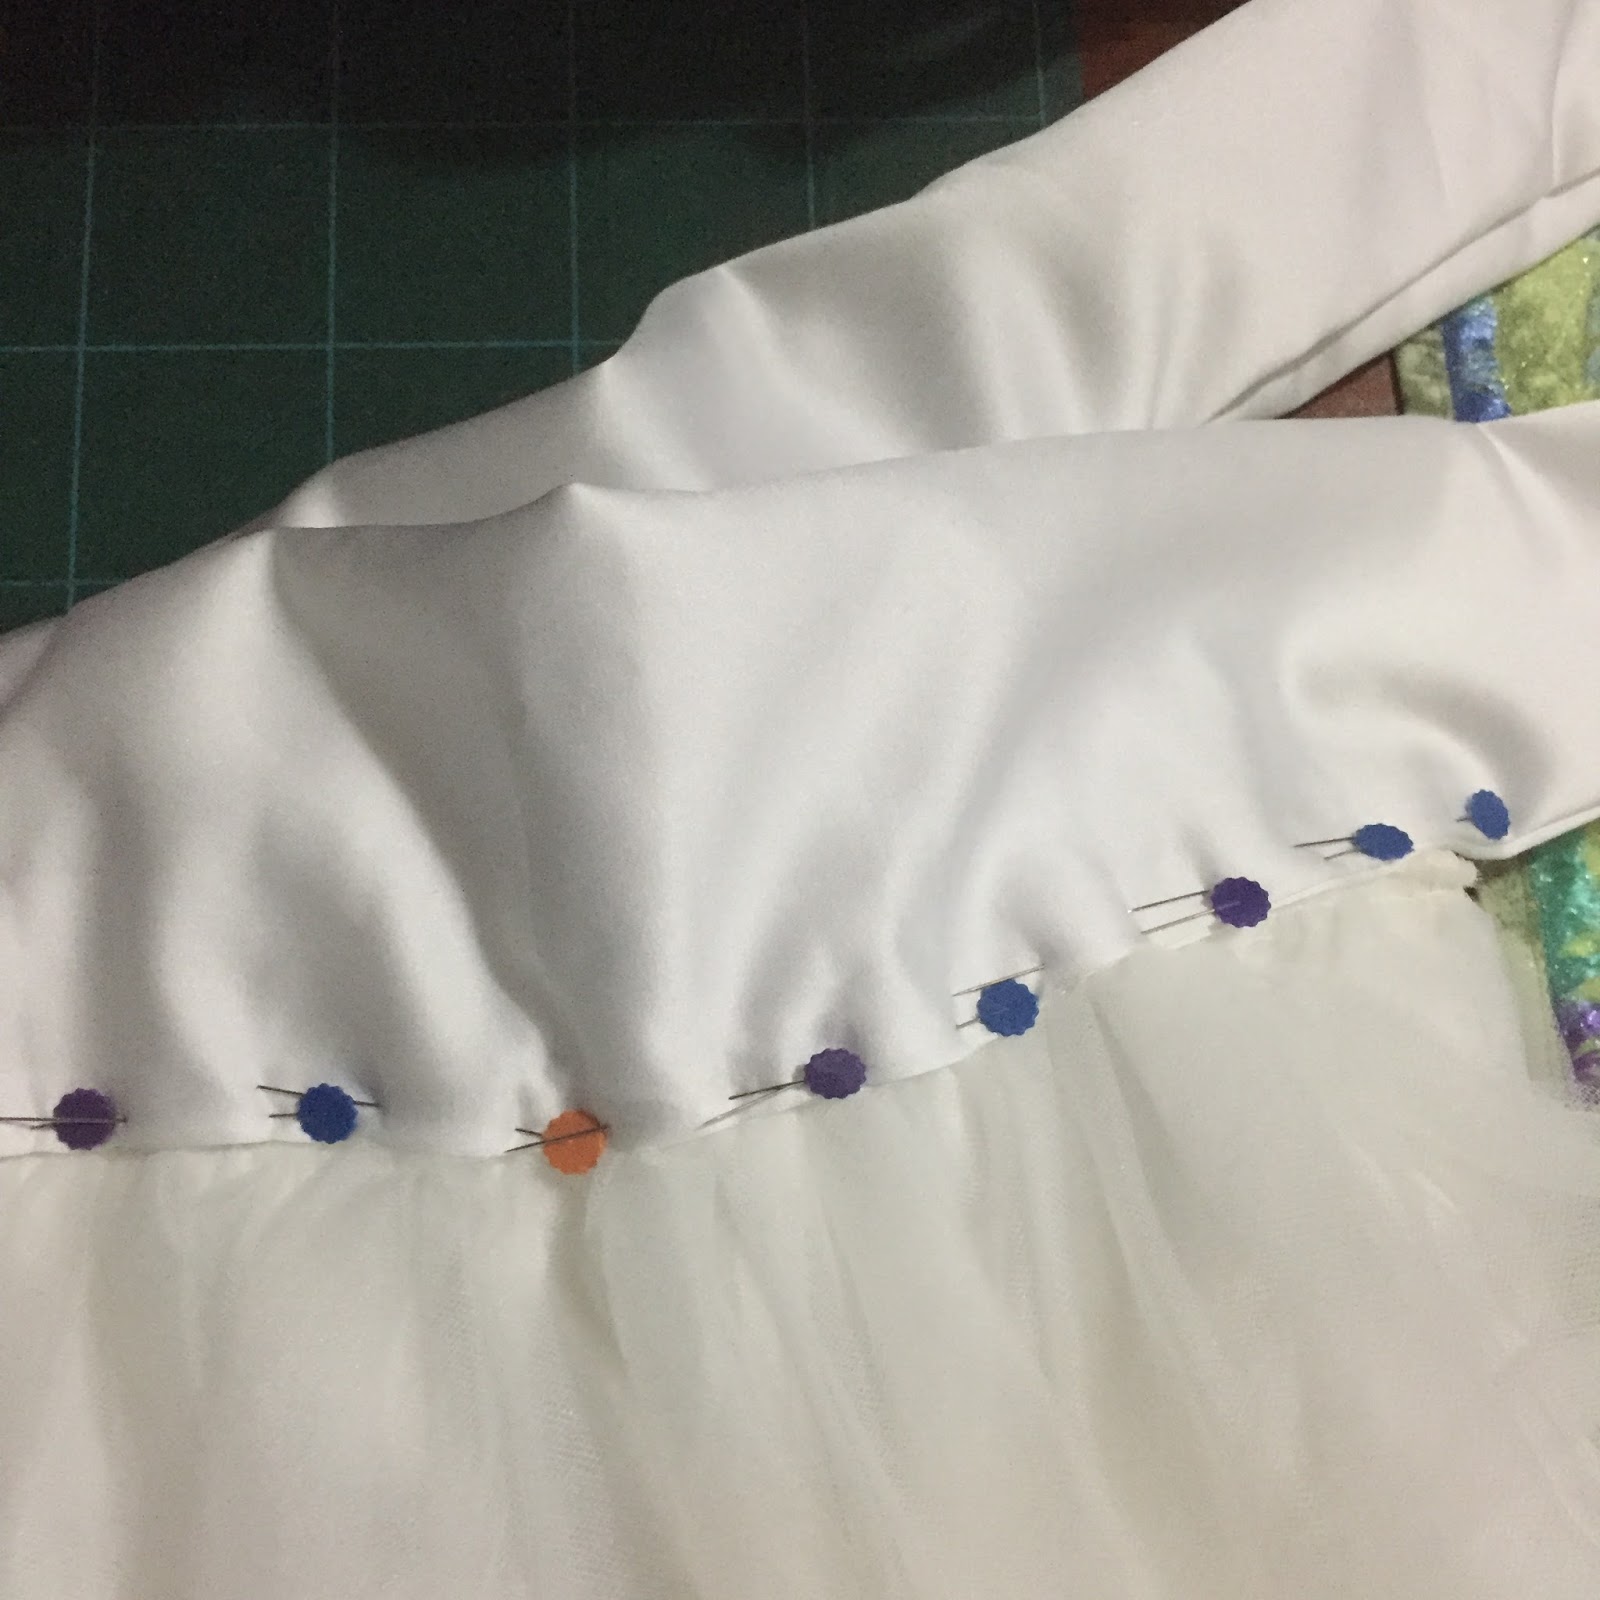
I pinned the zip in, only catching the bottom layer of the skirt with the pins.The tulle layer actually disguises the zip, so I let it float over. Because I wasn't sewing both, it made it hard to manoeuvre  in the sewing machine. I ended up hand-sewing the zip in.
I used a piece of satin that I had and made a long double-sided strip to use as a waist band.
It tied at the back, further disguising the zip.
And there we are - a separate, white tulle skirt that I can wear with anything.
On to the top.
I removed the tulle and put it in my stash for a future project. I picked the zip out of the back of the top as well, because it was too small I needed to add extra fabric in.
As the straps were too tight now, I also unpicked the back of them so that I could add more length. The beads may not work now that it's no longer a wedding dress, but we shall see. I can always put plain straps on instead.
I lengthened the straps with some more satin and pinned them to try it on. It still looks a lot like a wedding dress top. Since I need a wedding dress for the show I'm singing in, I'll leave them for now. I will just hand sew them on though, which will make them easier to remove and replace later.
I had bought a cheap wedding dress for another project that came with a white satin wrap - perfect fabric to match my wedding top.
For the back I cut two lengths and overlocked the edges, and then sewed the zip in the middle. It would be easier to put the zip in and then attach the fabric to the top.
I shaped the piece to an upside-down v-shape at the bottom, as the zip was longer than I had thought and I didn't want to cut it off. But I also thought that it would look nice. This spot, in the middle of the back, is often where shirts ride up when we sit down as well: the extra length of fabric would prevent this.
But once I had sewn it and tried it on, it looked odd. So I tucked the little tail under and hand sewed it down.
And here is the refashioned dress!


Friday, June 2, 2017

Let's wrap this up - Wrap Skirts

One of my wardrobe staples these days is the humble wrap skirt. I used to make a lot of them about 10 years ago, and now I have a pattern and I make better ones.

I have a blue wrap skirt that used to be a wrap dress: I cut the top off when the material frayed in the shoulders, but kept the skirt. I used it to trace a pattern, including the location of the hole for the ties to thread through, and have since used it to cut four more skirts.
(Sorry, I don't have a better 'before' pic)

This is my skirt pattern:
I am increasingly frustrated with shop-bought patterns, as they often still won't fit right. The problem, of course, is that no one is the same size 10, 12, 14, 20, 24, etc. There is no perfect answer. And using different fabrics also changes how things fit you. But I find that cutting patterns off things that I know already fit me is a step in the right direction!

So here are my wrap skirts. They use a lot of fabric for two reasons:
  • I like below-knee length skirts for work
  • I like to have a decent amount of cross-over in the wrap, so that I'm not worried about the skirt gaping.
I cut out the three panels and the two strips for the waist band/ties. All edges are overlocked to seal them. I don't hem the bottom of the skirt until the end, when I am sure that it is all the same length. Then it is just a matter of joining all of the pieces together.

I prefer to thread one tie through the band of the skirt, so that none of the fabric creeps up when you wear it. This means that I leave a gap in the middle of the waist band like this:
Onto some of the skirts!

This skirt started as a collection of fabrics. The front panel is from IKEA, and it has been in my stash for years. It's a nice, sturdy cotton that unfortunately requires ironing so I don't wear it as often as I like. The pocket is an op-shop find for $1.

This crab fabric was a purchase from an Aboriginal Art Fair. It's not my usual colours, but something about it when it was hanging up struck me and I had to get it. I like to think that the blue under-skirt panels are the sea for the crabs. Luckily blue and orange are good opposites!


Friday, May 26, 2017

Holding a craft stall

A few years back I was doing multiple craft fairs in a year. I also entered work in local exhibitions and made items on request. It takes a lot of time and effort to get yourself out there and create a following, to make your hobby make money.
Life got busier and I stopped doing so much creating, but also in 2007/2008 when we had the global financial crisis people stopped buying crafts. There is a bottom line for what you create, between the material cost and the time it took you to make it: usually you lose money on the time element. This was the case for craft stalls and I. Hours of time creating and a whole day sitting behind a table was netting very little profit and draining some of the love for what I did.
Something that can be hard to manage even when hosting a single craft stall is creativity vs. output. You can have a couple of different kinds of stalls: few products and higher prices, where even selling a couple of pieces leaves you breaking even; or a lot of products of lower values that collectively will make your profit. I've always had the latter. Often the basket of $2 bracelet would be what sold the most, to all of the little girls looking to buy something with their own money.
My beach glass dragons were higher value items, but materials aside (the glass did come free from the beach, though it took a lot of collecting time) they took hours and hours to make and people weren't very willing to pay what they were worth. It's a bit insulting when people try to bargain you down on the day! 
I buy from local artists whenever I can, particularly friends. It pays to support each other and I generally found that was the attitude at craft fairs. I often did swaps with other stallholders, for items of equal value that we eyed off from each other.
I sew more than bead these days and do a bit of fabric printing and eco-dyeing. I don't want to compete with other artists in Darwin who sell a lot of the latter, but I also don't make clothes for other people, only myself. I think about having a stall again and there are certainly opportunities around. I would stick with my beach glass necklaces, because I haven't ever come across anyone who wires them together into collars and decorates them like I do, so they are a unique product. 
It would take me weeks of dedicated time, or months of less dedicated time, to create enough for a stall and that hasn't been something I've been willing to do. If I knew someone who wanted to share with me it would be easier, as I wouldn't have to fill a whole table myself. But the craft fairs are also on Sundays when I have archery...
Aren't priorities hard when we want to do everything in life?

Sunday, May 21, 2017

Too many skirts, time for some shirts!

This blog has motivated me to do a lot of sewing and I've made some new skirts as a result. But what I'm finding now when I pull skirts out to wear to work is that I've already worn the top that matches the day before! Clearly I need more shirts to choose from, preferably that will match multiple skirts.

Black looks good with a lot of my cupboard and so does green, but I already have one each of these tops. I also don't want to wear black all the time, not enough colour!
One of my blue tops is brightly patterned, so it clashes with some of my equally bright skirts. It actually goes best with my orange skirt!
My other blue top is a darker shade of blue that doesn't match everything either.
I have a few blue skirts now, so more blue tops makes sense.
My white top is lace overlaid over black, so it's too much with some skirts. I need a white top, or at least one that is mostly cream.
I have nothing in pink or purple.

I have certain standards and looks that I impose on myself for work. Everyone's concept of 'corporate wear' is different and I believe in being comfortable and happy each day. Grey on grey is not part of my happiness!

I could buy more things, as a lot of fashion is cheap these days, but I dislike polyester fabric, as it is too hot in my area: why have a nice, cotton skirt on the bottom when your top is boiling? I also am more mindful of how many clothes we waste and what the costs of them are. Why would I make my own clothes, if I can buy a skirt and top from a generic store for a fraction of the cost? For me the answer is generally that the clothes I make will last me years longer than the cheap ones.

This book was an interesting read and has made me try to use my op shop-bag clothes in more ways before I think about donating them.


Back to the making of things.

The Spotlight store in my town has a permanent sale rack of fabric, which is fun to rummage through. I generally buy more than what I was looking for, but at the moment they have some great bargains: buy 3 metres or more, or the end of a roll, and you get another 50% off the sale price! 

These were some of my purchases:

Gold and cream cotton duck 

 (Cotton duck (from Dutch: doek, "linen canvas"), also simply duck, is a heavy, plain woven cotton fabric. Very sturdy. Doesn't crease as much as some of the lighter fabrics.) 
Purple Japanese-pattern cotton duck
Silver Dupion silk (way too nice to pass up!)
Woven blue Indonesian fabric (also cotton, beautifully light and feels nice against the skin)
Grey/yellow heavy cotton
As I share the hobby room with my husband, our sewing/gaming times often intersect. Sometimes I will just cut fabric out and pin things, so that it's quieter on my end of the room. As we also often listen to audio books or music together during this time, it feels more like couples time if we're able to talk freely ❤

All of these tops will be made from my homemade basic pattern: simple, sleeveless crop tops. I cut them out from a single paper piece, leaving plenty of seam allowance:
The back piece sits higher near my neck, and the front a bit lower. The front piece also has a dart either side for shape. I have experimented with different necklines, but it really works best if you have more pieces in the pattern.. which is also more work! I'll keep these ones simple instead.

I have a second crop top that has a crossover back. I cut a pattern off it and used it to cut the back of one of the tops.
Every edge that I can overlock to seal it, I will. I sometimes wish that I had two overlockers - one strung with white and the other with black thread, so that I didn't have to change them over! I usually need tweezers to accomplish it...
I hemmed all of the edges as well, to make it neater when I joined the three pieces together.
Then it was a matter of joining the seams together. This is the star top, all finished. Front:

Back:
You can't tell from the photos, but the darts that I put in the bust don't actually match up.. oops! My laziness, my fault. I will have to mark the fabric with a pencil next time, so that they match on either side.

I should be fairly well outfitted for work now 😊