My quilt was designed as four copies of the same bird. I aimed to get at least one of the four small quilts done for the exhibition in February.
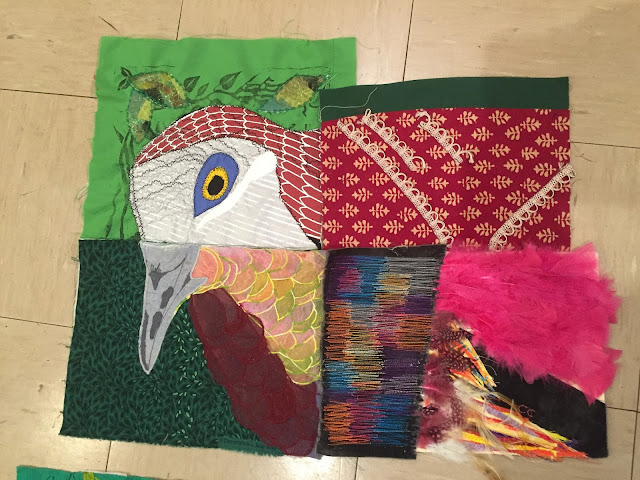
This is one set of the four panels pinned together:
And this is the set that I have decided to make up for the exhibition:
The first step was to make sure that the sizes of the blocks matched well enough. you can see in the top right here that I have added dark green to the block on the right. It was a lot smaller than the one on the left.
These two blocks don't seem to match very well, but I'll wait and see!
I sewed the four together, using some careful pinning.
I moved the panels until the front of the beak met up, because it looked really strange when it didn't.
The middle points don't match up, but with all of the patterns it isn't actually as noticeable.
The top of the back doesn't meet either, and I could sew over the gap and make it meet, but I actually don't mind.
I squared the block off on each side - cut the excess off.
And was left with this:
Now to decide what to put around the outside as a border. I had imagined the four birds as glimpses through windows, so I had wanted to put black around the outside. I tried a few things though, just in case. The green fabric on the right is my backing fabric, a nice Bali cotton that I bought a whole roll of on special.
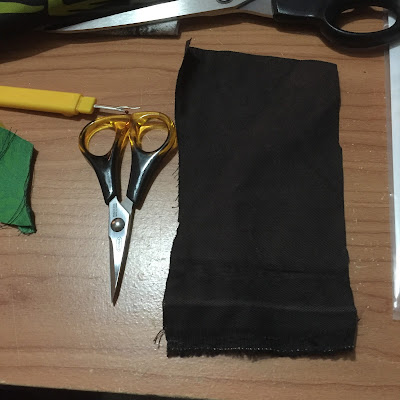
I had to dig through 6 boxes and 2 bags, but I found the black cotton I was pretty sure I had. I'm trying not to buy anything at the moment, as I want to use what I have. But if I hadn't found the black I was probably going to go and buy some, because I really wanted it as the border. Often I take what I have and the creativity comes from that, but quilting is different: there are so many parts and you are working towards a set look. The type of fabric limits you as well.
I cut off even strips to use on each edge and pinned them face-down and sewed them on.
The two long edges first.

Apologies for how dark this photo is, but you can see how the two pieces and the border fit together.
The border is mostly straight, though I did have to trim a couple of the corners to square. This would have been because my inner blocks weren't straight.
My wadding came in a giant roll that will probably last me the rest of my life at the rate I do quilting. I cut just enough for my quilt, with about 1cm around the outside just in case.
Once I had them I also cut the backing fabric out, leaving extra around the outside in case I decided to use it to bind the edges as well.
I had bought a variegated thread to use for quilting that was lots of pretty greens to match the backing fabric.
See how many pins I put in to keep all three layers together? I didn't know if I had enough still! The quilt gets bent and folded and shifted a lot when you're sewing it together than it'a easy to create bubbles in the fabric if it isn't pinned securely.But into the machine it went. I had identified key features of the bird that I was going to do as my quilting lines.
Plus some leaves in the green part.
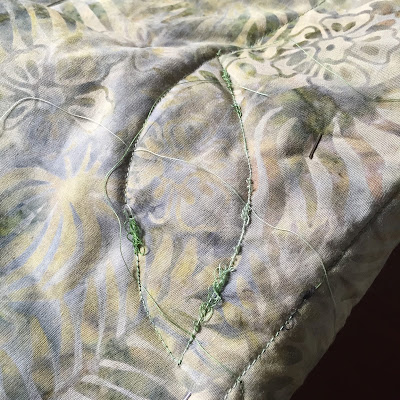
But when I tried to use the variegated thread on the top and bottom it did this:
When I changed the top thread to a cotton/polyester blend I had no trouble. I may come back and unpick this later, but (running out of time) I left it for now.
On a side note, it turns out my backing fabric was the wrong way up, so the bright side is facing the wadding... 😅 I was too pinned in at that point, so I made a mental note for the next section.
Quilting is tricky, because you have to feed a bulky collection of fabric through it and manoeuvre it around the machine. And the piece that has the feathers on it makes it even trickier because I was trying not to snap them!
As with the piecing, I had to "brush" the feathers out of the way to sew around them.
But I love the effect of them sitting over the edge of the black "frame".
Here I've finished the quilting and, having decided to use the backing fabric to bind the edges (lack of time, mostly) I cut it down to an inch around for binding.
Pinned it very carefully around all of the edges and sewed them down with the machine. Often people hand sew the binding so that you don't actually see any stitches, but I'm not bothered.
Again, running out of time, I did a patch job with some safety pins to be able to hang it.
And ready for the exhibition!


